Creating night-time images with star trails is the easiest and should be your first project when getting into astro photography.
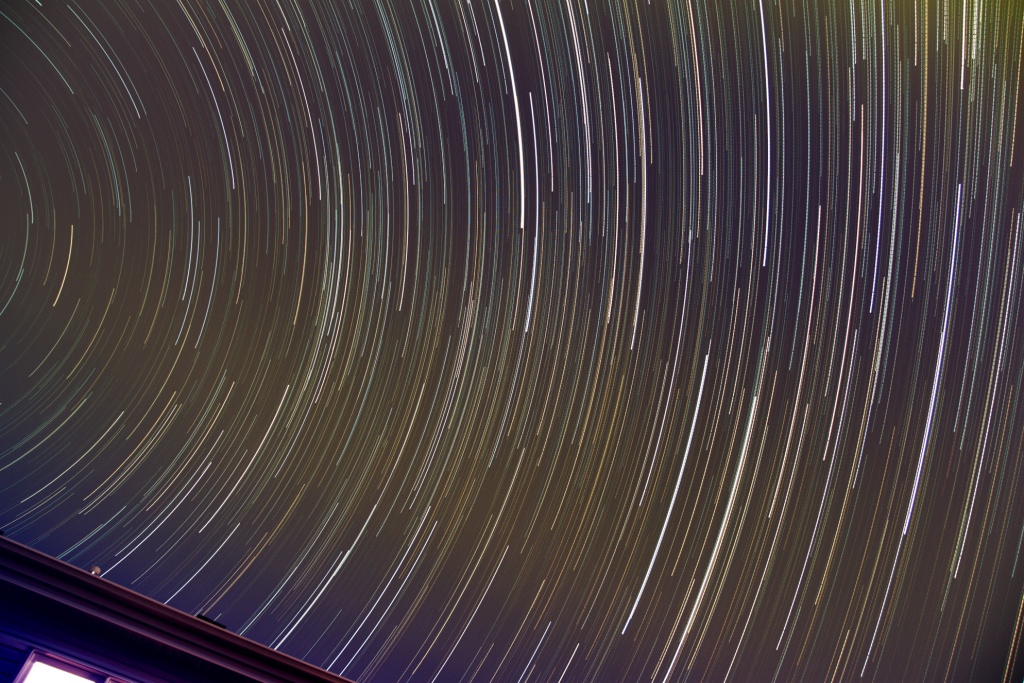
Back in the day of film, you had to stomp down the diaphragm and use a shutter actuator to take one VERY long exposure. And if something happened during that long exposure (bird, plane, clouds, etc…) your photo was ruined. With digital, you can instead take LOTS of short exposures and digitally stitch them together, leaving out the ones that got ruined.
Setup your camera to take a series of short exposure photos, 10 seconds is good. For some tips on how to setup your camera, head over to my Astrophotography Cookbook page.
If you are starting out, or want to simply do this quickly, skip taking Bias, Dark and Flat photos. These are used to improve the final image processing and make more sense when you wish to do some deep sky stacking.
For this exercise I configured the intervalometer of the camera to take 10 second exposures with a 1 second pause between (i.e. the shutter is pressed every 11 seconds and each click is a 10 second exposure). I left the camera operating for a little more than one hour, with the result over 400 photos captured.
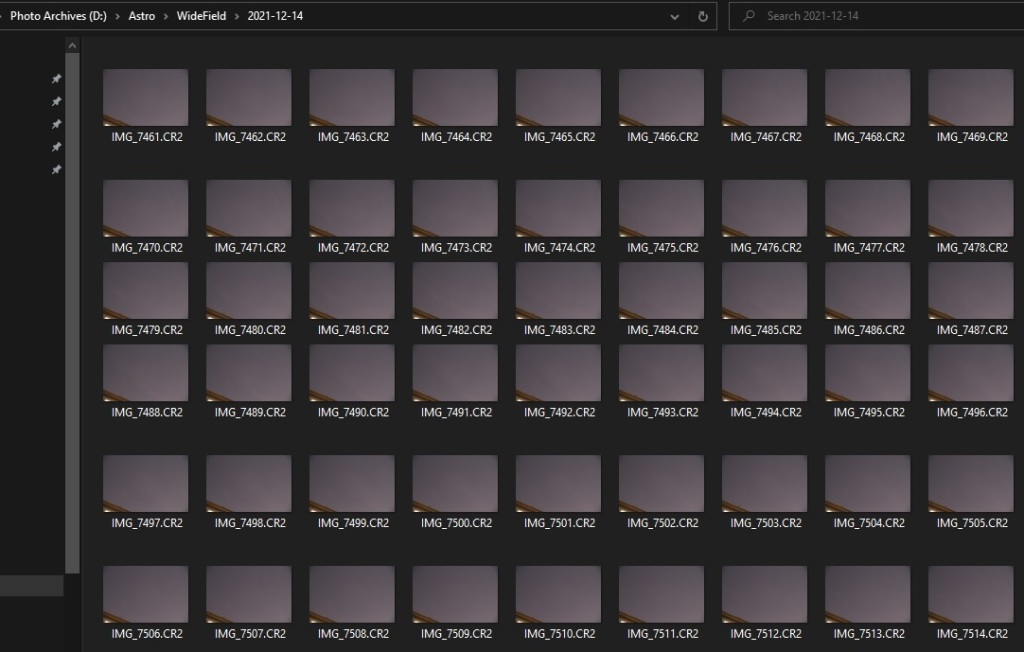
It’s important to review all the photos and note down the ones to exclude from the final image, things like camera movement because you knocked the tripod, a plane, clouds, etc. It’s possible that from the 438 photos taken, only the range 5 to 352 will be good to build the star trail image as clouds decided to roll into view on the 353rd photo.
The next step is to import the photos into Deep Sky Stacker. This is done by using the Open picture files… command. As I mentioned earlier, the dark, flat and bias can be skipped, these are not required. But if you have them, they will improve the quality of the final image. Don’t forget to select Check all before moving to the next step, and to uncheck any photos you want to exclude if you did a bulk import.
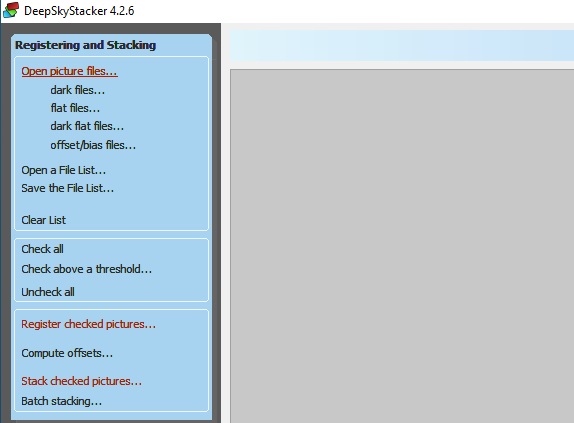
Once the photos are selected, go straight to Stack checked pictures… In the window that pops-up, hit the Stacking parameters… button and select the following:
- Result – Standard Mode
- Light – Maximum
- Alignment – No Alignment
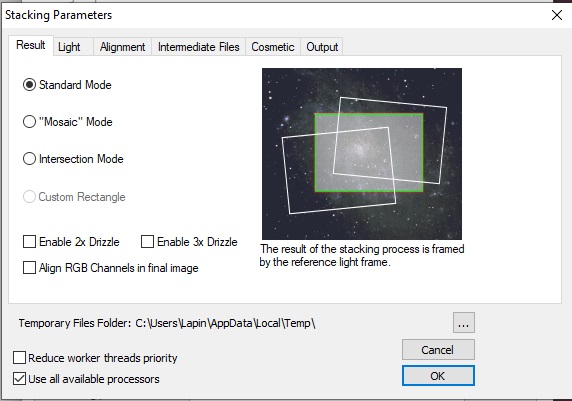
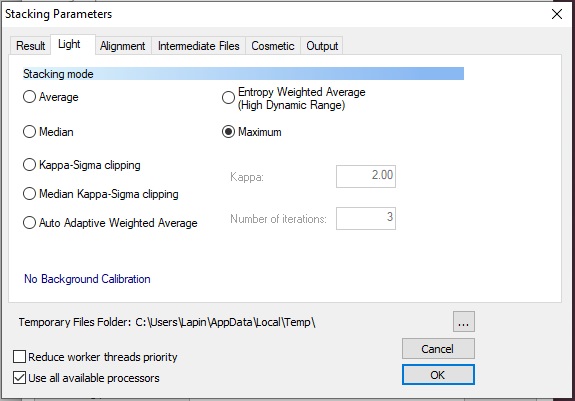
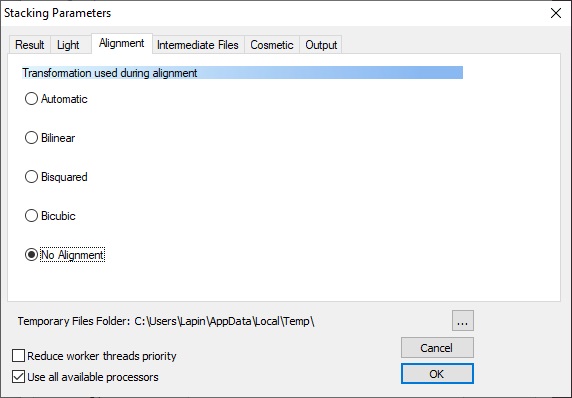
The remaining tabs can remain with the default setting. Hit OK and the program will now start processing all the photos. Note that DSS will still register each image even if you selected No Alignment. If you know how to prevent this waste of time, please tell me in the comment below.
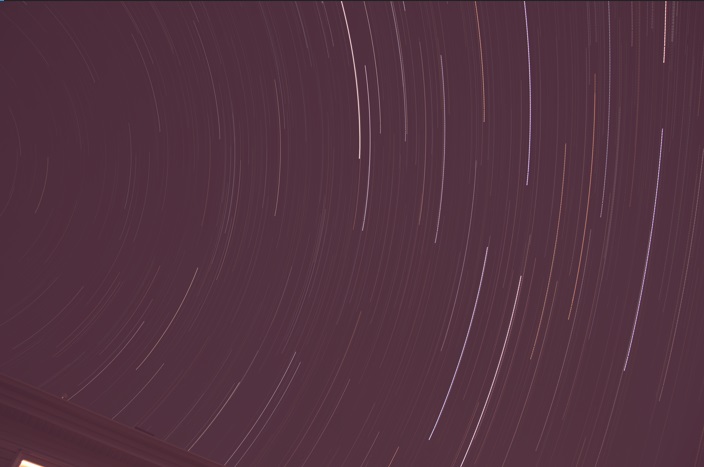
The end result is something like the image below. Base on your the quality of your sky, the camera setting, color balance, etc… various level of work will be required to make it look nice, but you now have something to import into your photo editor and correct all that.
In my Post-processing section of the Astrophotography Cookbook, I provide some tips on how to correct for things like sky gradient.

Clear dark skies!
