In this tutorial, we will show you the steps on how to easily register private nameservers for a domain name registered with Hostinger.
What are Private Nameservers?
Private nameservers allow you to set up nameservers for your own domain of choice. Let’s say you are operating a web hosting business and don’t want people to Google our nameservers and find out you really resell hosting thru us. Using private nameservers, you can avoid just this problem.
Having your own nameservers also gives you a more professional appearance than just plain nameservers, for example. ns1.bobshostingshack.com is pretty professional compared to our default nameservers. 😏
How to Setup Private Nameservers at Hostinger
Step 1: Click here to open the Hostinger page. You will be prompted to log in to your Hostinger Account:
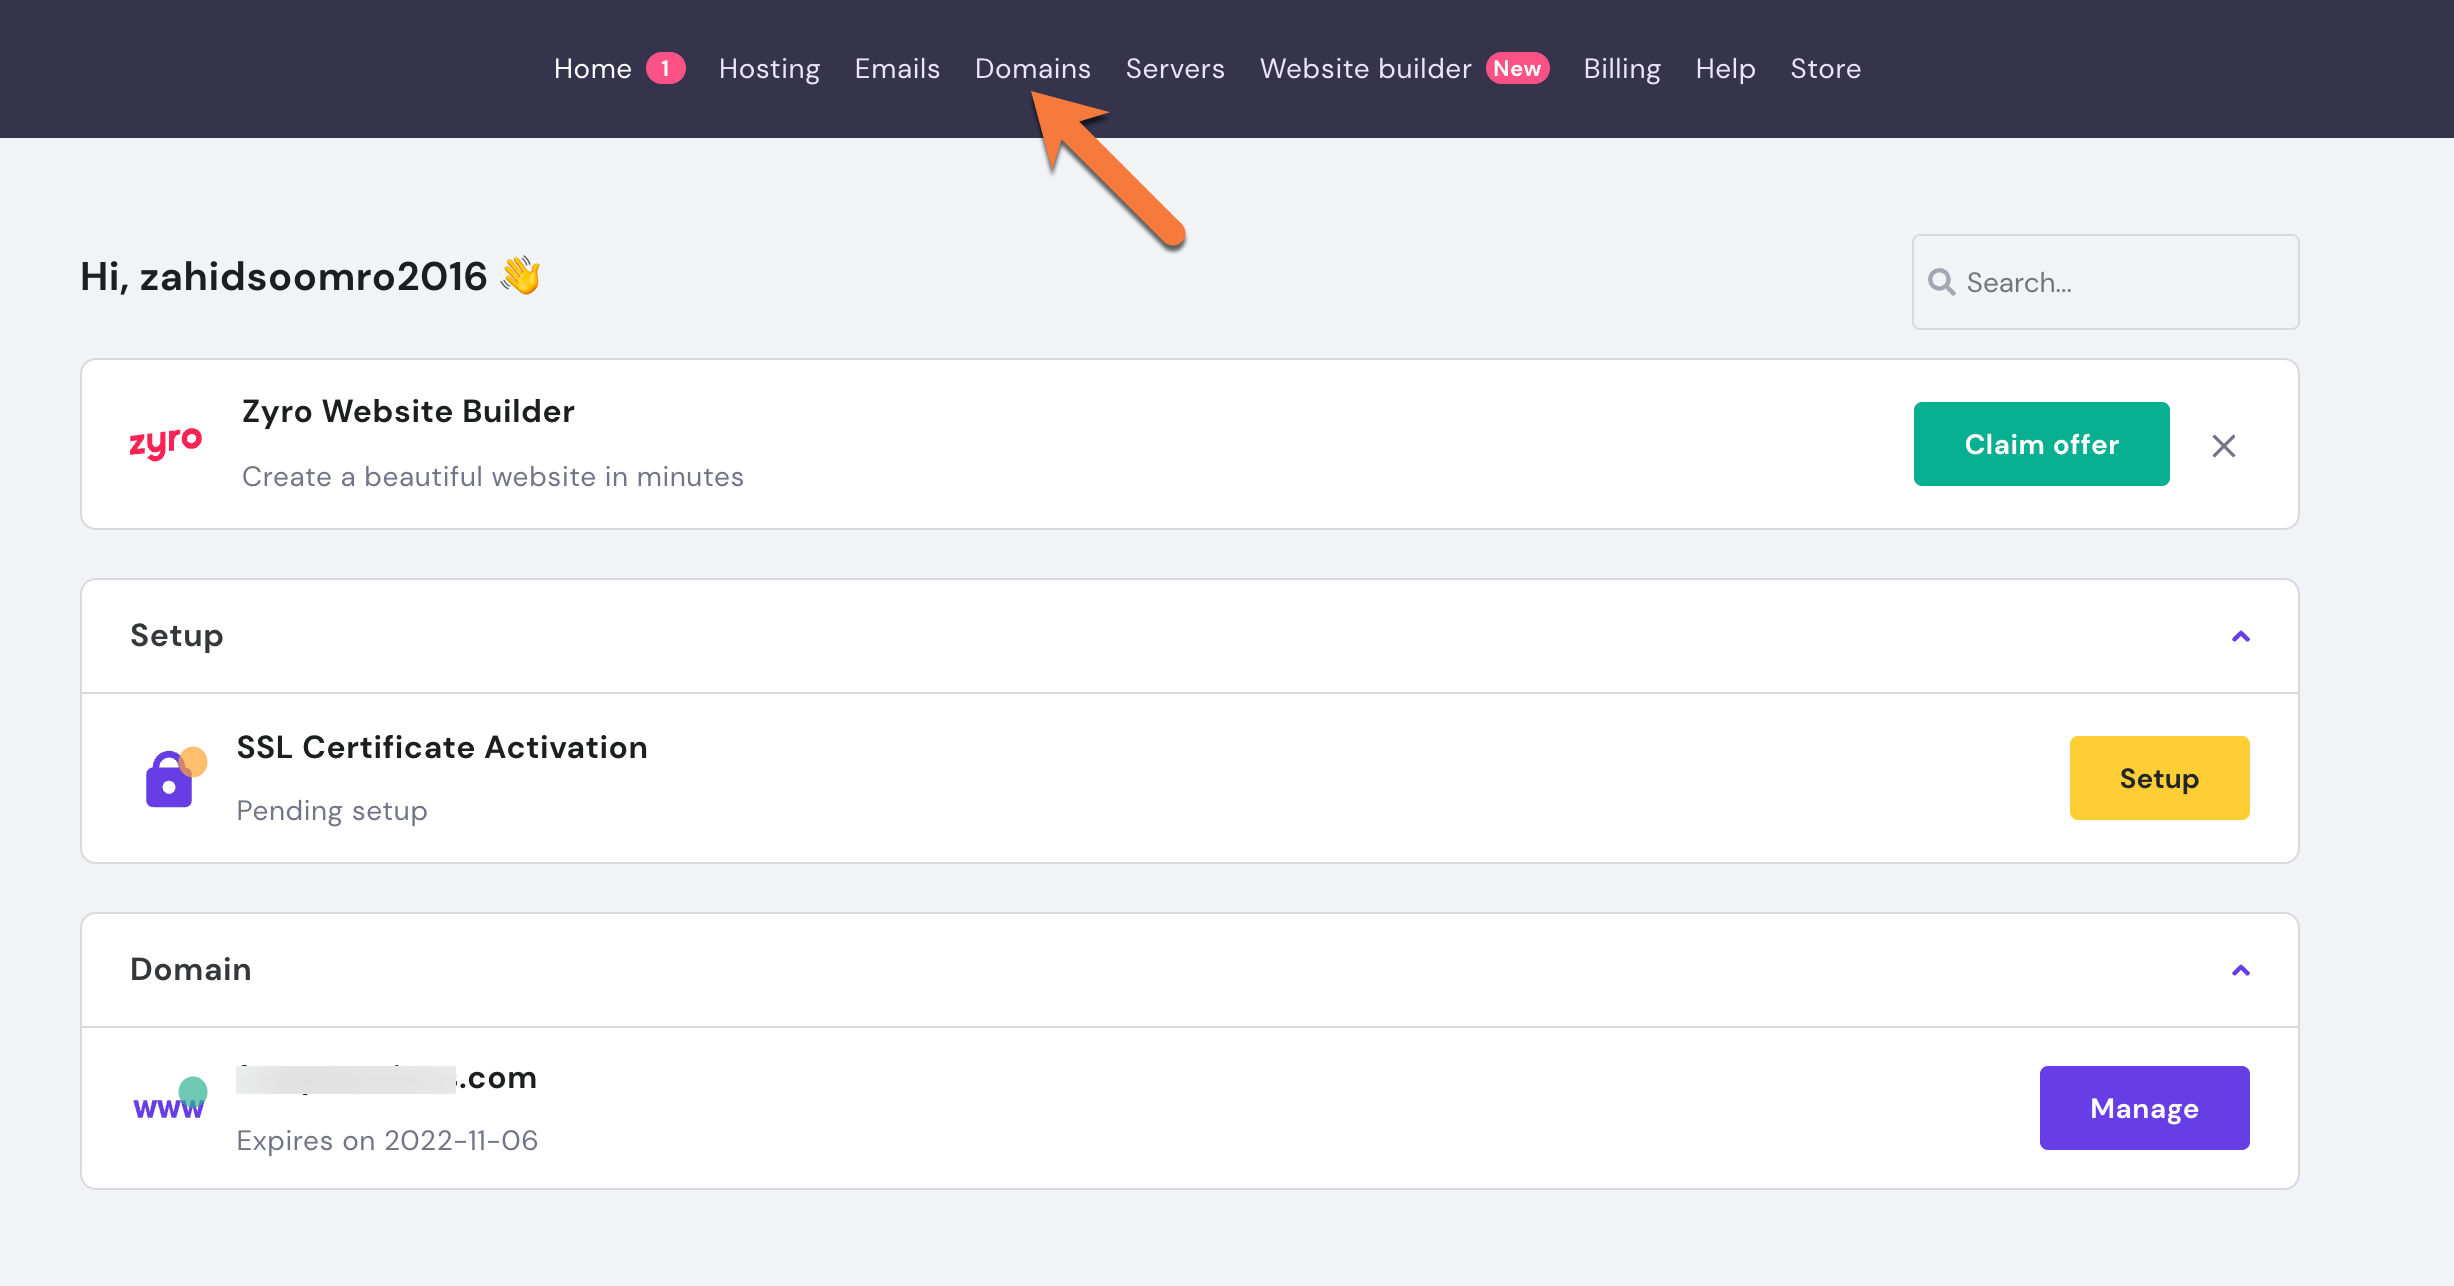
Step 2: After signing into your Hostinger Account, click on Domains from the top menu.
On the next page, you will see a list of all domains registered in your Hostinger account.
Find the domain for which you wish to manage the Nameservers and click on it.

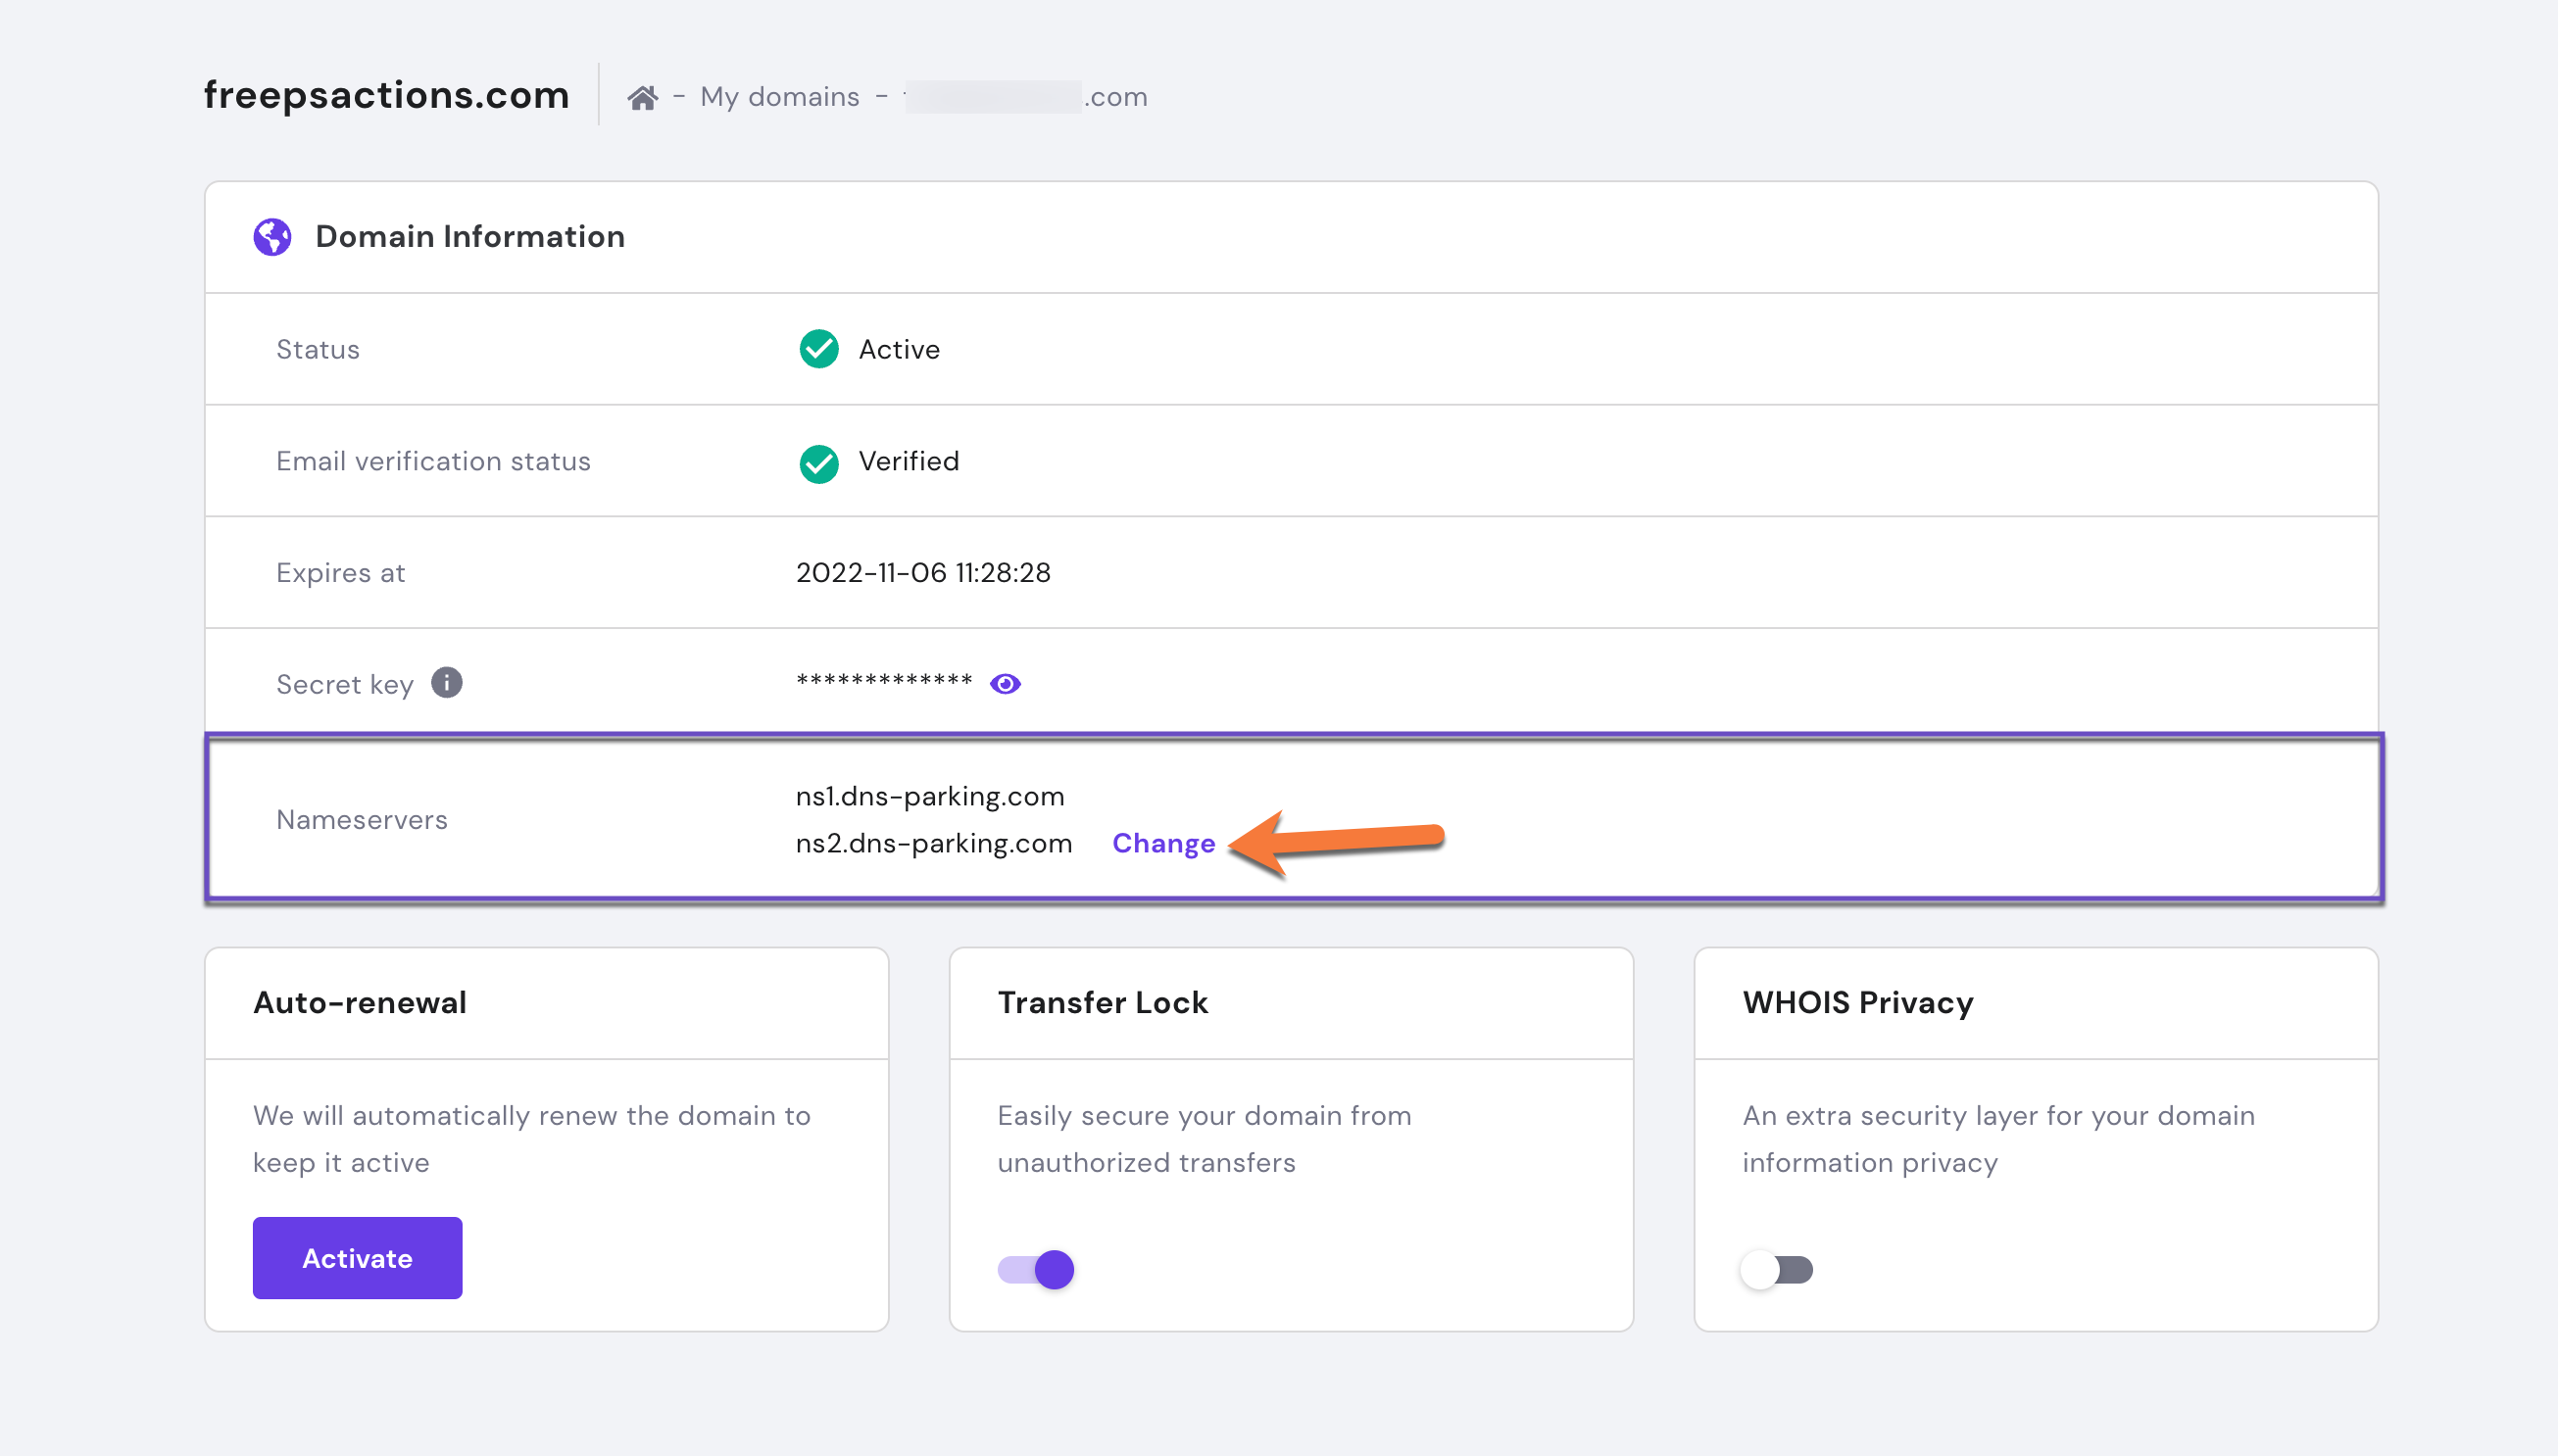
Step 3: While you are on the Domain Overview page, see the Nameservers option and click on the Change button.
Step 4: Once the Name servers page has loaded, scroll down the page and click on the Child Nameservers tab.
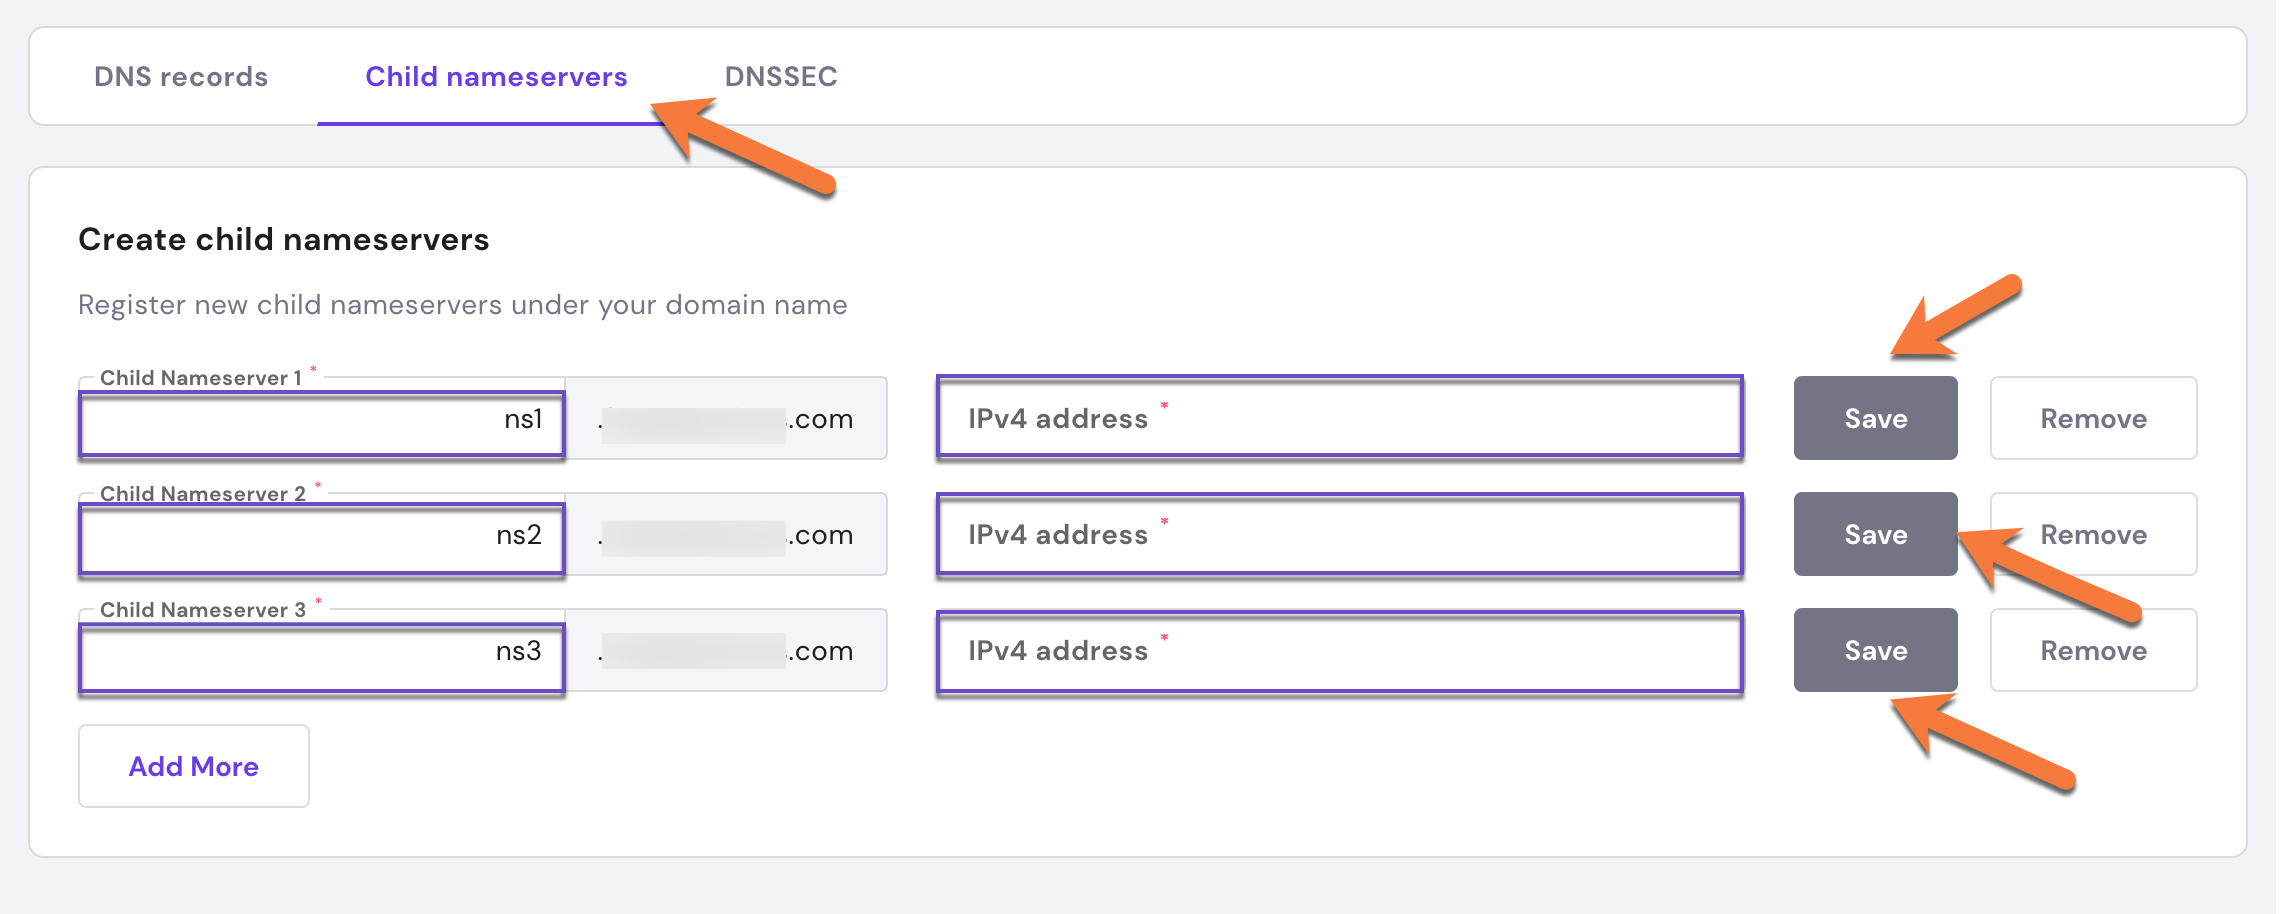
Step 5: Once the Child nameservers page opens, you will have the option to enter your custom name servers.
First, you’ll need to enter the record name for your custom name servers in the Child Nameserver Fields. For example, if your nameservers are going to be ns1.yourdomain.tld, ns2.yourdomain.tld, and so forth, your glue record hostnames will look like the image above.
Second, you need to give each name server an IPv4 address. In the IPv4 address field, enter the IP address for each name server and click the save button. Click Save to save the changes.
Now your Child nameservers are established. Congrats! Your changes will now propagate.
Transfer Your Domain To ChemiCloud
There is no need to juggle separate providers, contacts, and services when you can have everything you need, all in one place.
If you’d like to manage your nameservers and your hosting in the same place, here at ChemiCloud, you should consider transferring your domain(s) from Google Domains to ChemiCloud.
![]()
That’s a wrap!