NAOMI Netbooting

 General  Comments Off on NAOMI Netbooting
Jul 232011
 

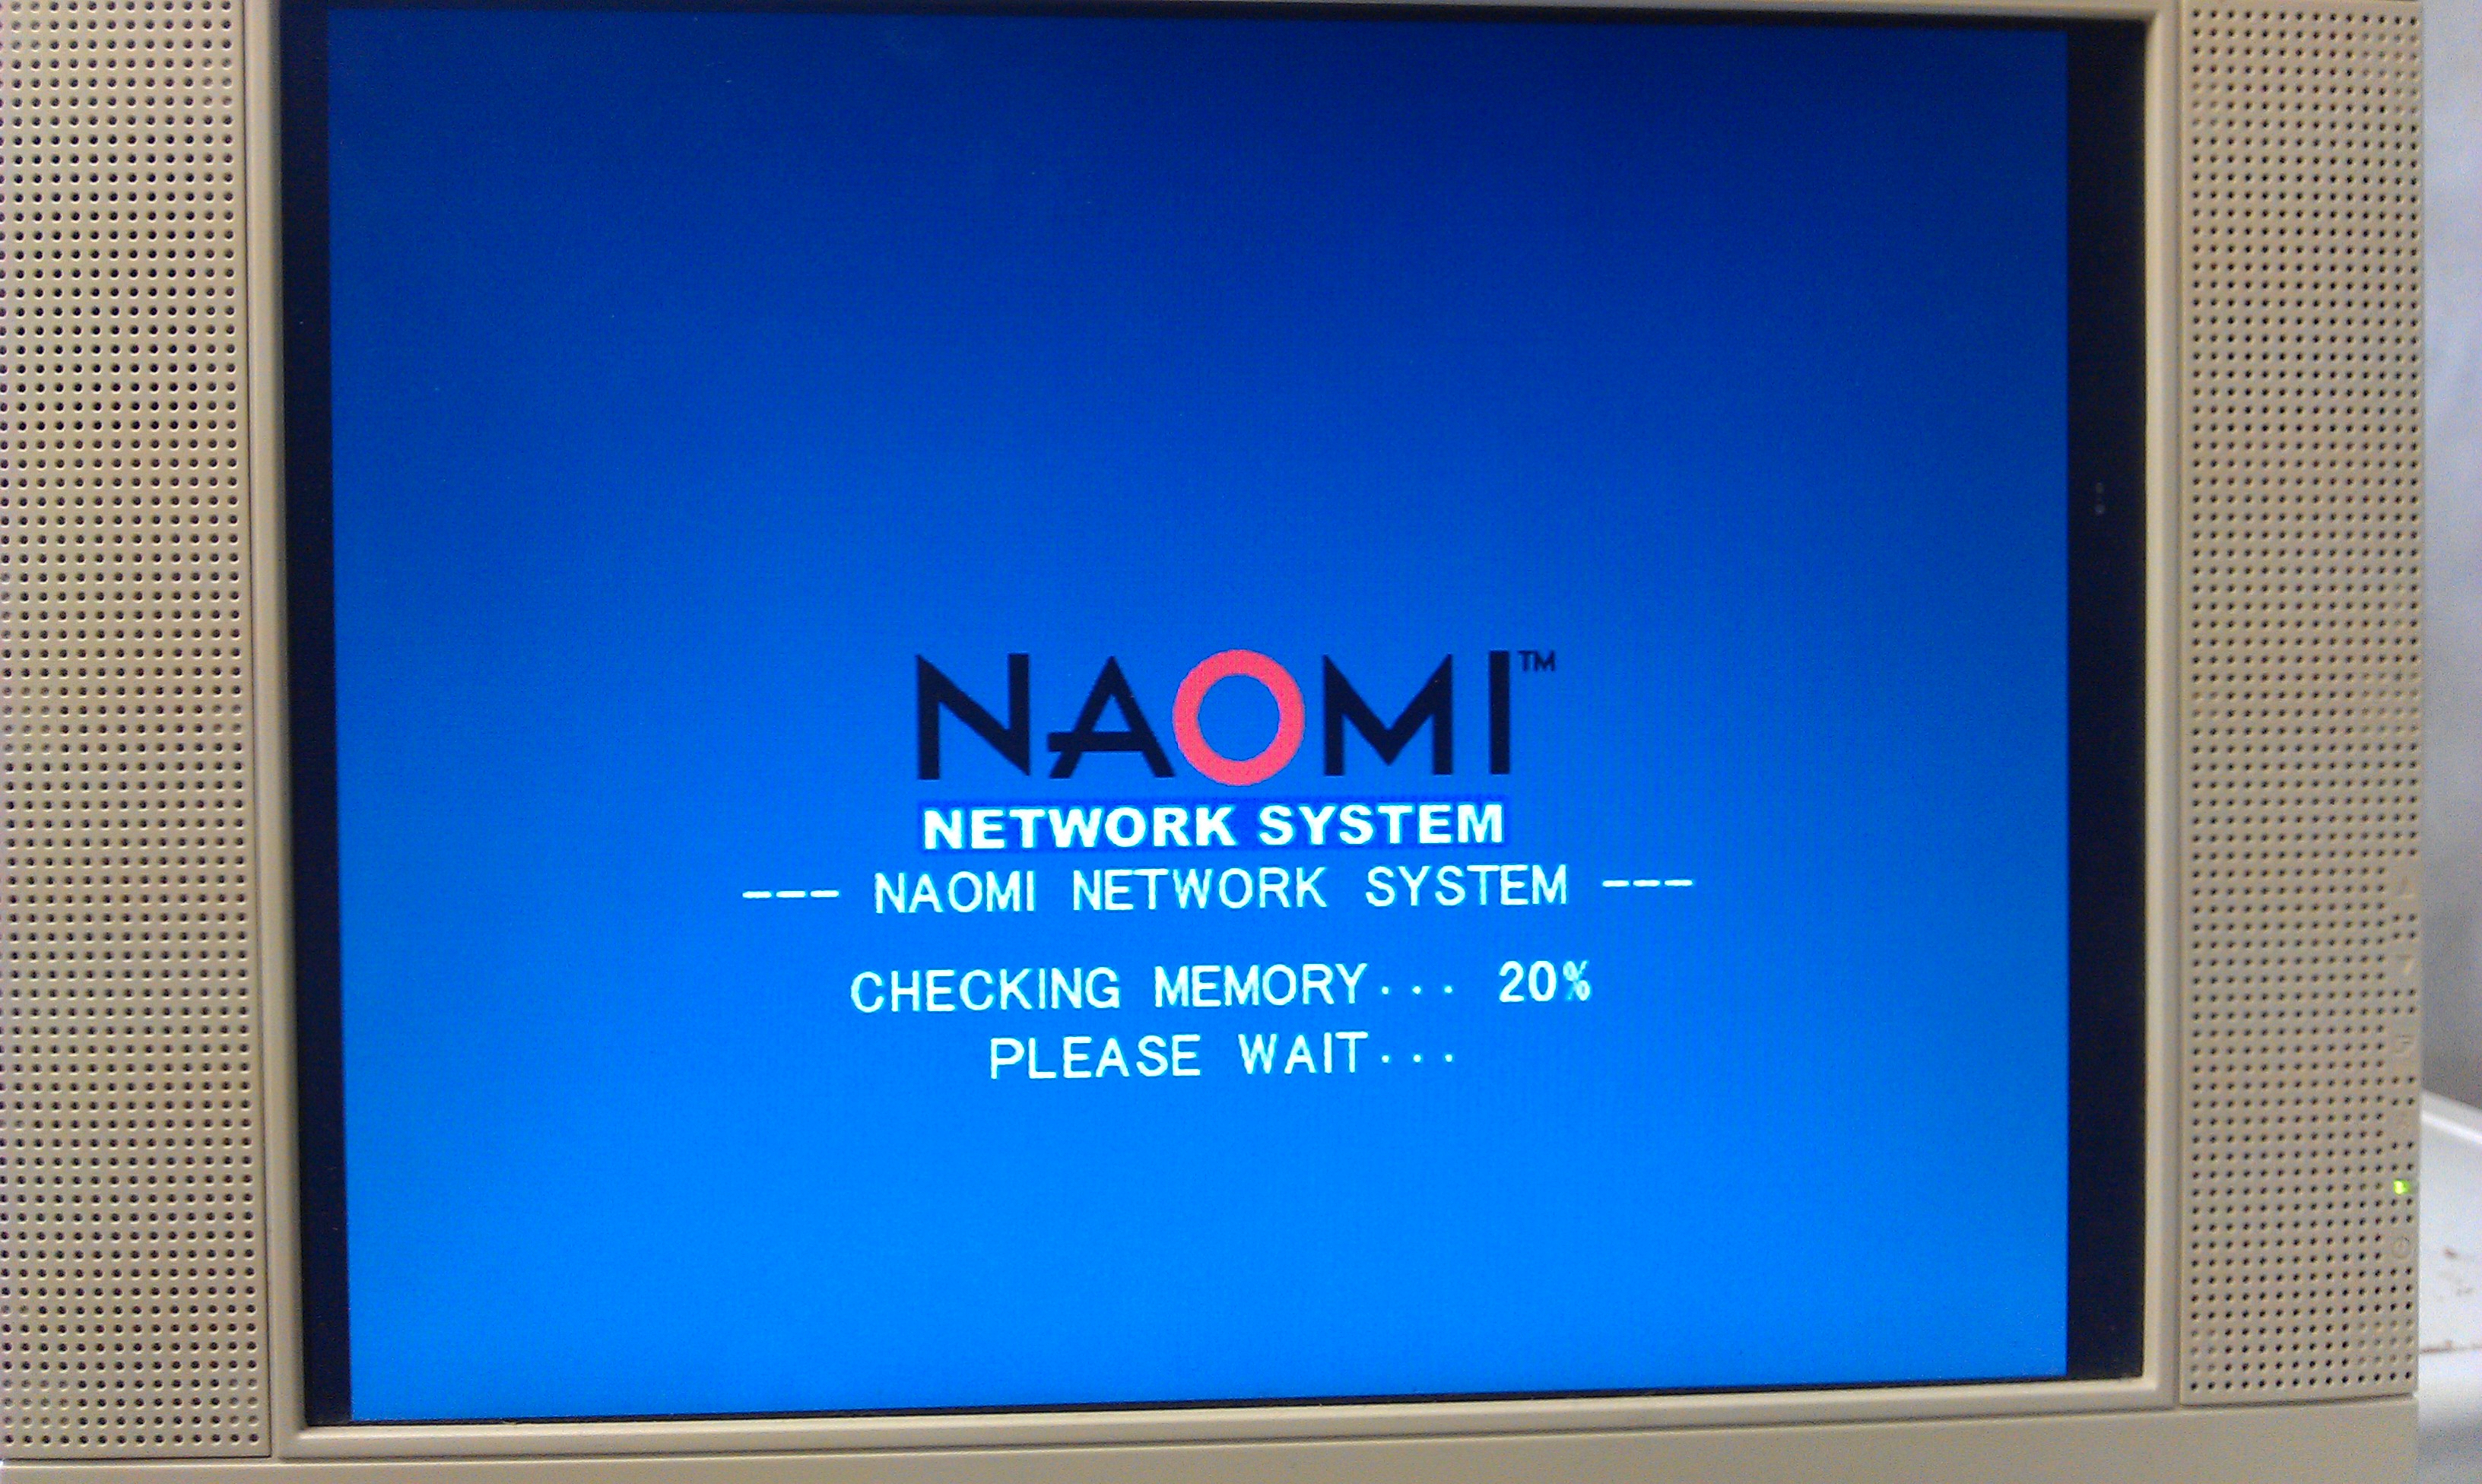
Was unsure whether or not to post this but here it is anyway but without links to any of the utilities needed. I actually own a fair amount of GD-ROM games and netbooting gives me a more convenient way of loading my games now my GD drive is dead.

As most owners of a Net DIMM will know, it is possible to load code from a PC via ethernet.
To start with there are some jumpers to change on the DIMM board to set it to network mode.
My net DIMM had version 3.03 firmware which is fine for netbooting but as my ultimate goal was to build my own compact flash booting device I need the latest firmware, 4.01.

My first problem came with the DIMM boards I have. They were not recognised by my NAOMI.
My BIOS was 21577D which is too old for network support.
A newer BIOS was needed so I burned a new 27c160 EPROM with the latest available export bios.
This let me access the DIMM module in the test menu.

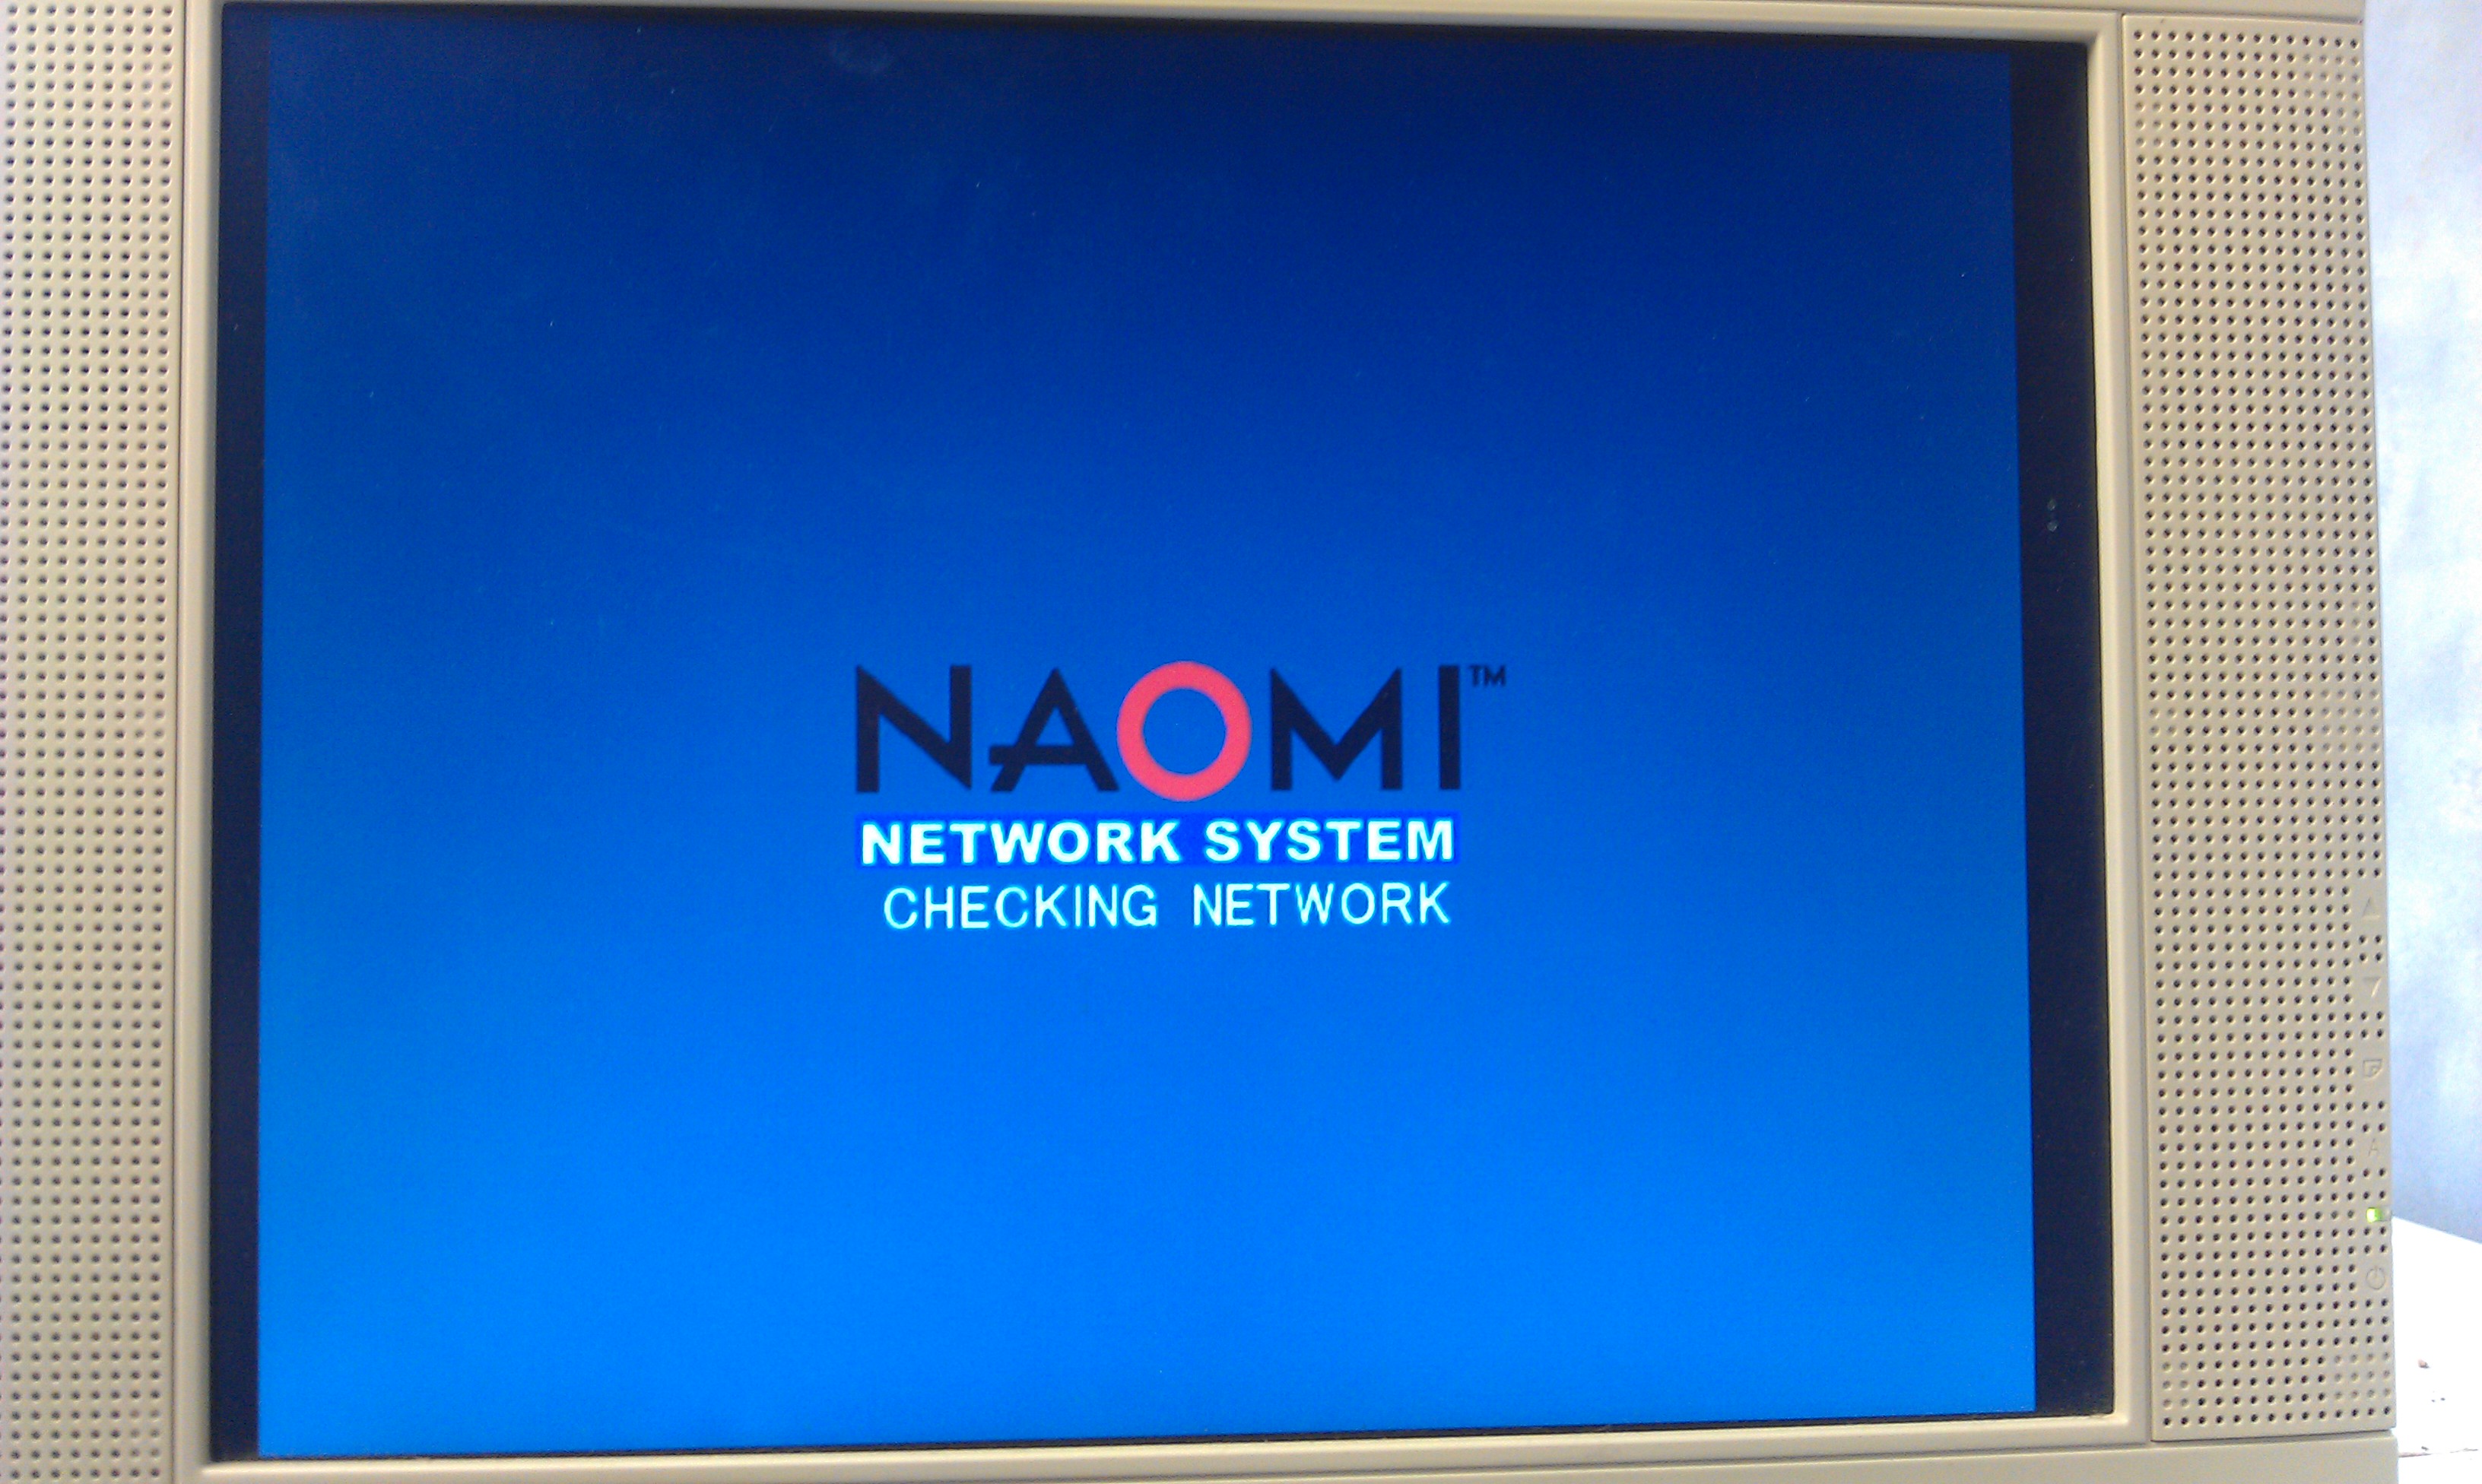
In the test menu you can setup the network settings.
The device must be set to ETHER
The network IP and subnet need to be correctly set too.

My second problem came with my ethernet cable.
As I wasn’t using a router or similar, I needed a crossover cable and the one I very quickly knocked together ended up being useless.
The second one I made up worked a treat and I could then PING the system.

First job was to update that firmware.
There are 2 tools available for uploading to the DIMM.
The first one is the official SEGA one called “transfergame.exe”
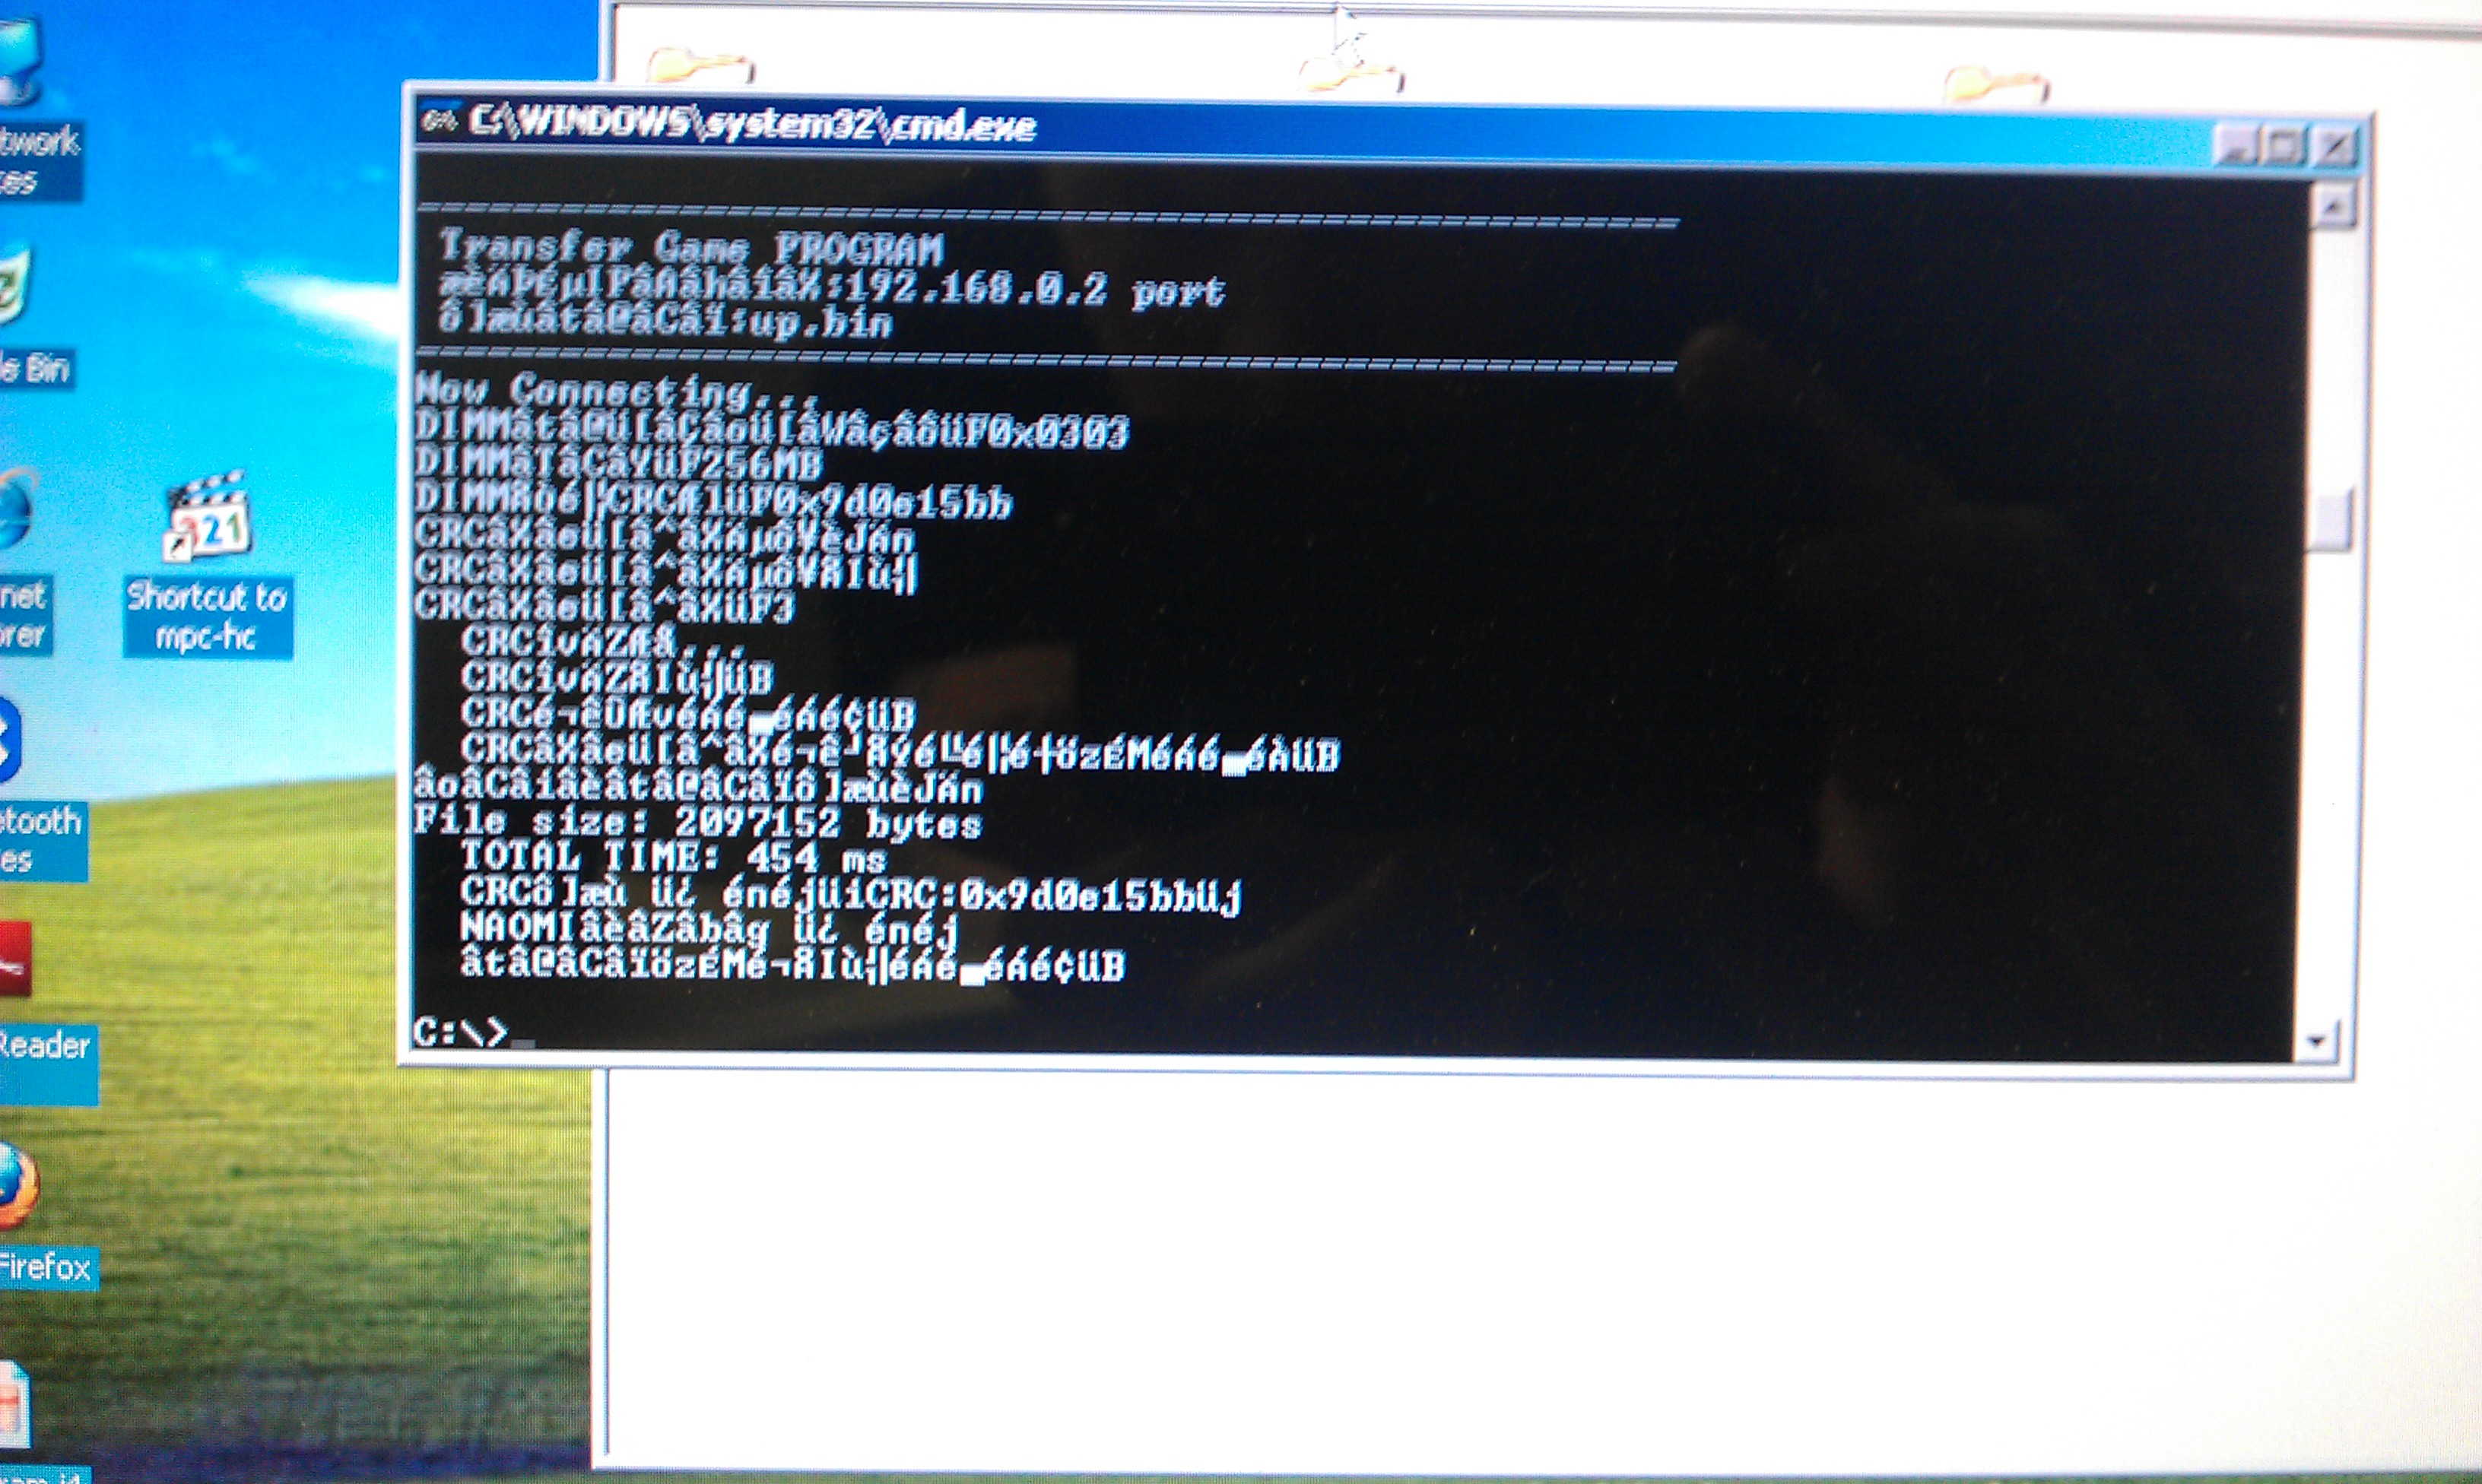
I had no luck at all with this program, probably because I didnt know what security net pic to use.
I had burned several different replacement pics but none seemed to work correctly.
I gave up with the official software and downloaded the very excellent triforcetools python script.
To use this you need to download all the associated Python files.
This script runs pretty much the same way as transfergame.exe in terms of usage but sets the DES key to zero so any net pic can be used.
As it happens I didnt get much further with this at first as it kept giving me a Error 31.
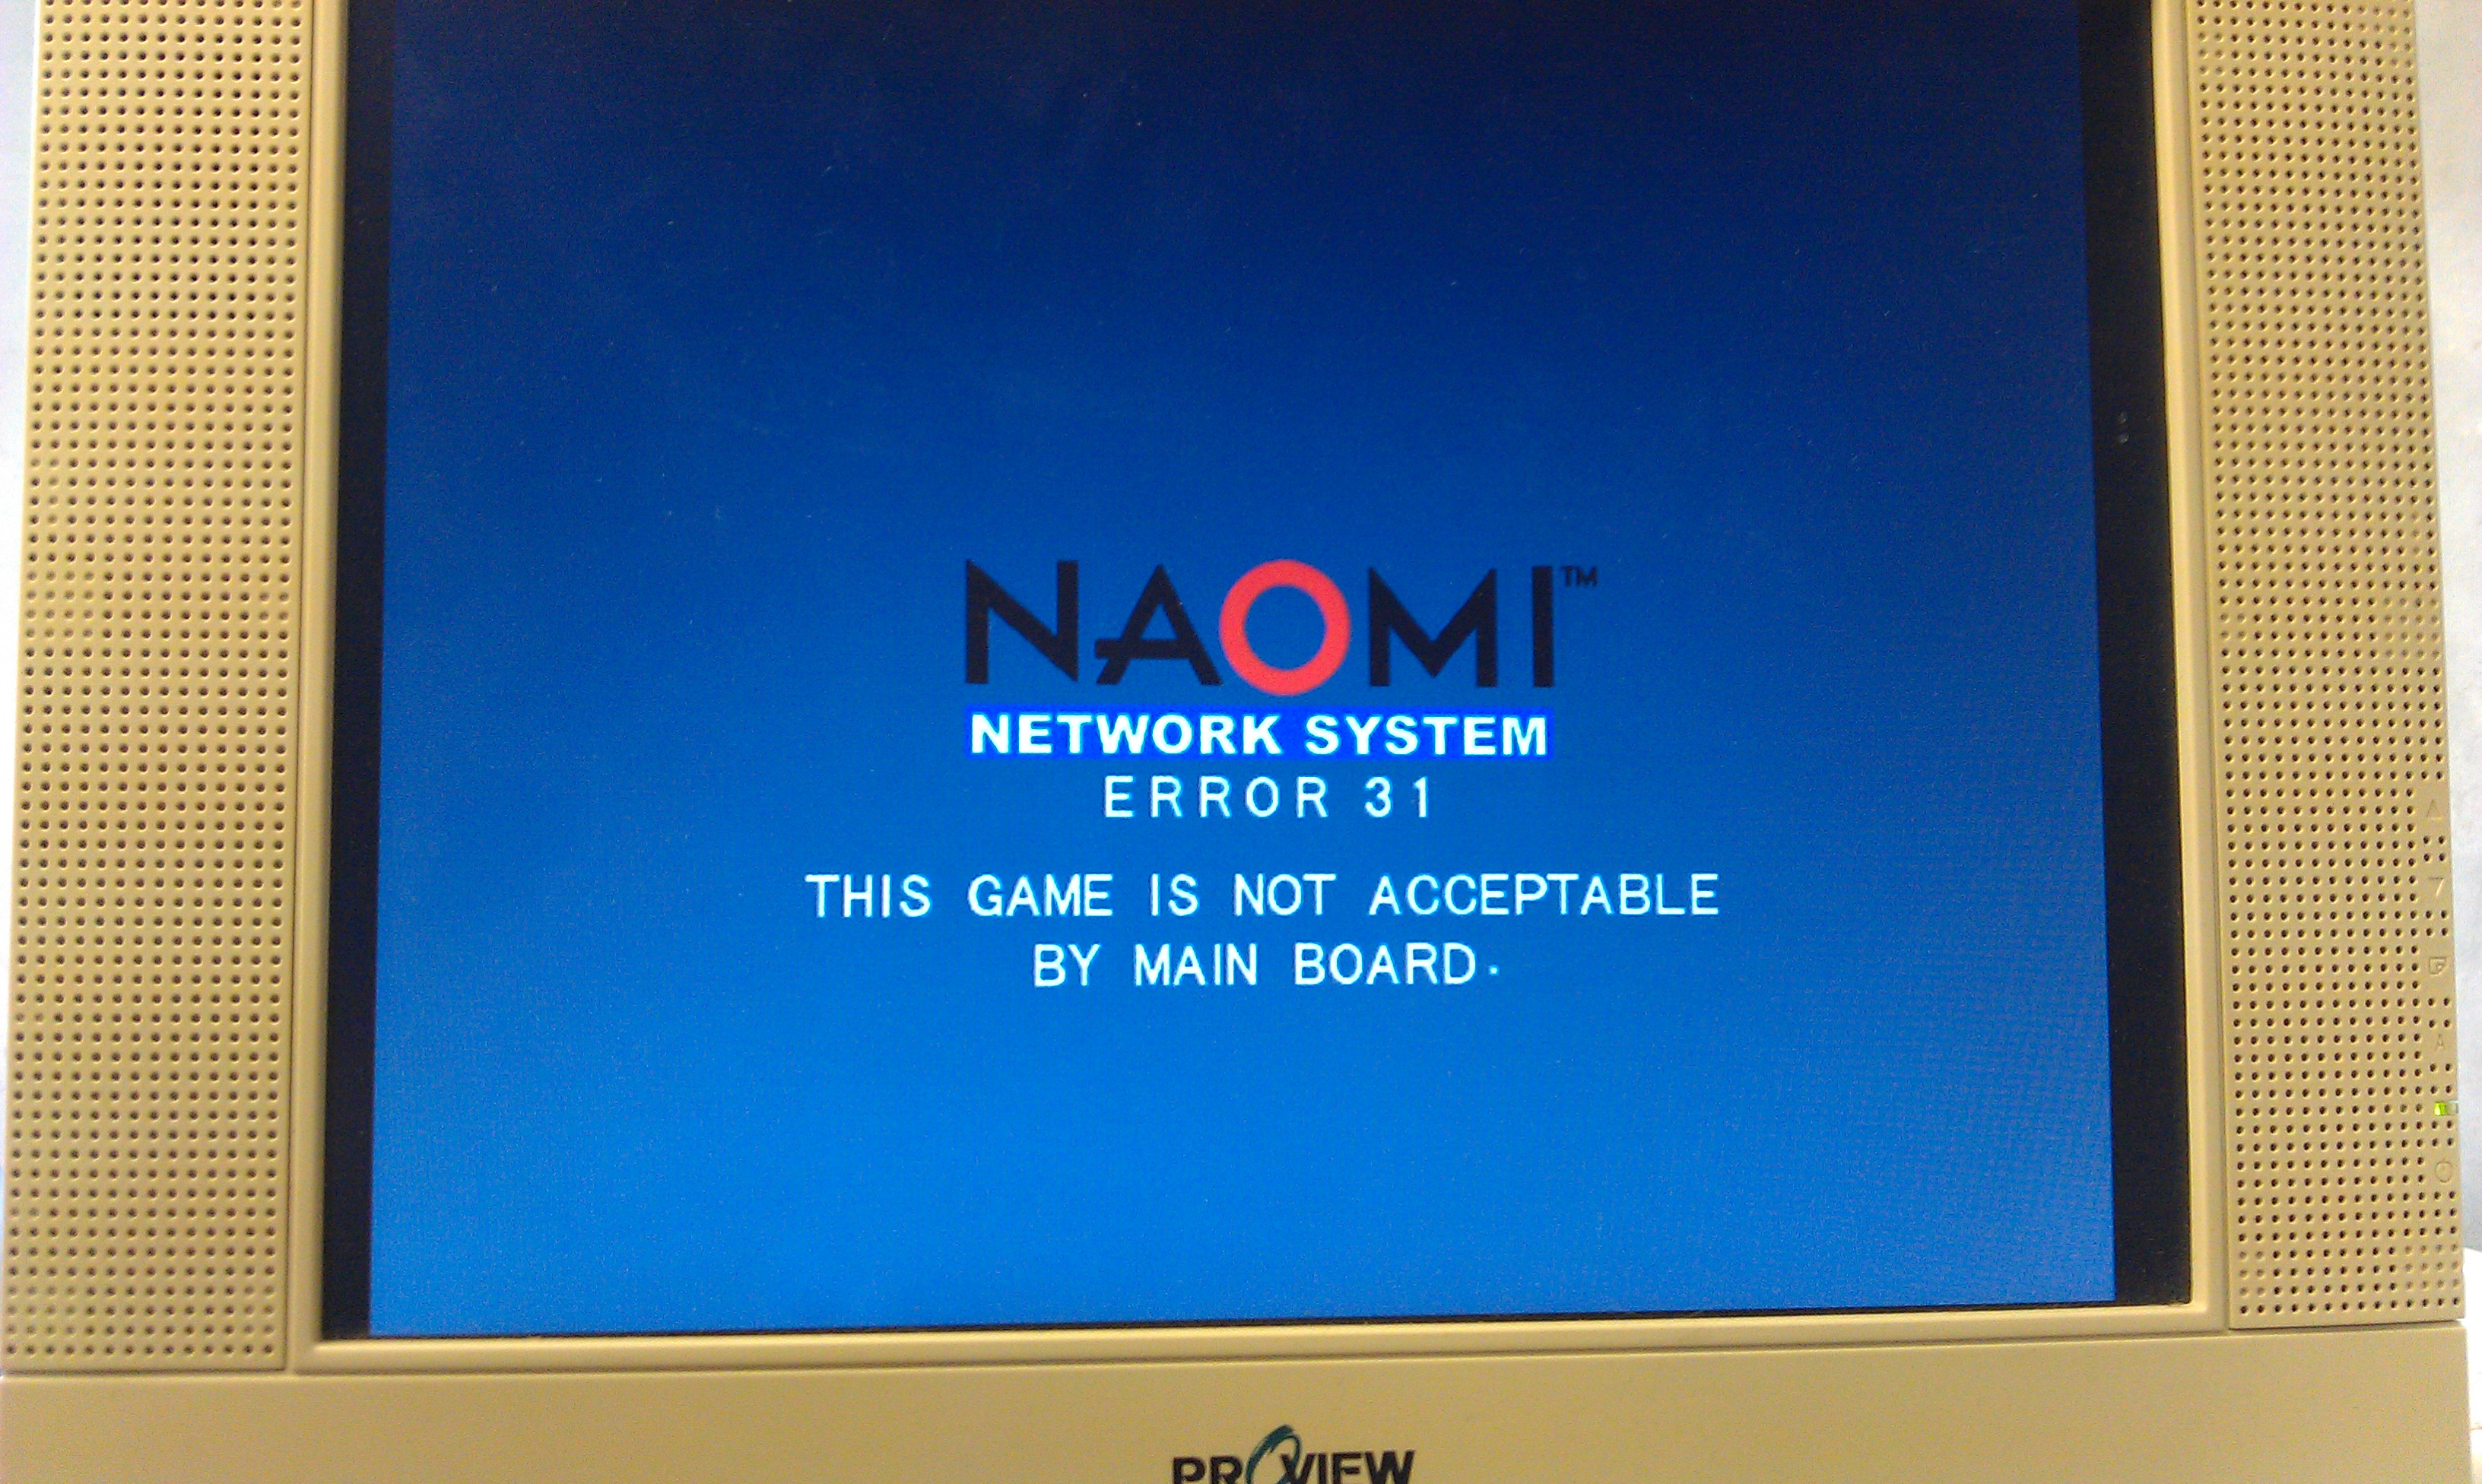
With no ideas I gave up for a day.

Whilst doing a lot of searching around the internet I found a modified version of the python script which claimed to remove the need for any security pic to be inserted at all, and it works a treat too.

Using this I managed to upload the new firmware and update the DIMM to v4.02 (this version lets a user use any CF card and not just an official SEGA one).

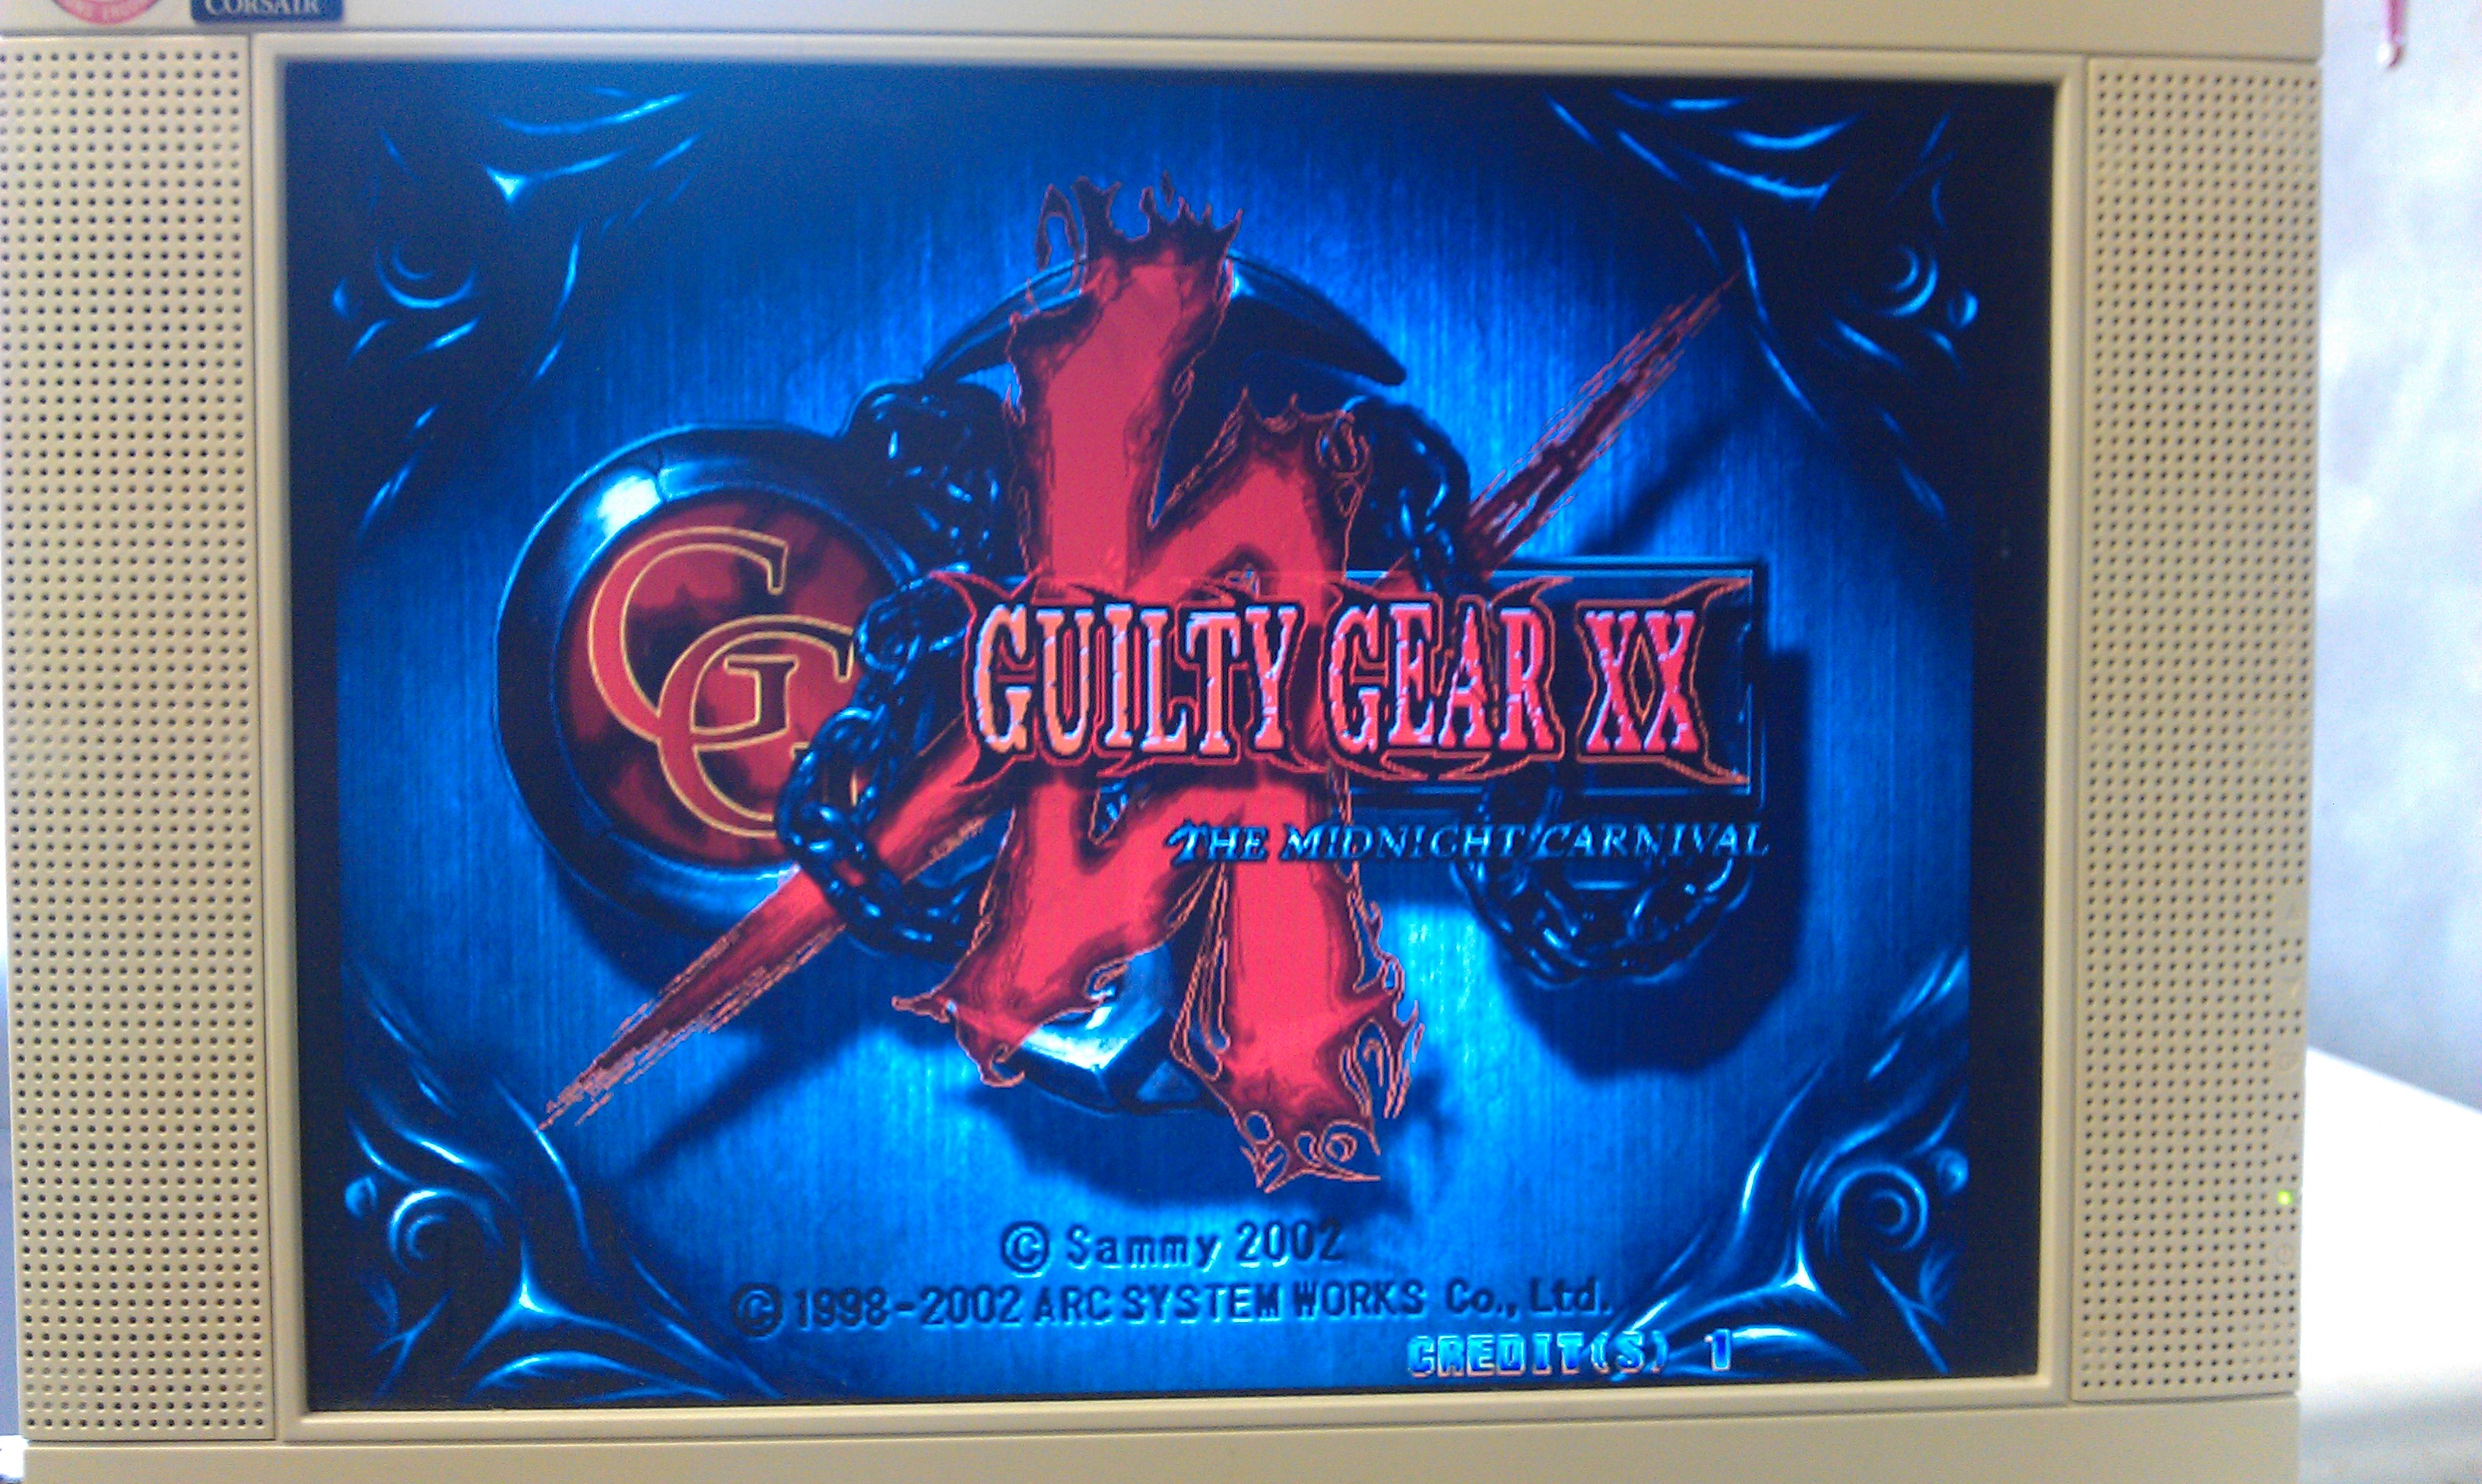
I also managed to boot Guilty Gear XX too. All works fine. Now I have this working I am starting to think I dont need to build the CF adapter but since I have all the parts needed I might as well do it.
Silent Scope repair log

 PCB Repair Logs, Repair Logs  Comments Off on Silent Scope repair log
Jul 112011
 

Bought a Silent Scope PCB recently.
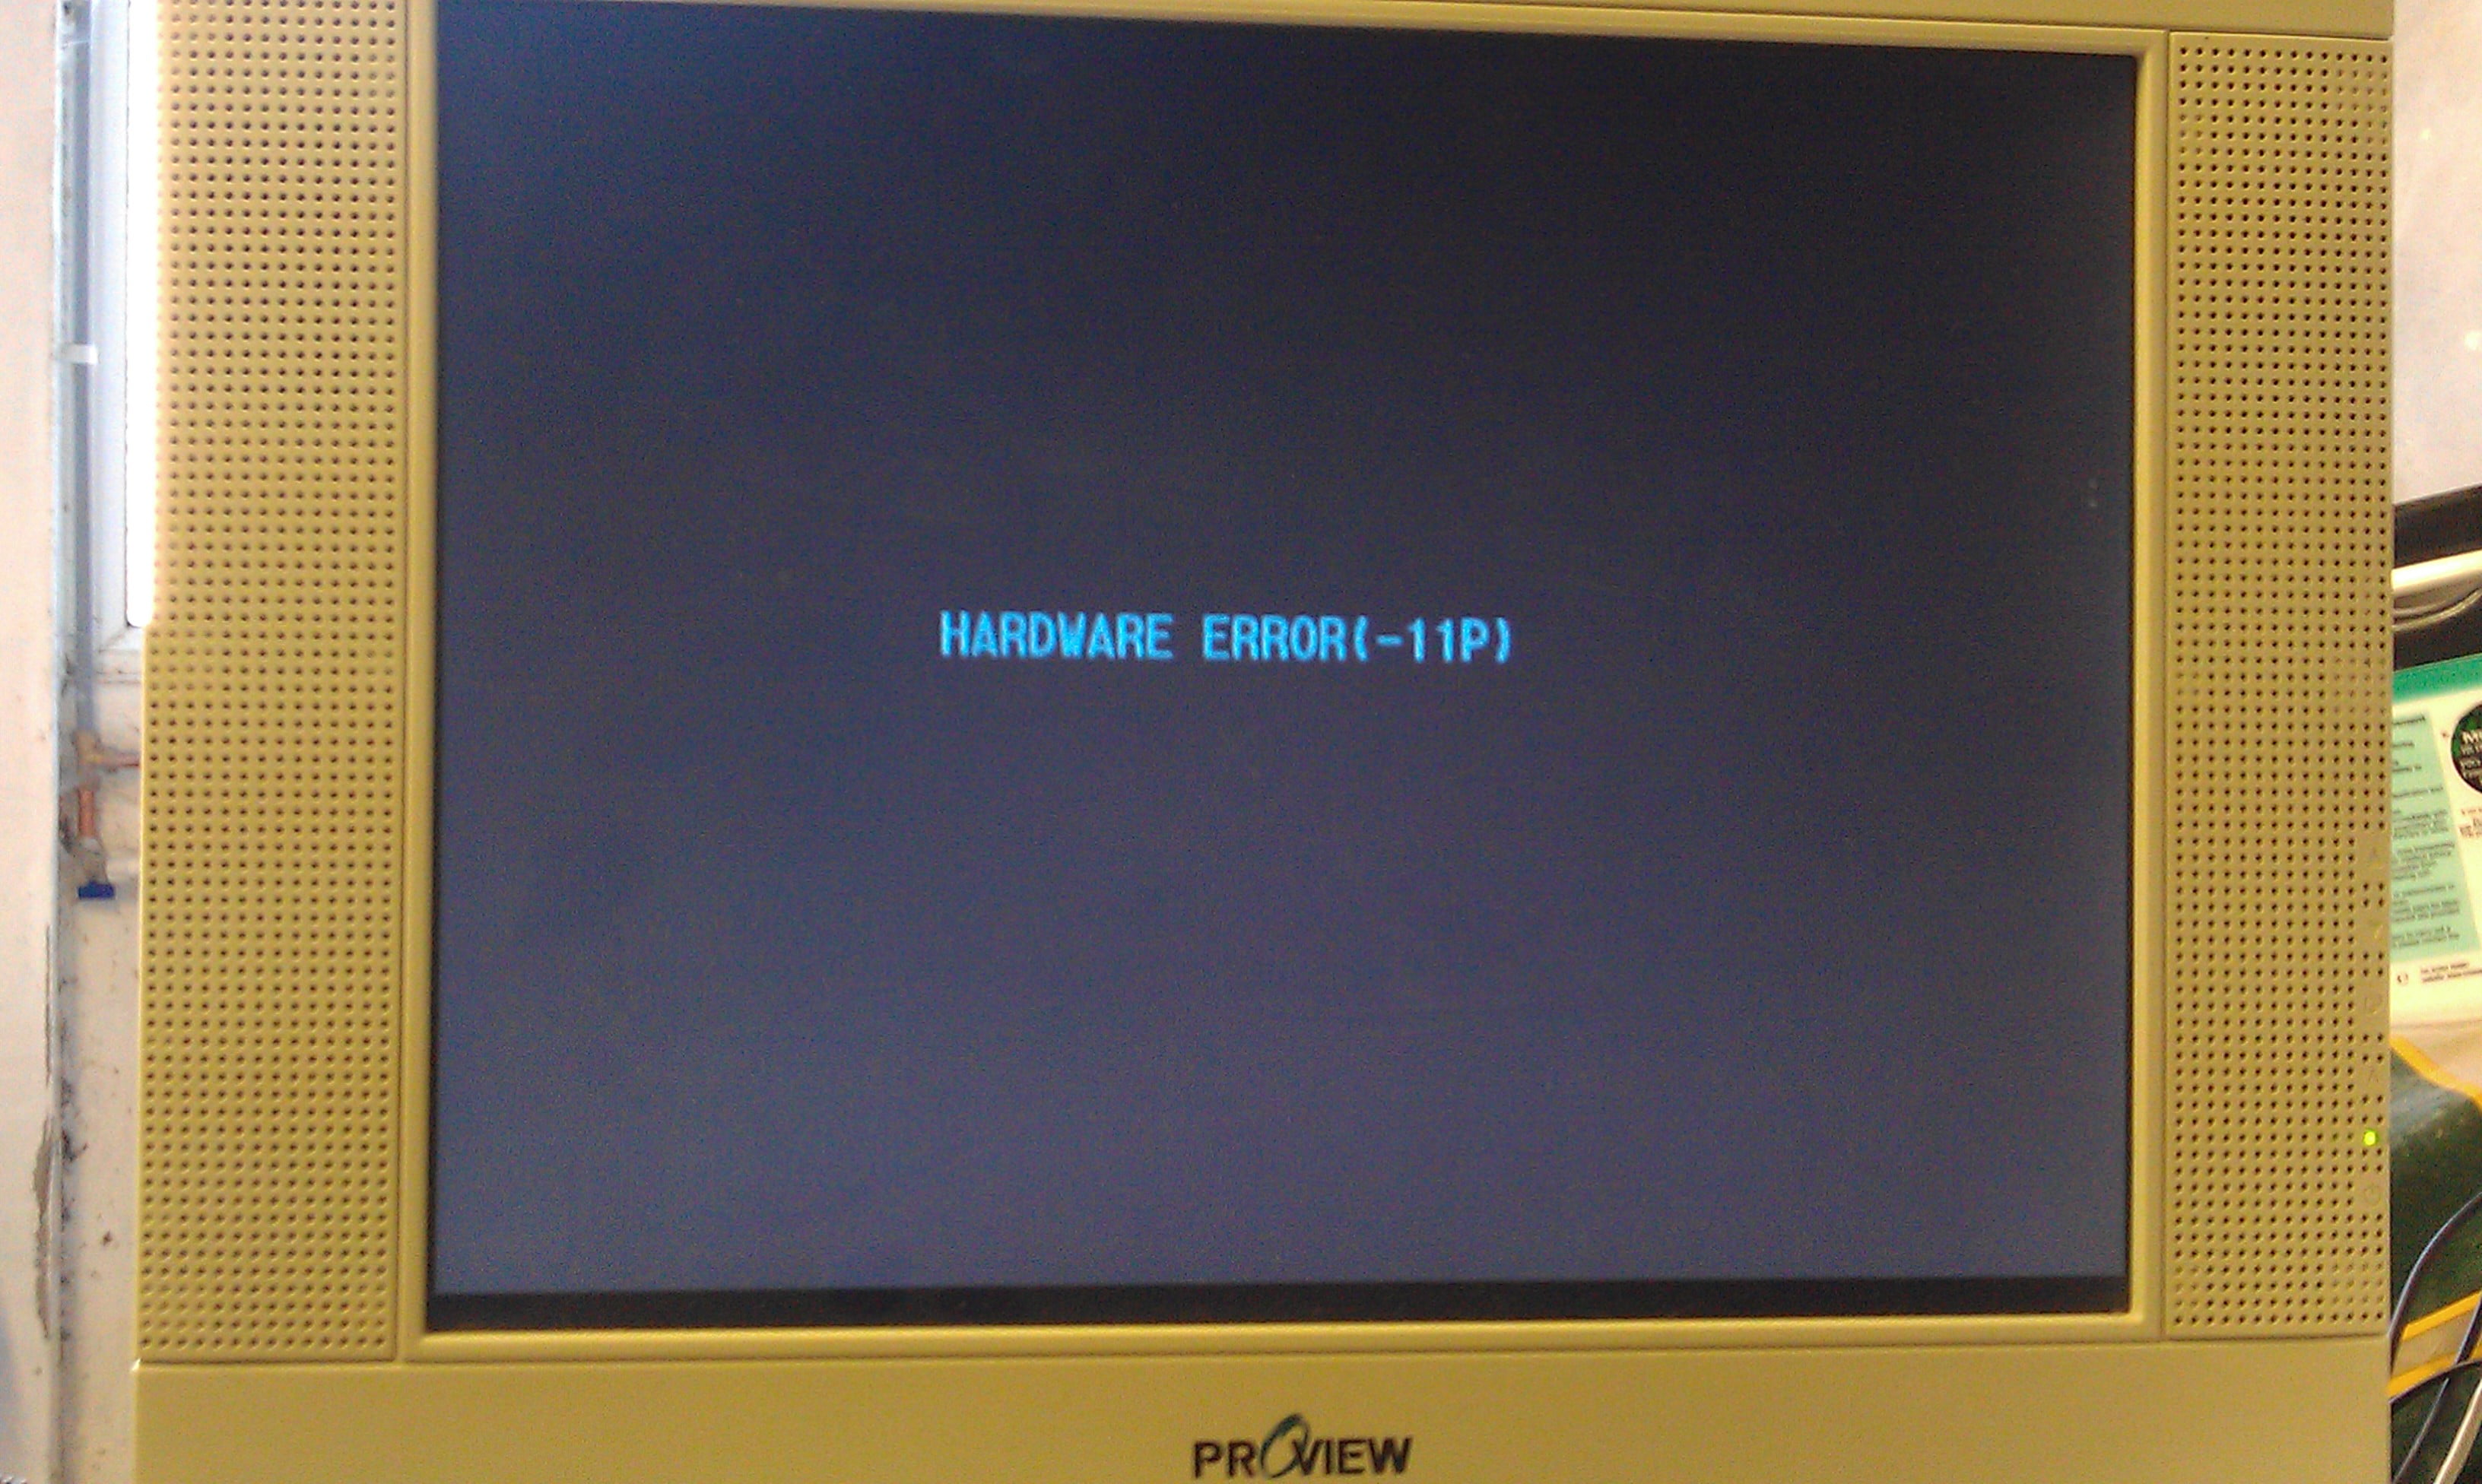
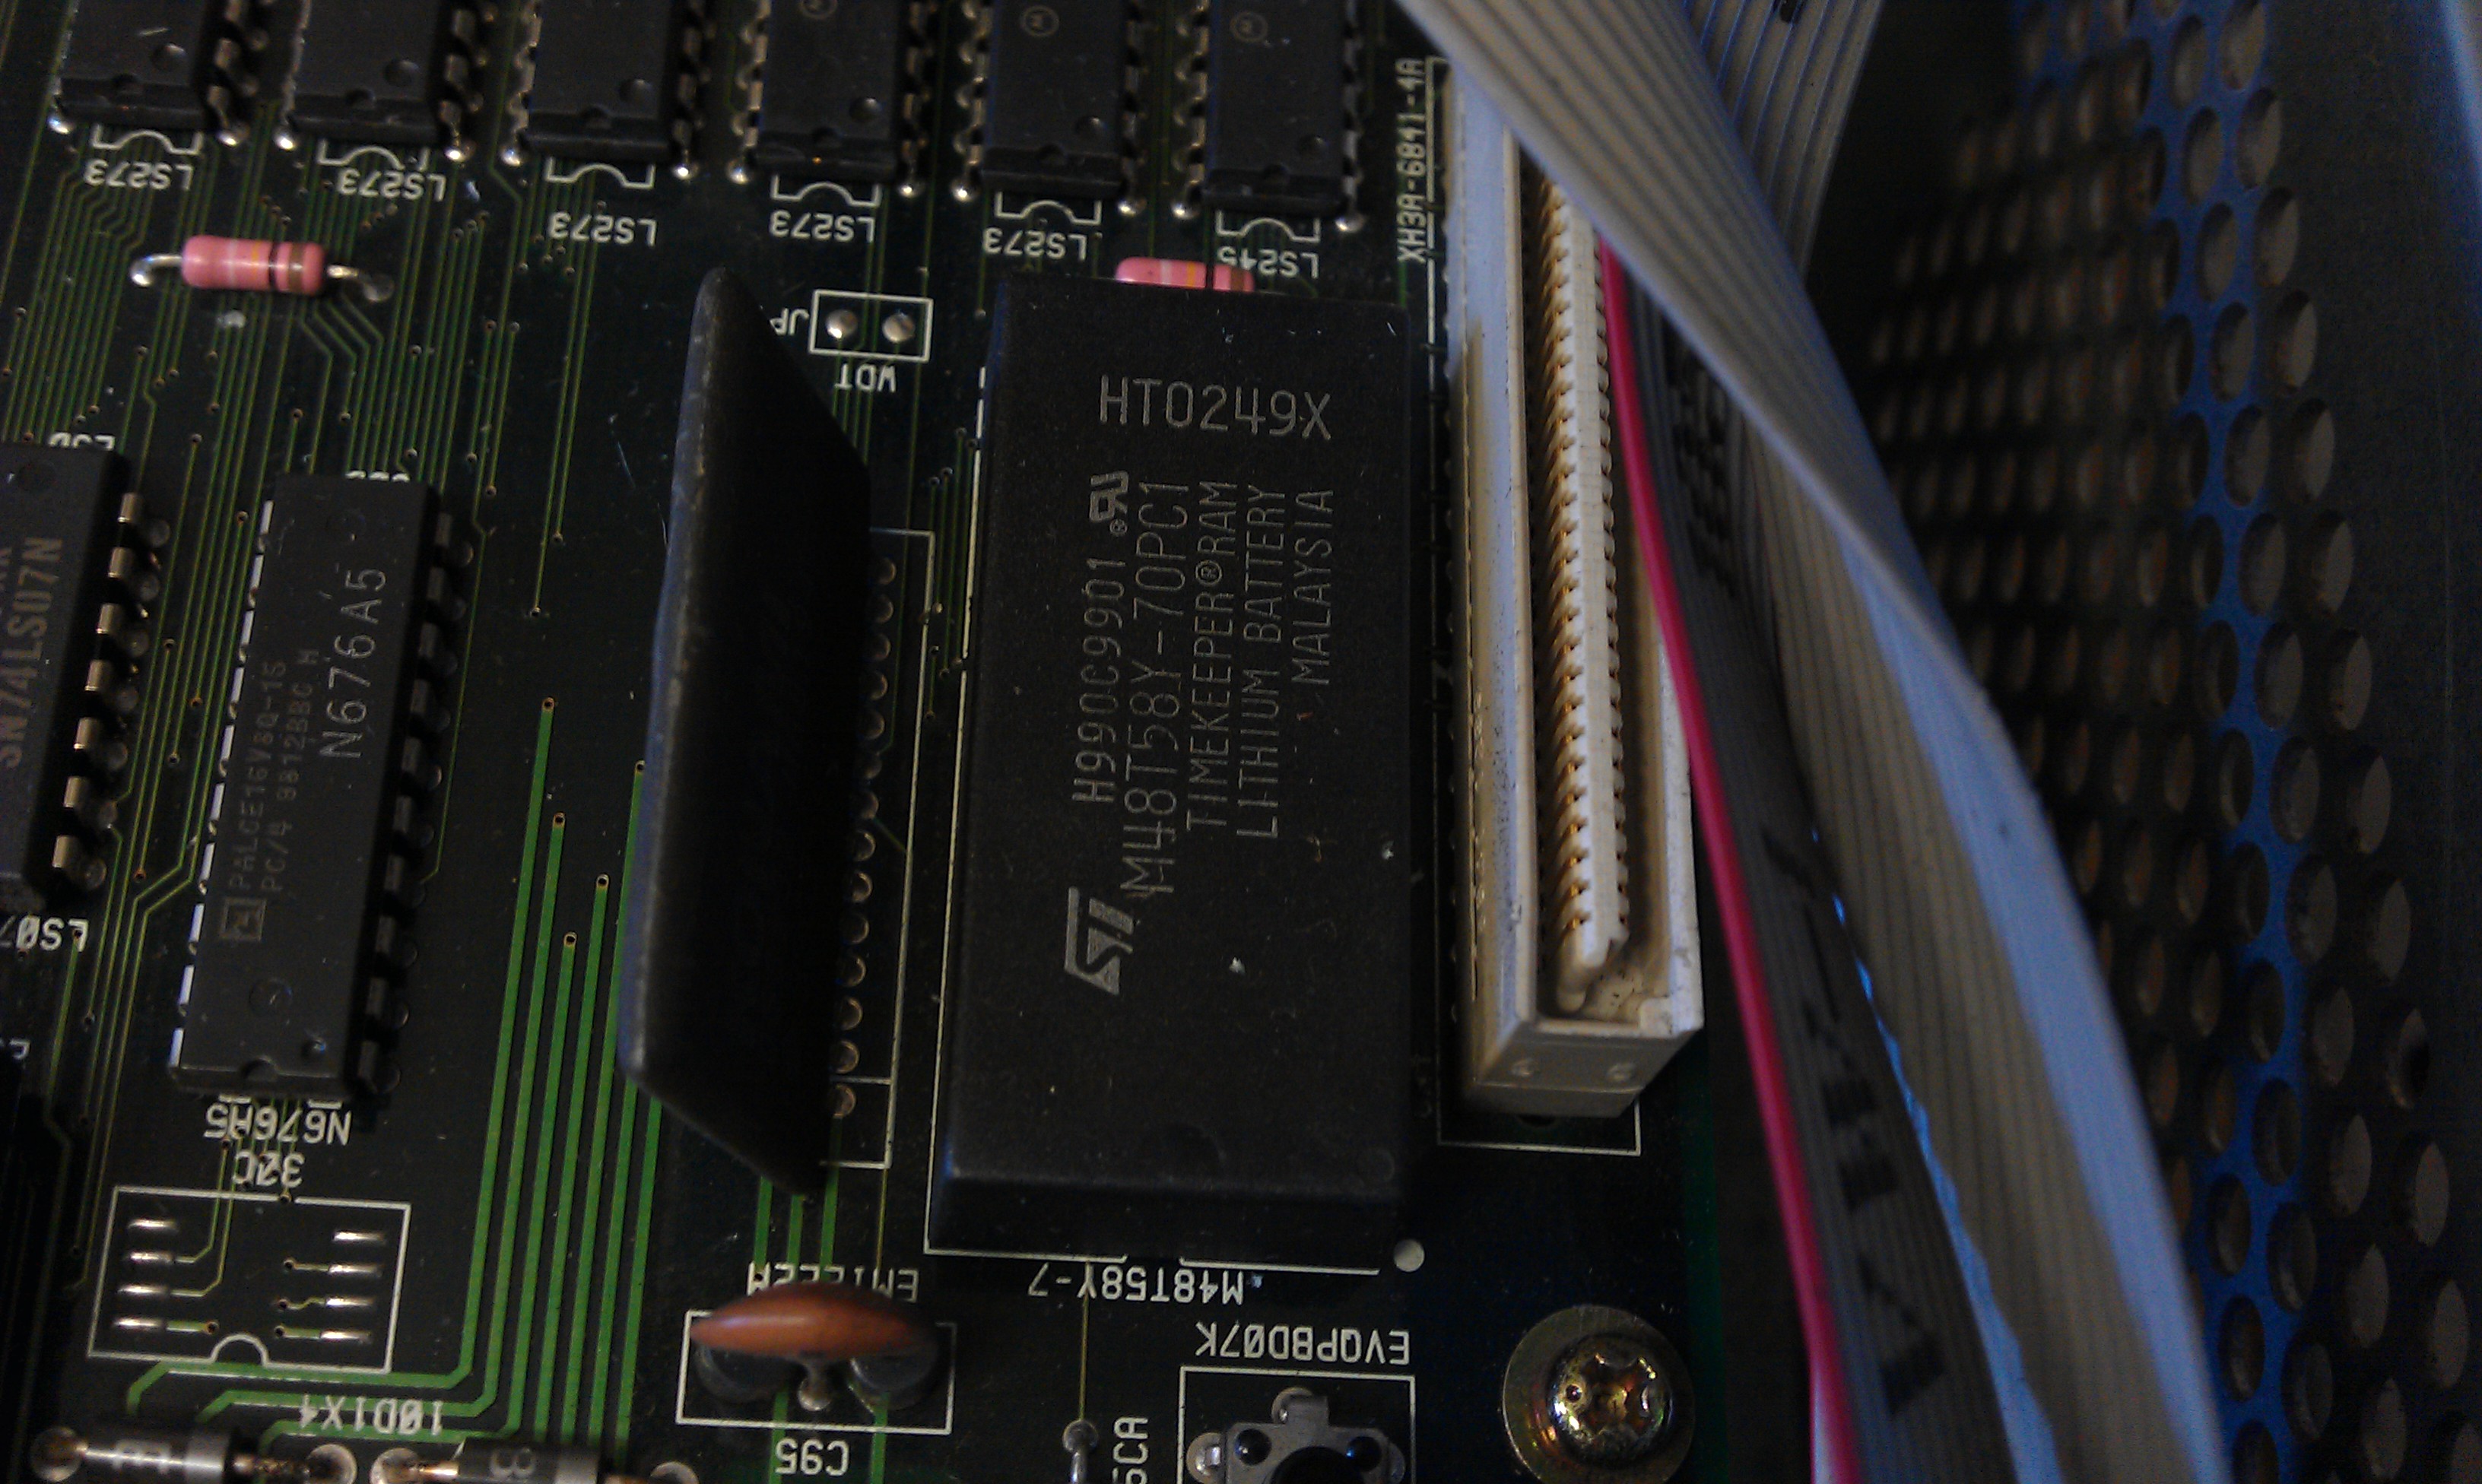
It had the “Hardware Error 11P” fault which is known to be cause by the battery failing in the TimeKeeper RAM.
Since the contents of these RAMs are in MAME I thought id fix one up which was probably a stupid idea as I dont have the setup to actually use it, but at least I know I can fix these now.

To get this thing booted up I modified my ATX power supply that I had previously modded to run my NAOMI setup. The power connection are labelled in the picture.

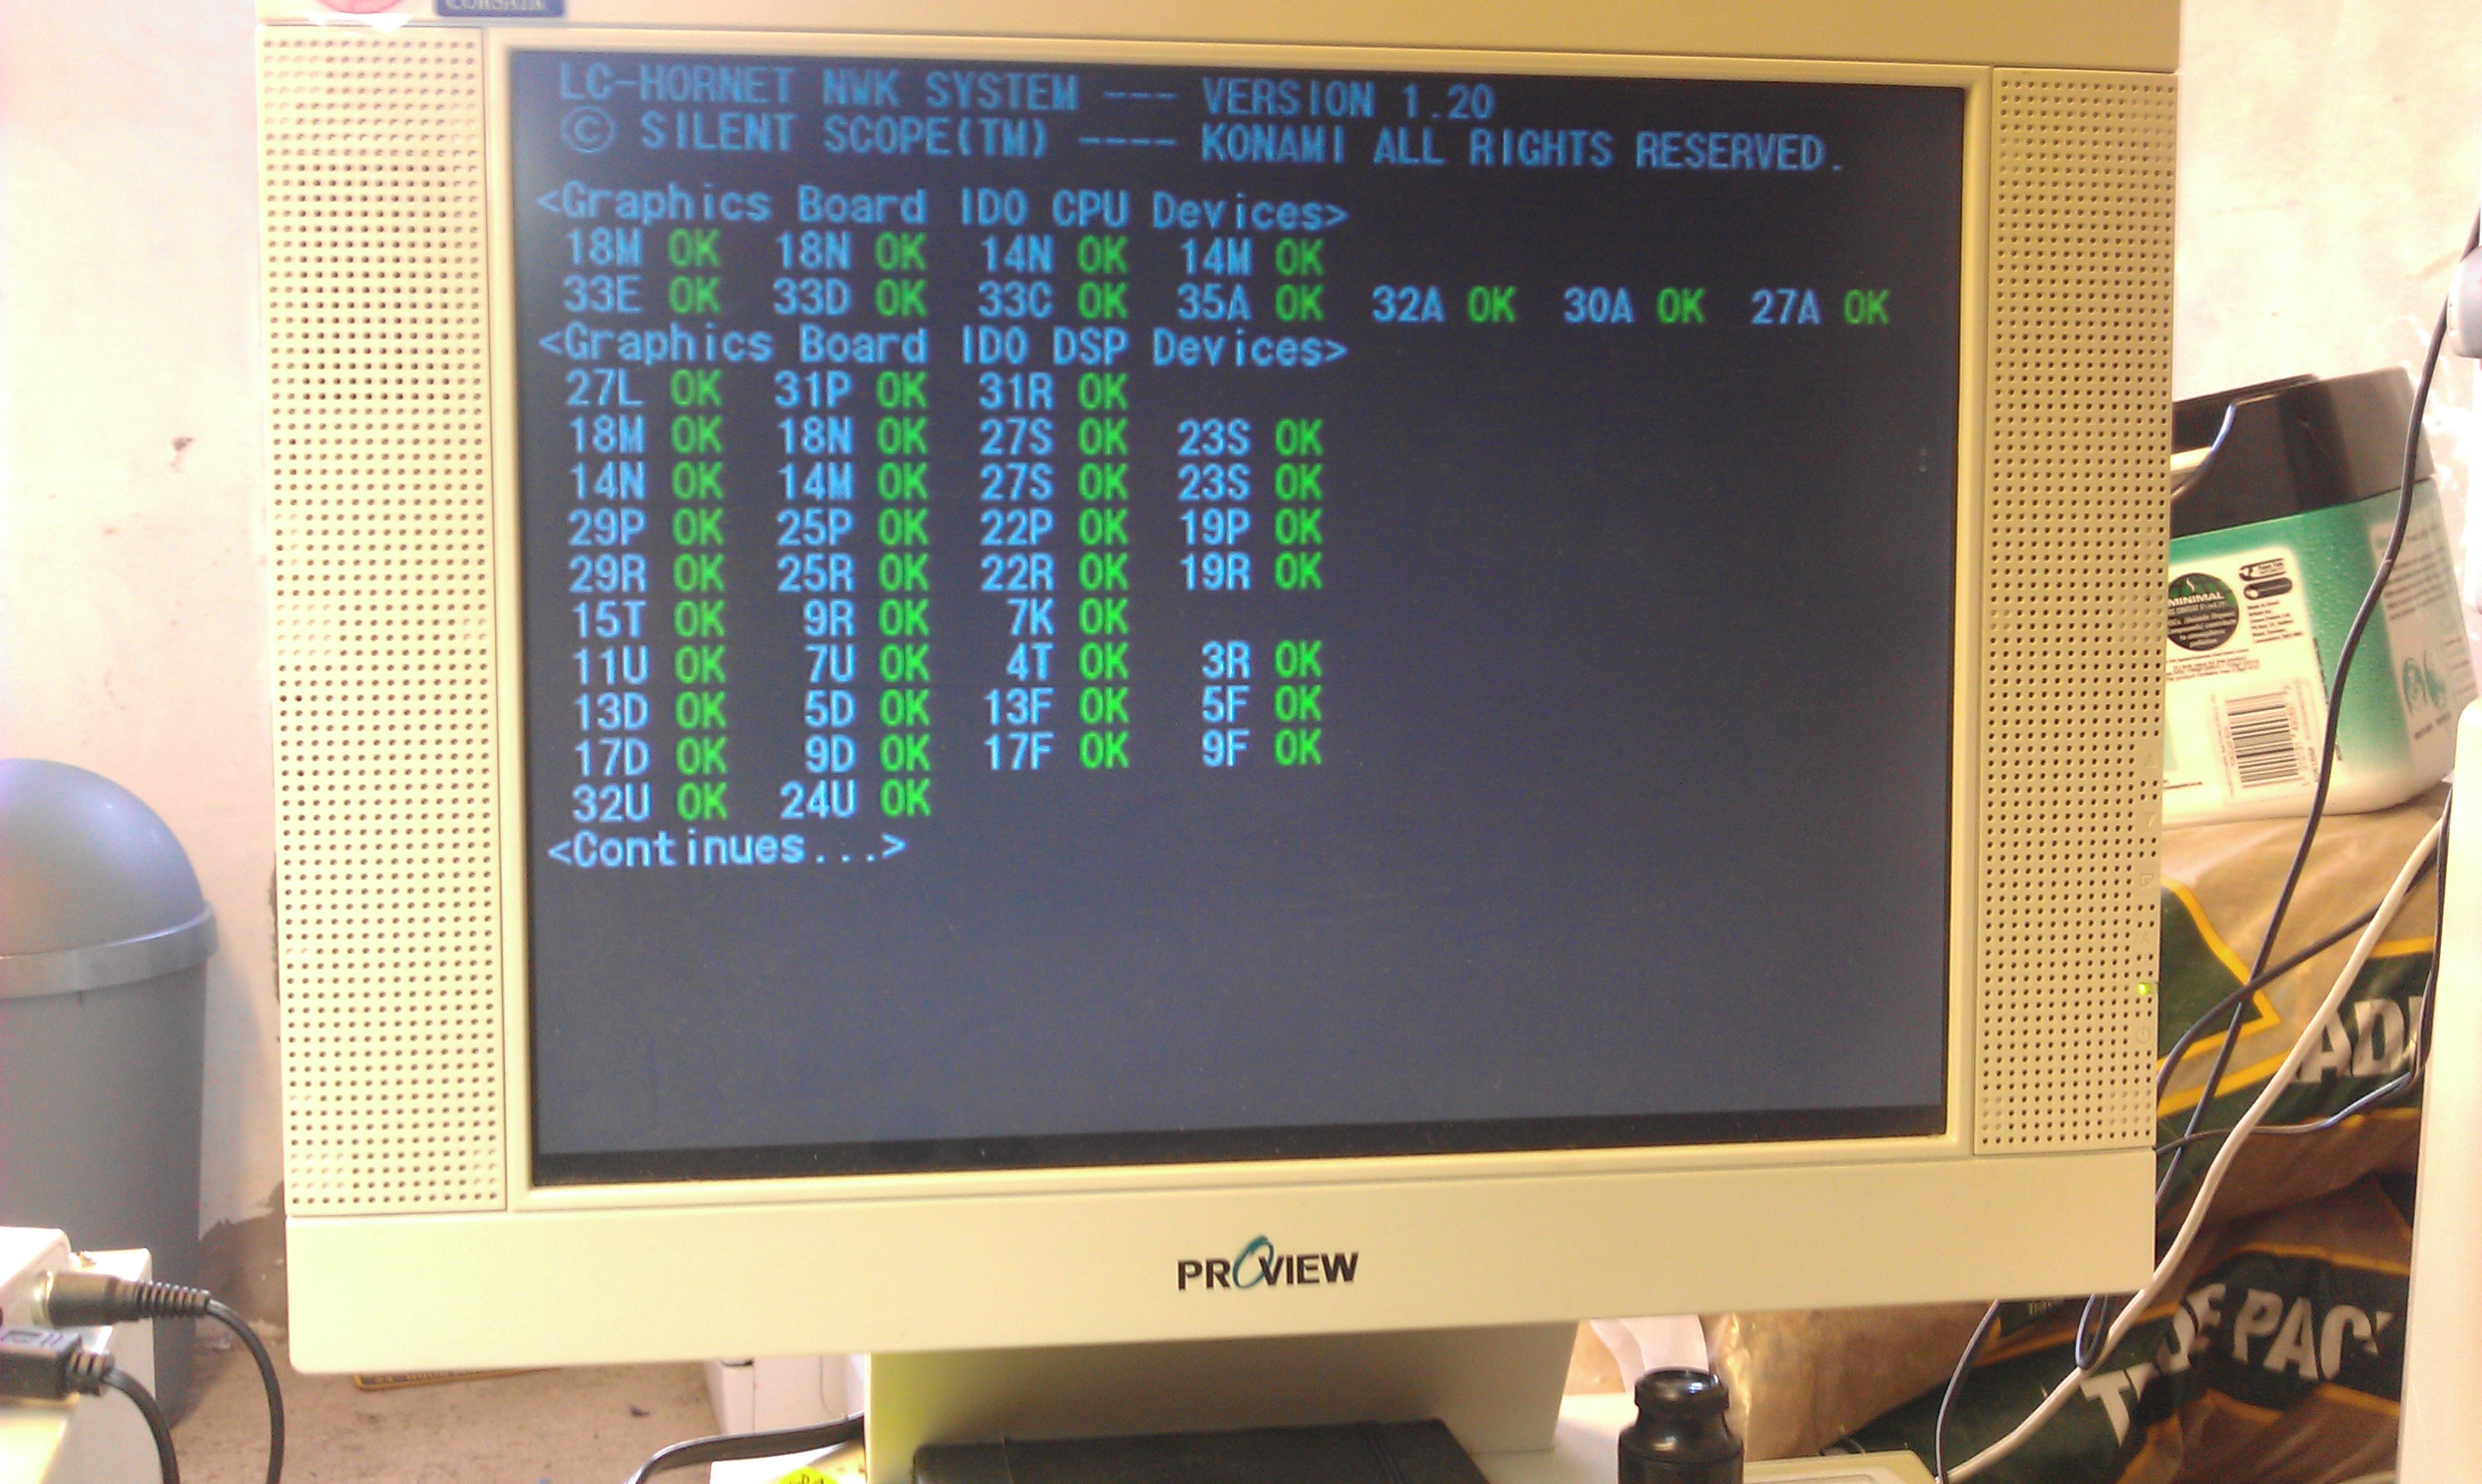
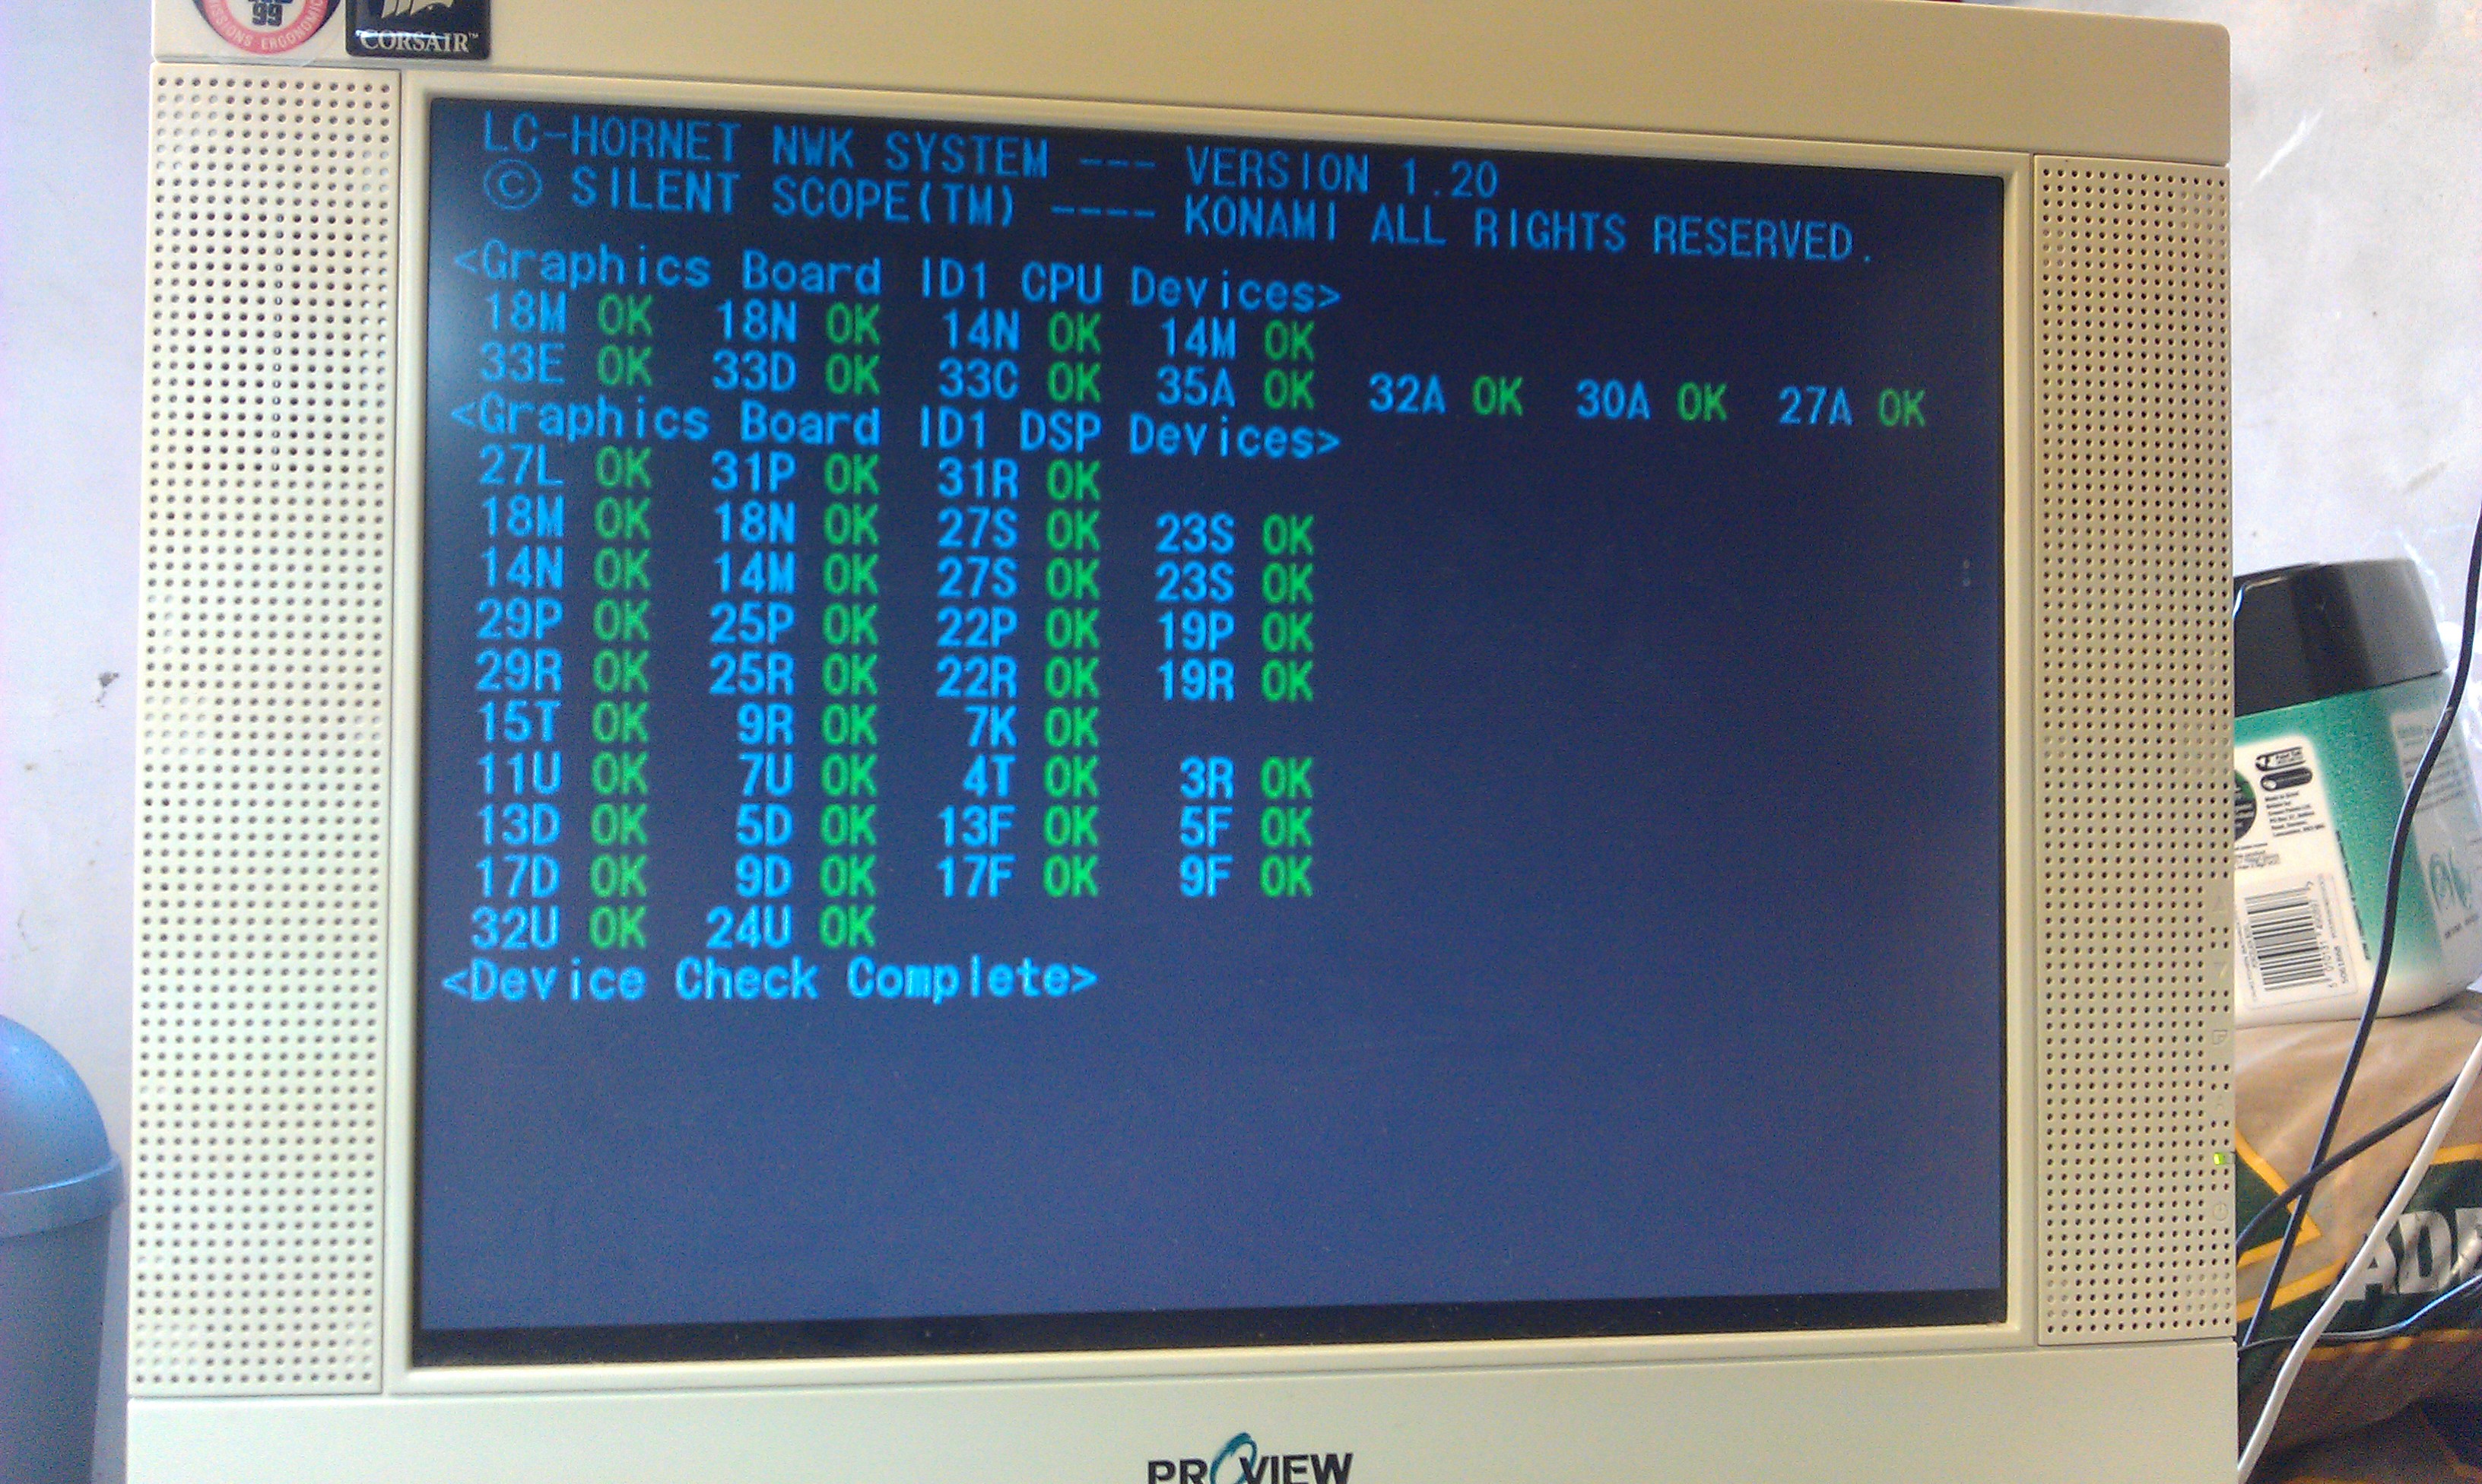
I had to run the VGA output through a standards converter too, it must be 31kHz. Once it was all fired up I was greeted to the startup procedure which consists of what look like RAM/ROM checks. All these passed but then it just hangs on the fault screen for a bit then resets.


The TimeKeeper RAM is located on the top board of a 3 board stack.

I removed the board and set to work desoldering the old RAM chip. It went smoothly considering it had the signature Konami thin traces and small through holes, the RAM just dropped out.

Thought it best to fit a socket in case of any problems with it in the future.
As this version shows up as v1.20, the RAM dump needed if from set UAB.
I did try reprogramming the original but it didn’t hold the data.
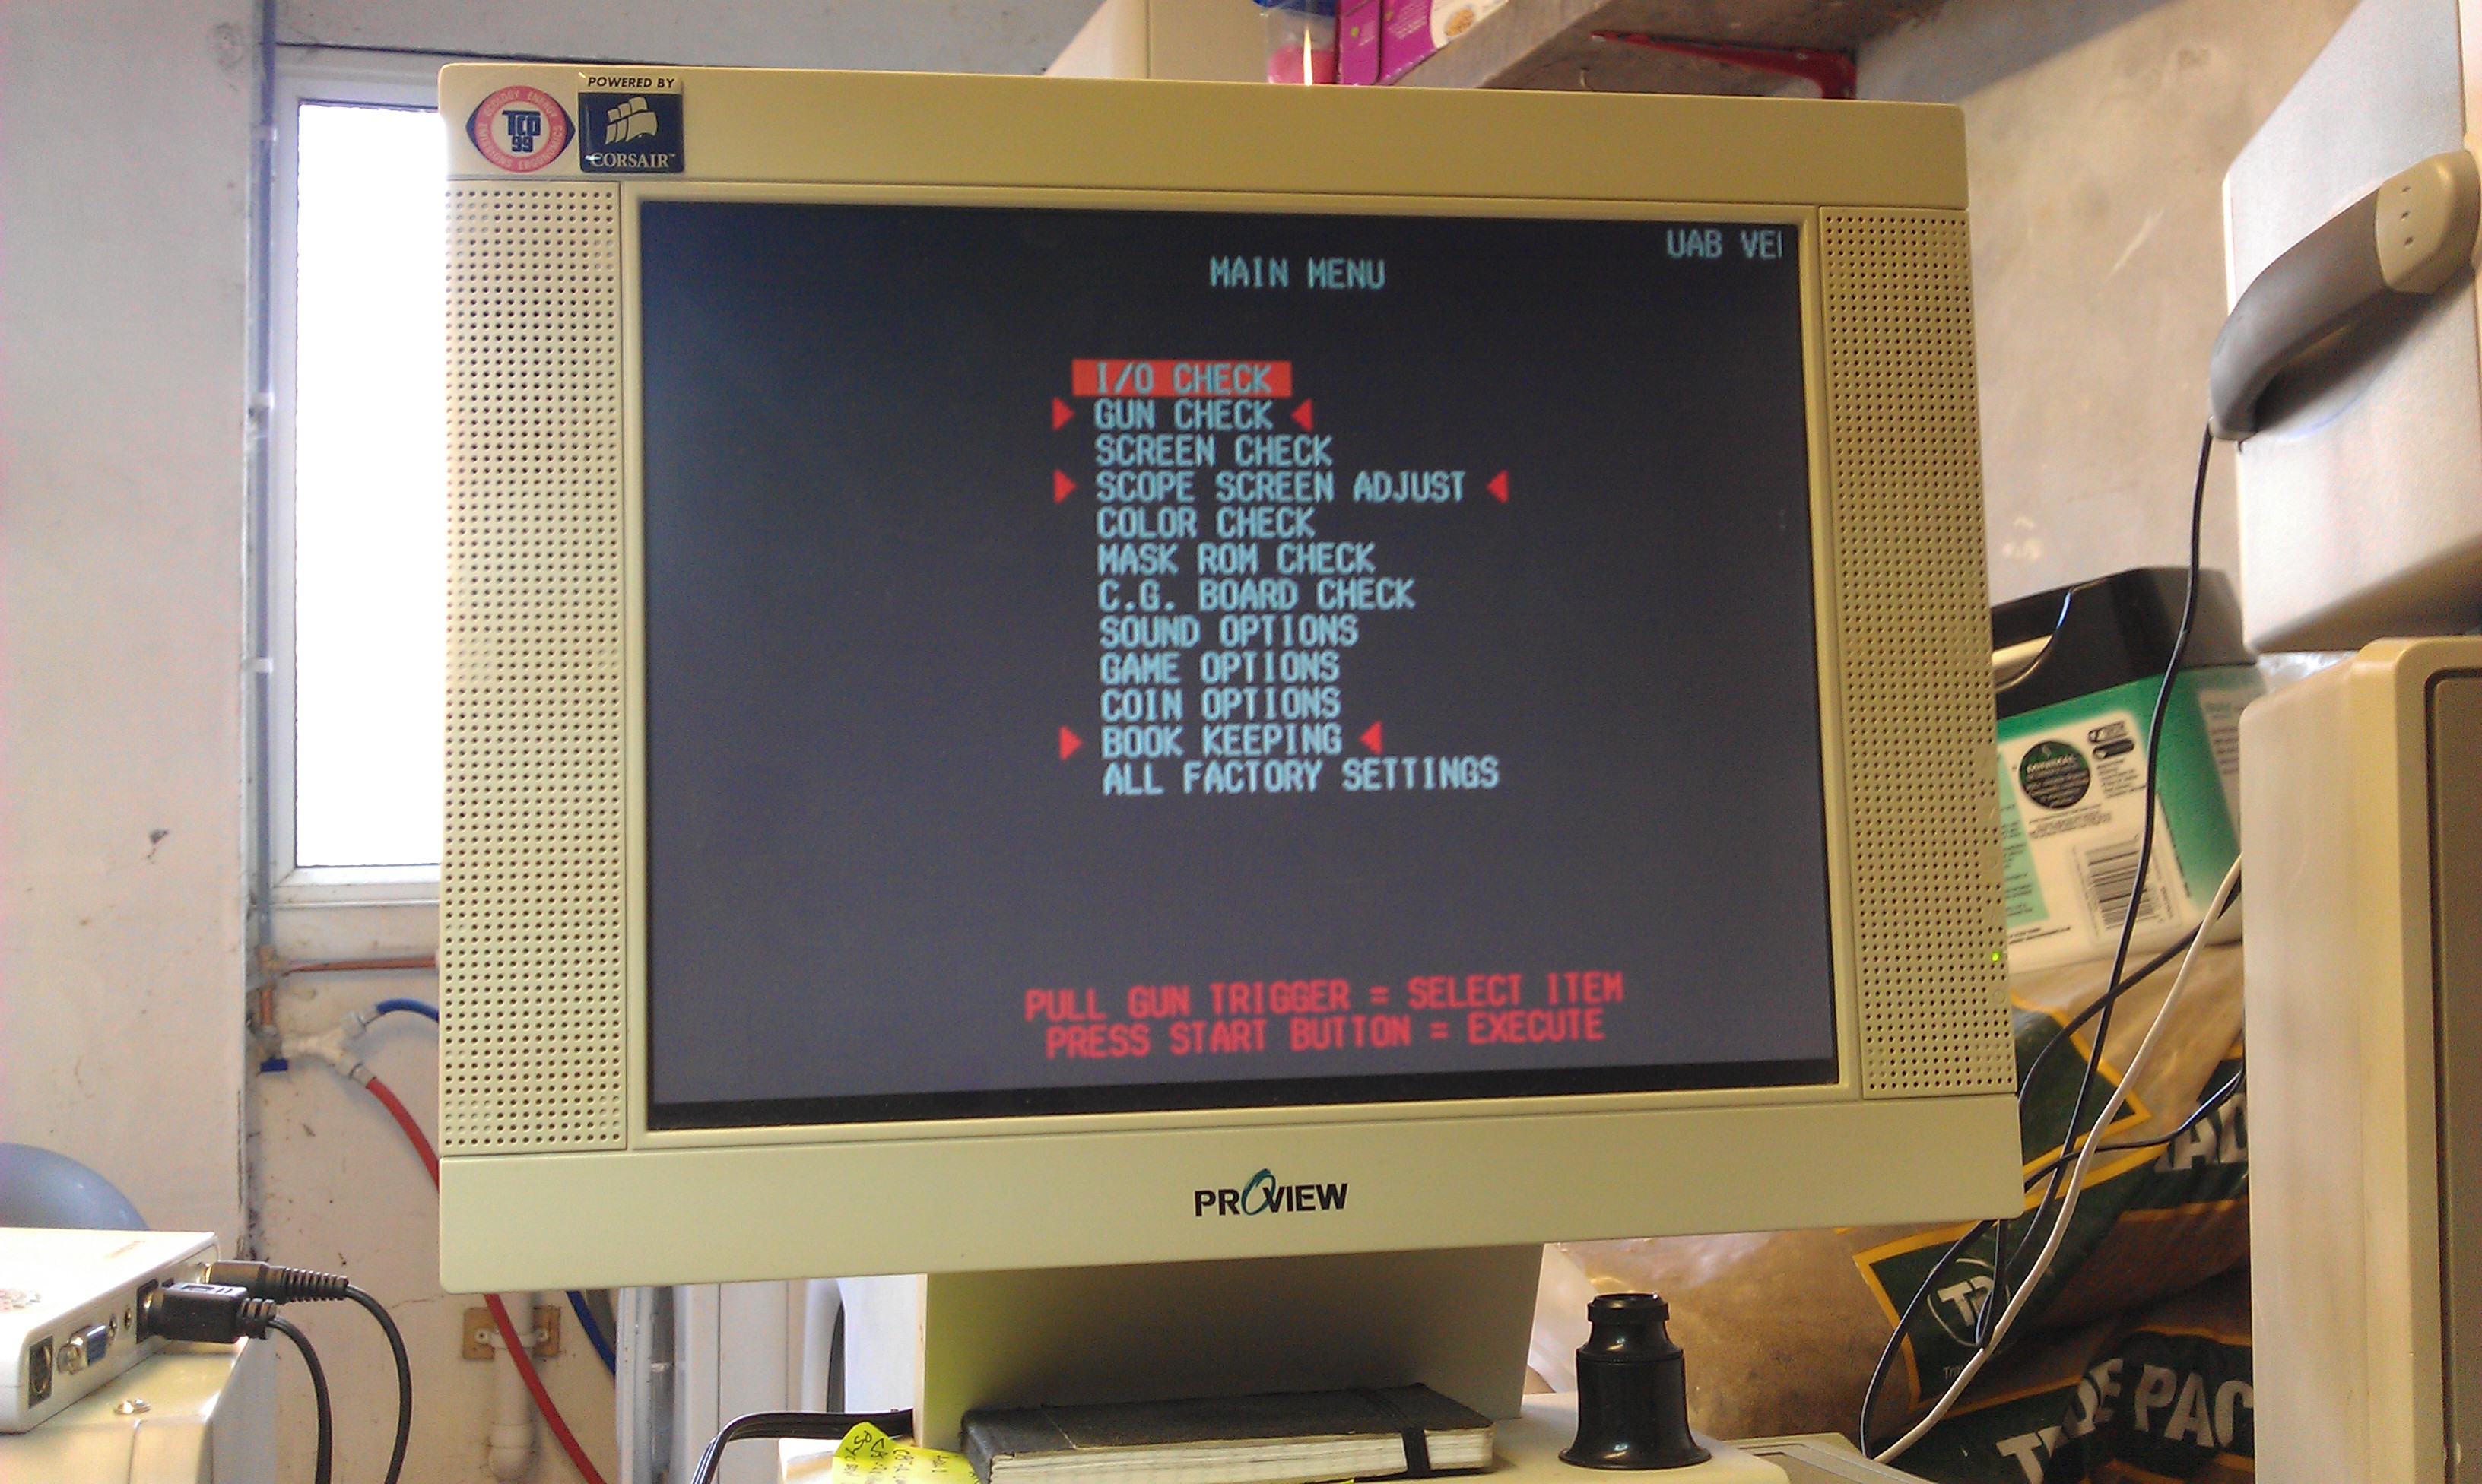
After fitting the new RAM the game booted to the test menu.


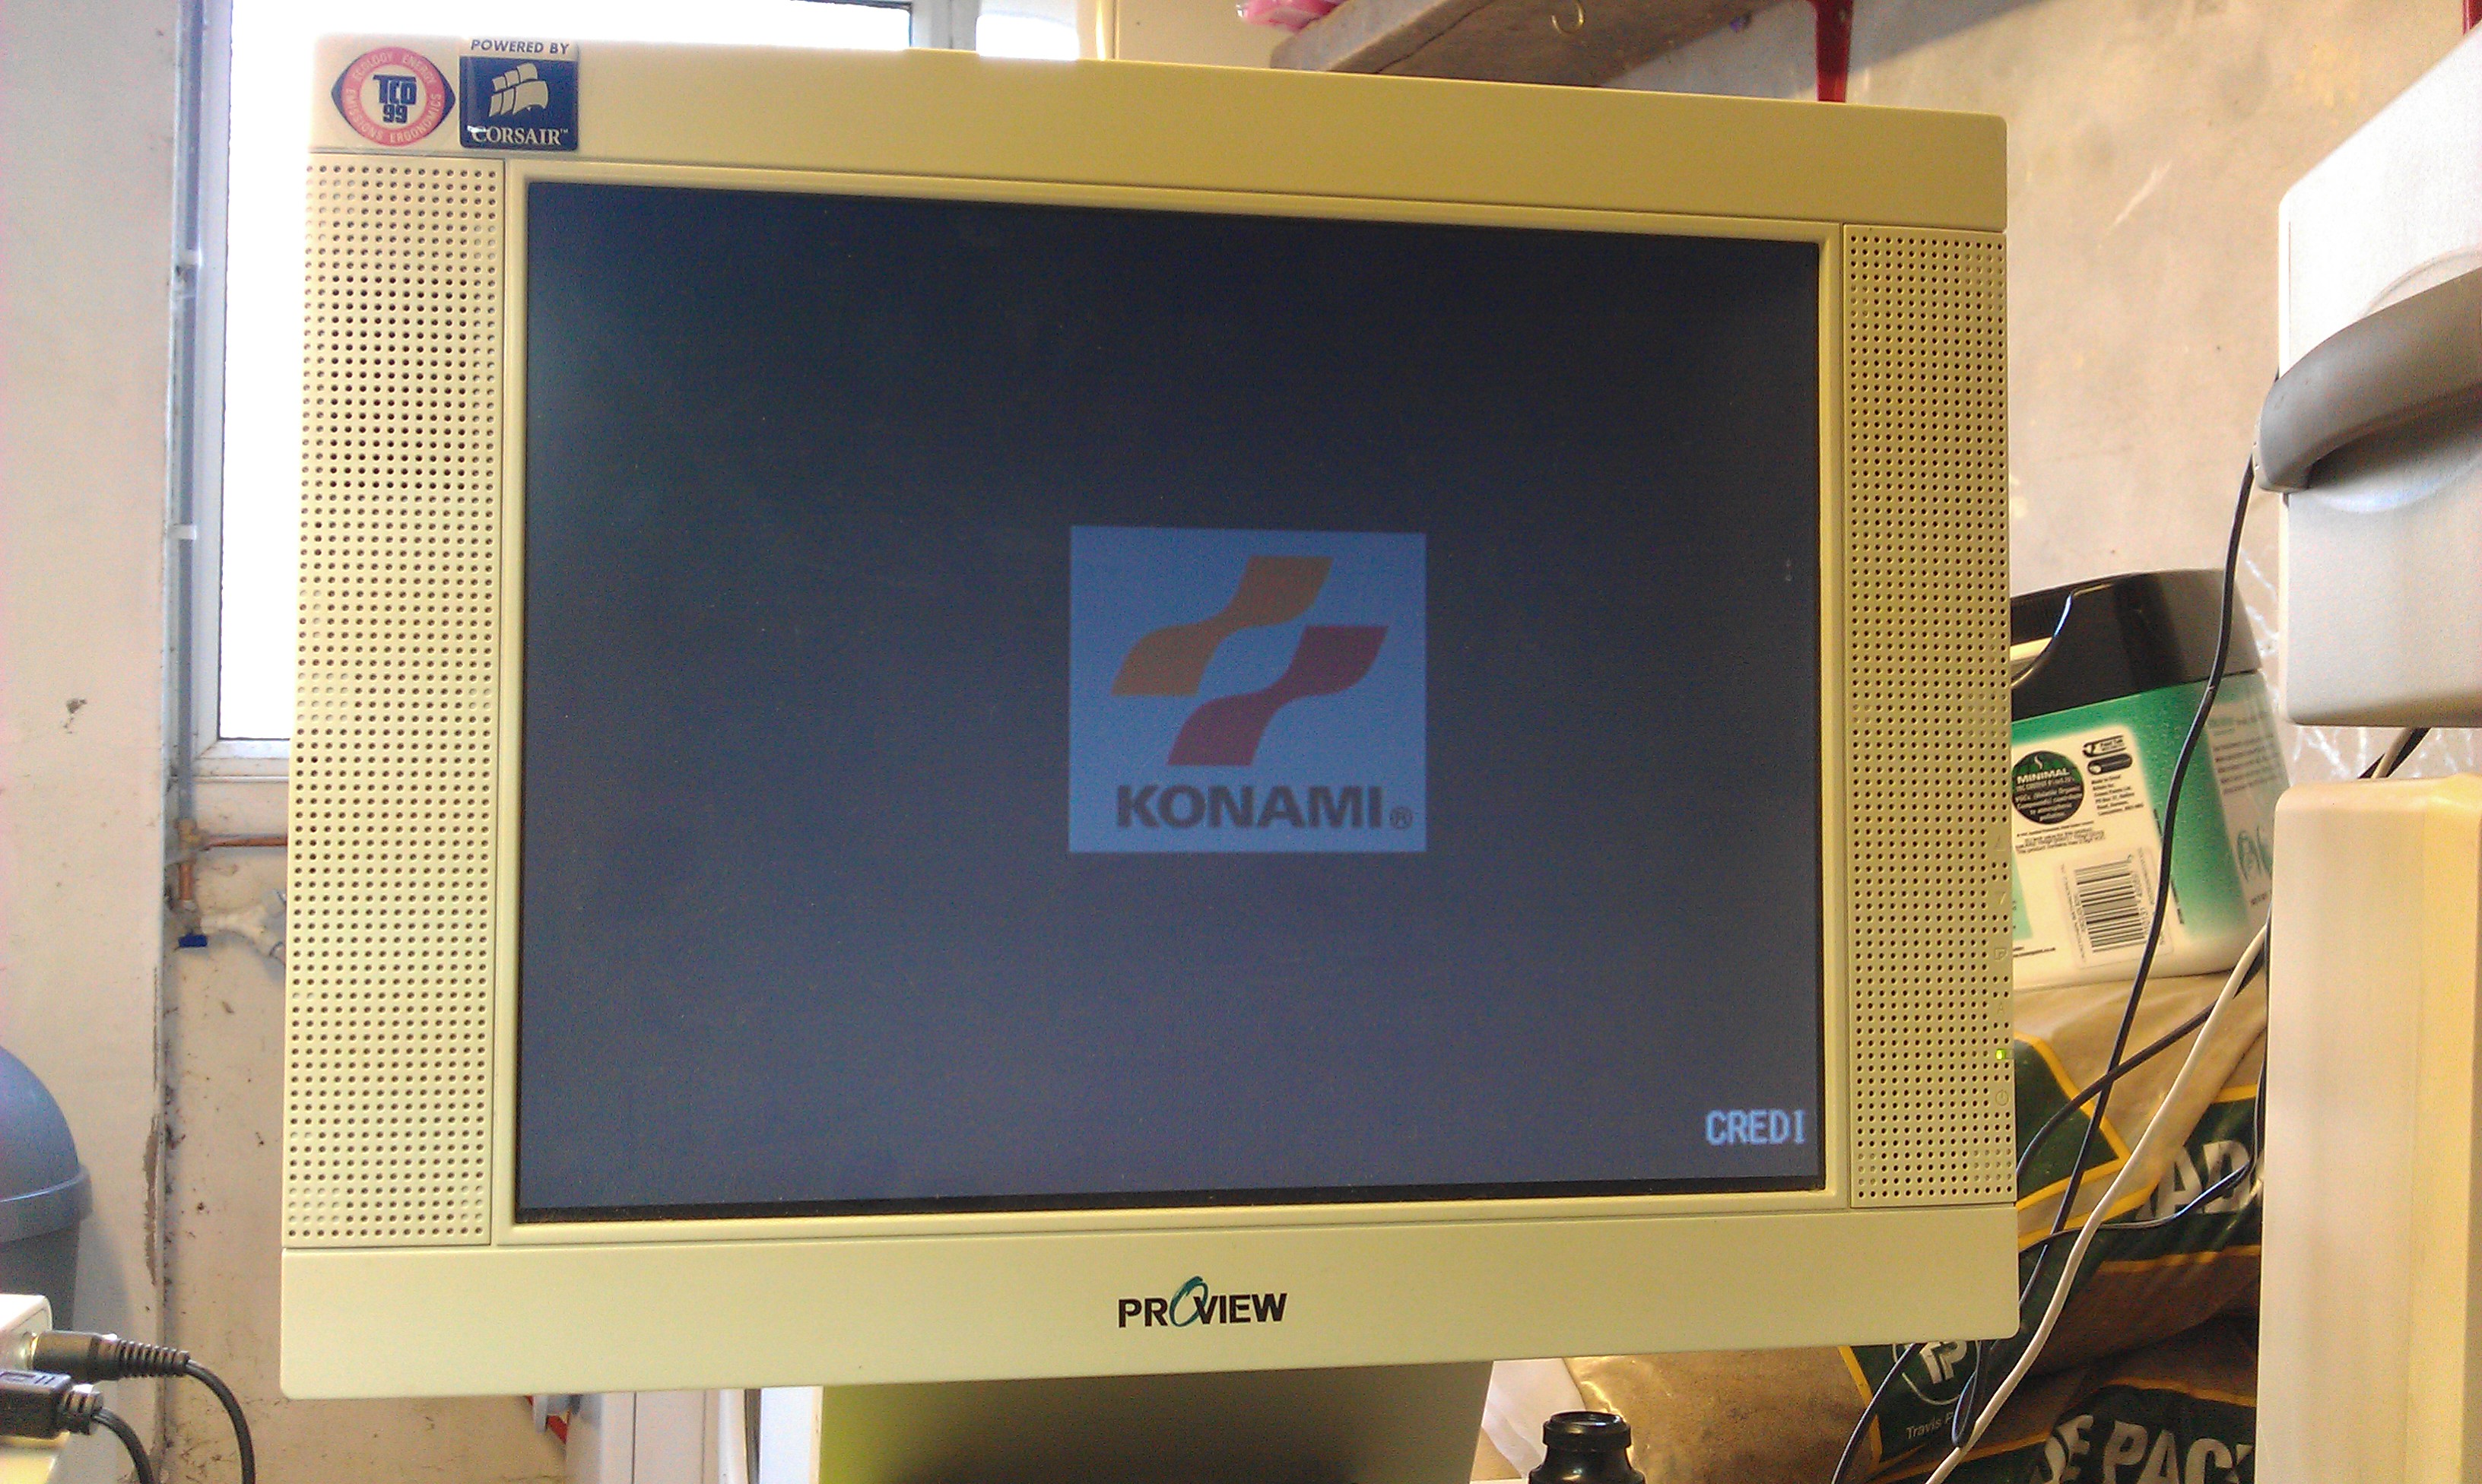
After working my way through the menus using the pins on the I/O board I was able to finally fire the game up.


So, I have verified that the sound works, the game boots and the digital inputs are working. I have no reason to believe that the rifle wouldn’t work if connected.

UPDATE (06/07/2015):
If you have an Arduino and fancy testing out my Timekeeper programmer ‘sketch’ then you can download it from the Downloads section.
It worked for me but I make no promises it will work for you. Its a basic proof of concept and could do with being developed.

Nintendo Super System – stereo to mono

 Guides  Comments Off on Nintendo Super System – stereo to mono
Jul 032011
 

Not really a repair but useful information.
My NSS board by default is set to stereo sound output.
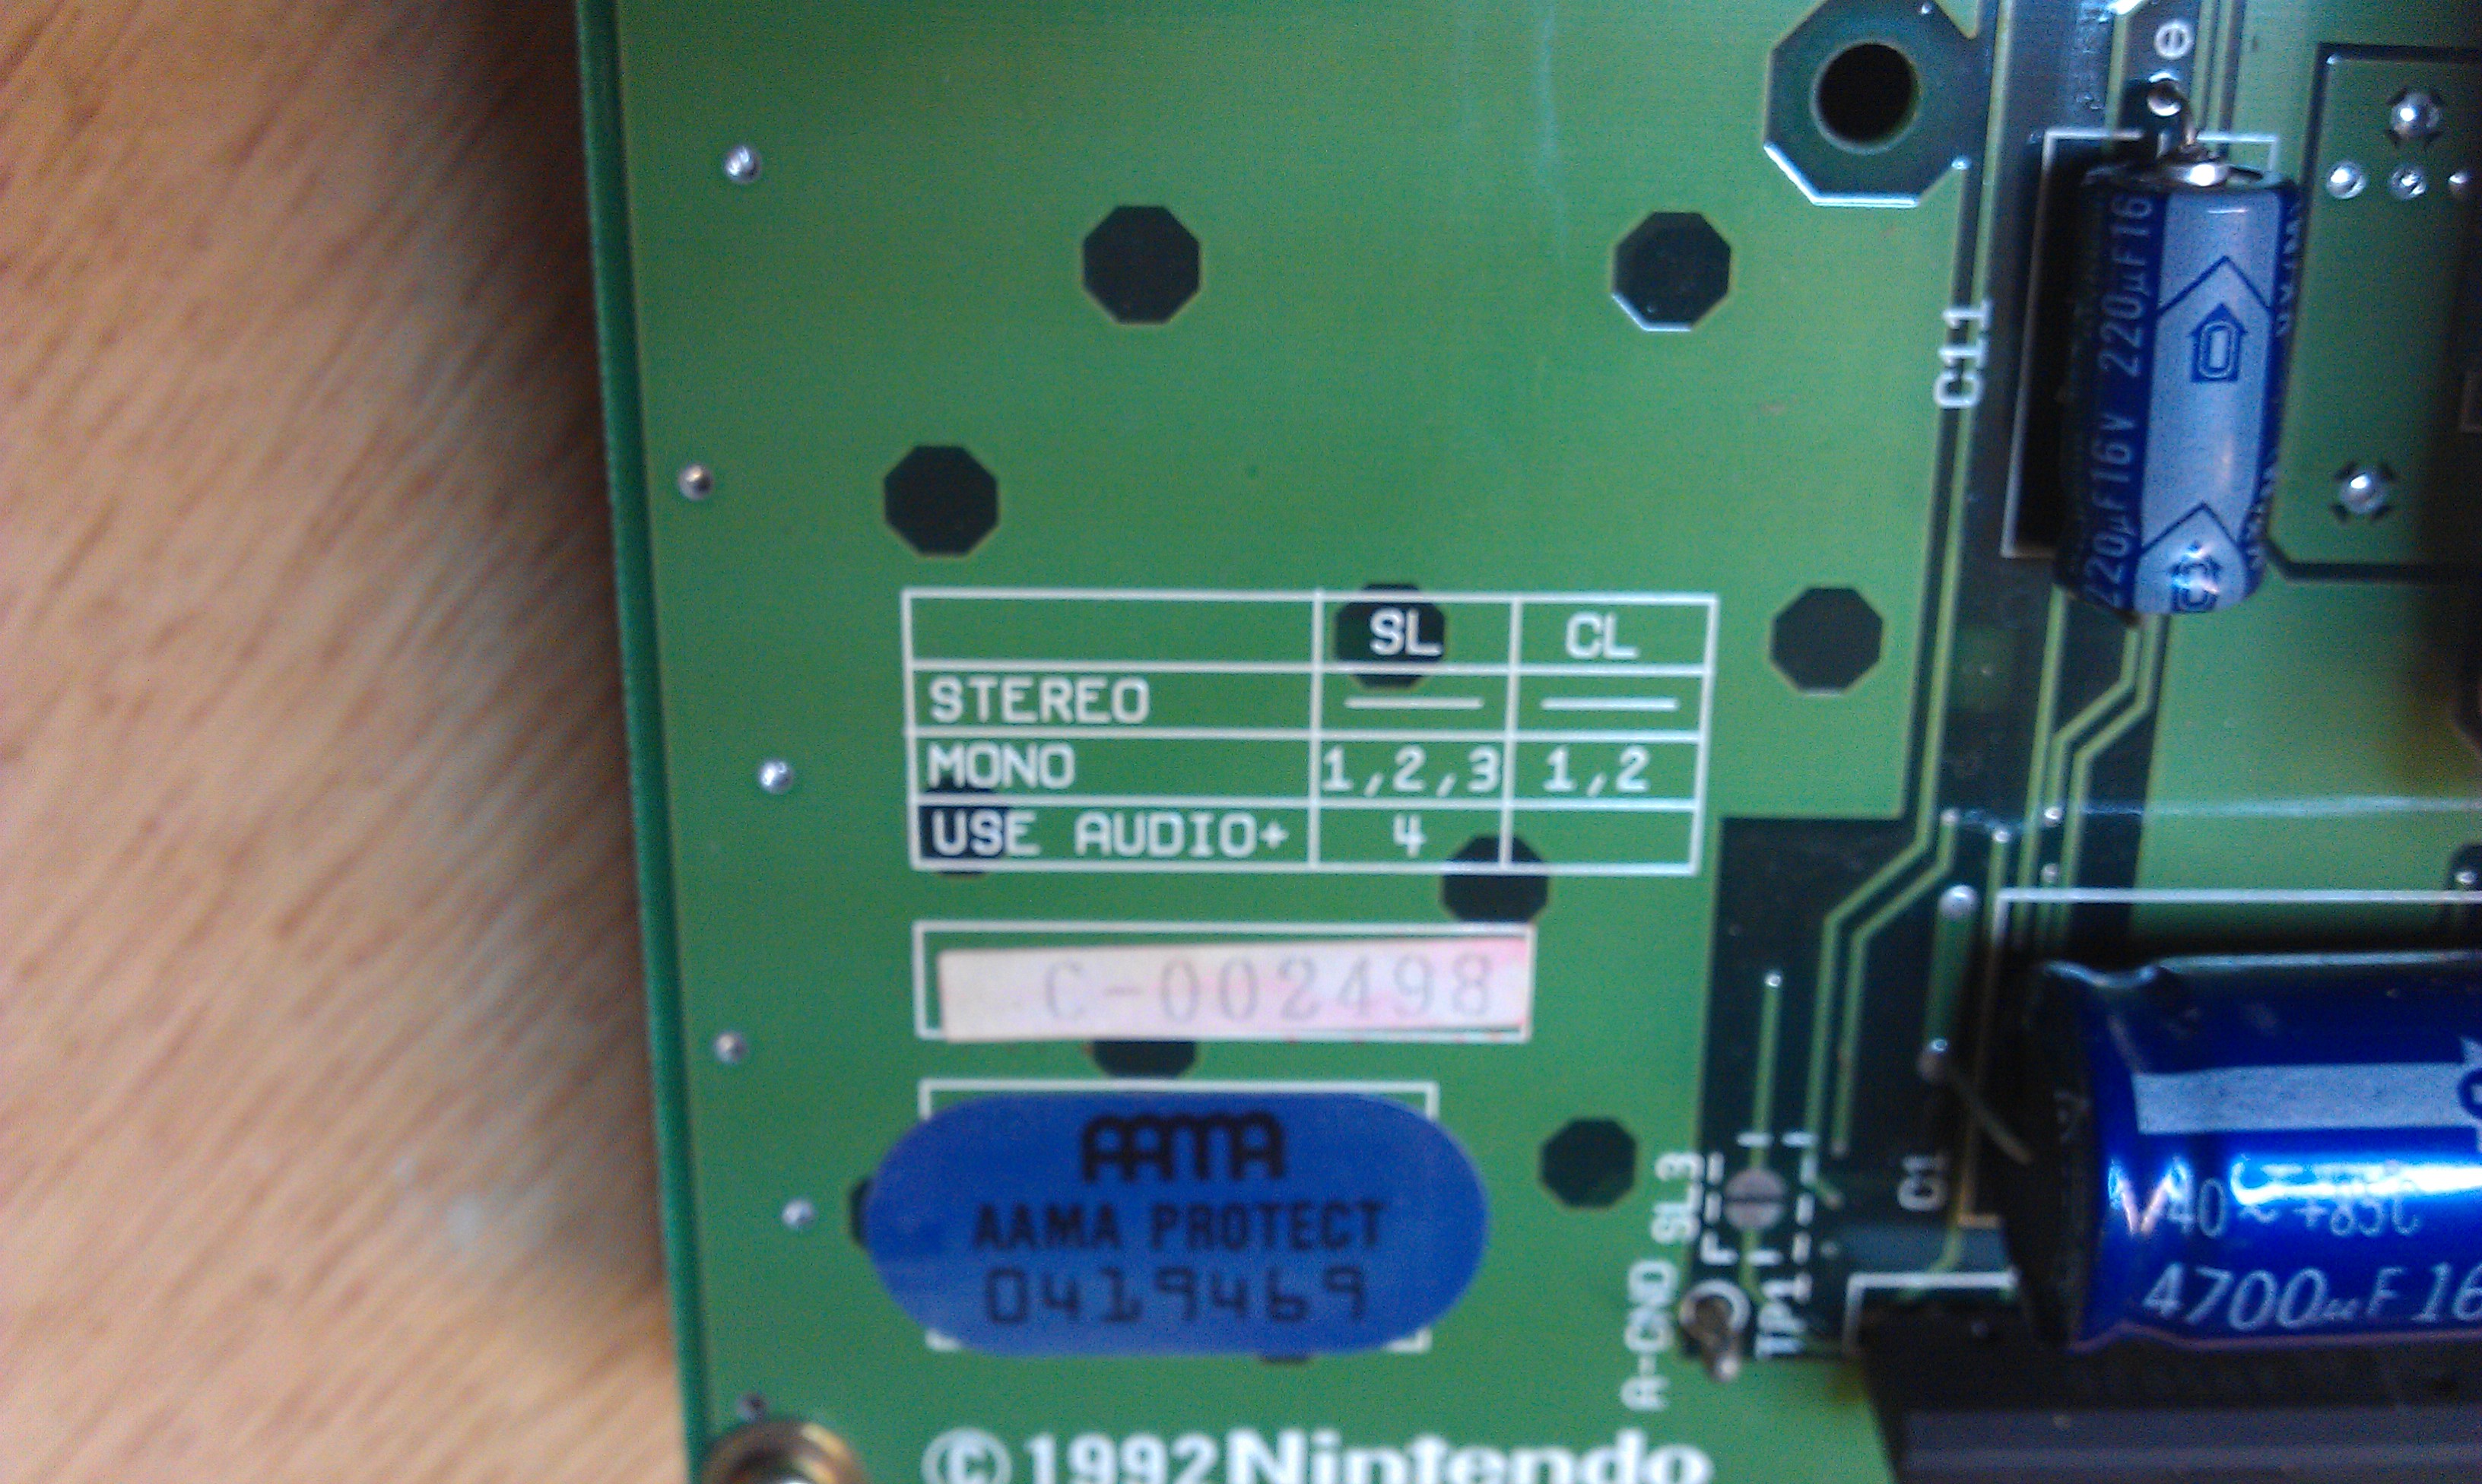
This is no good for me but fortunately it can be switched for mono output via the on board jumper pads and the silk screen clearly states what needs to be done.
Although most people will not need a guide on how to do this, I thought id write it up anyway for just for the sake of it.

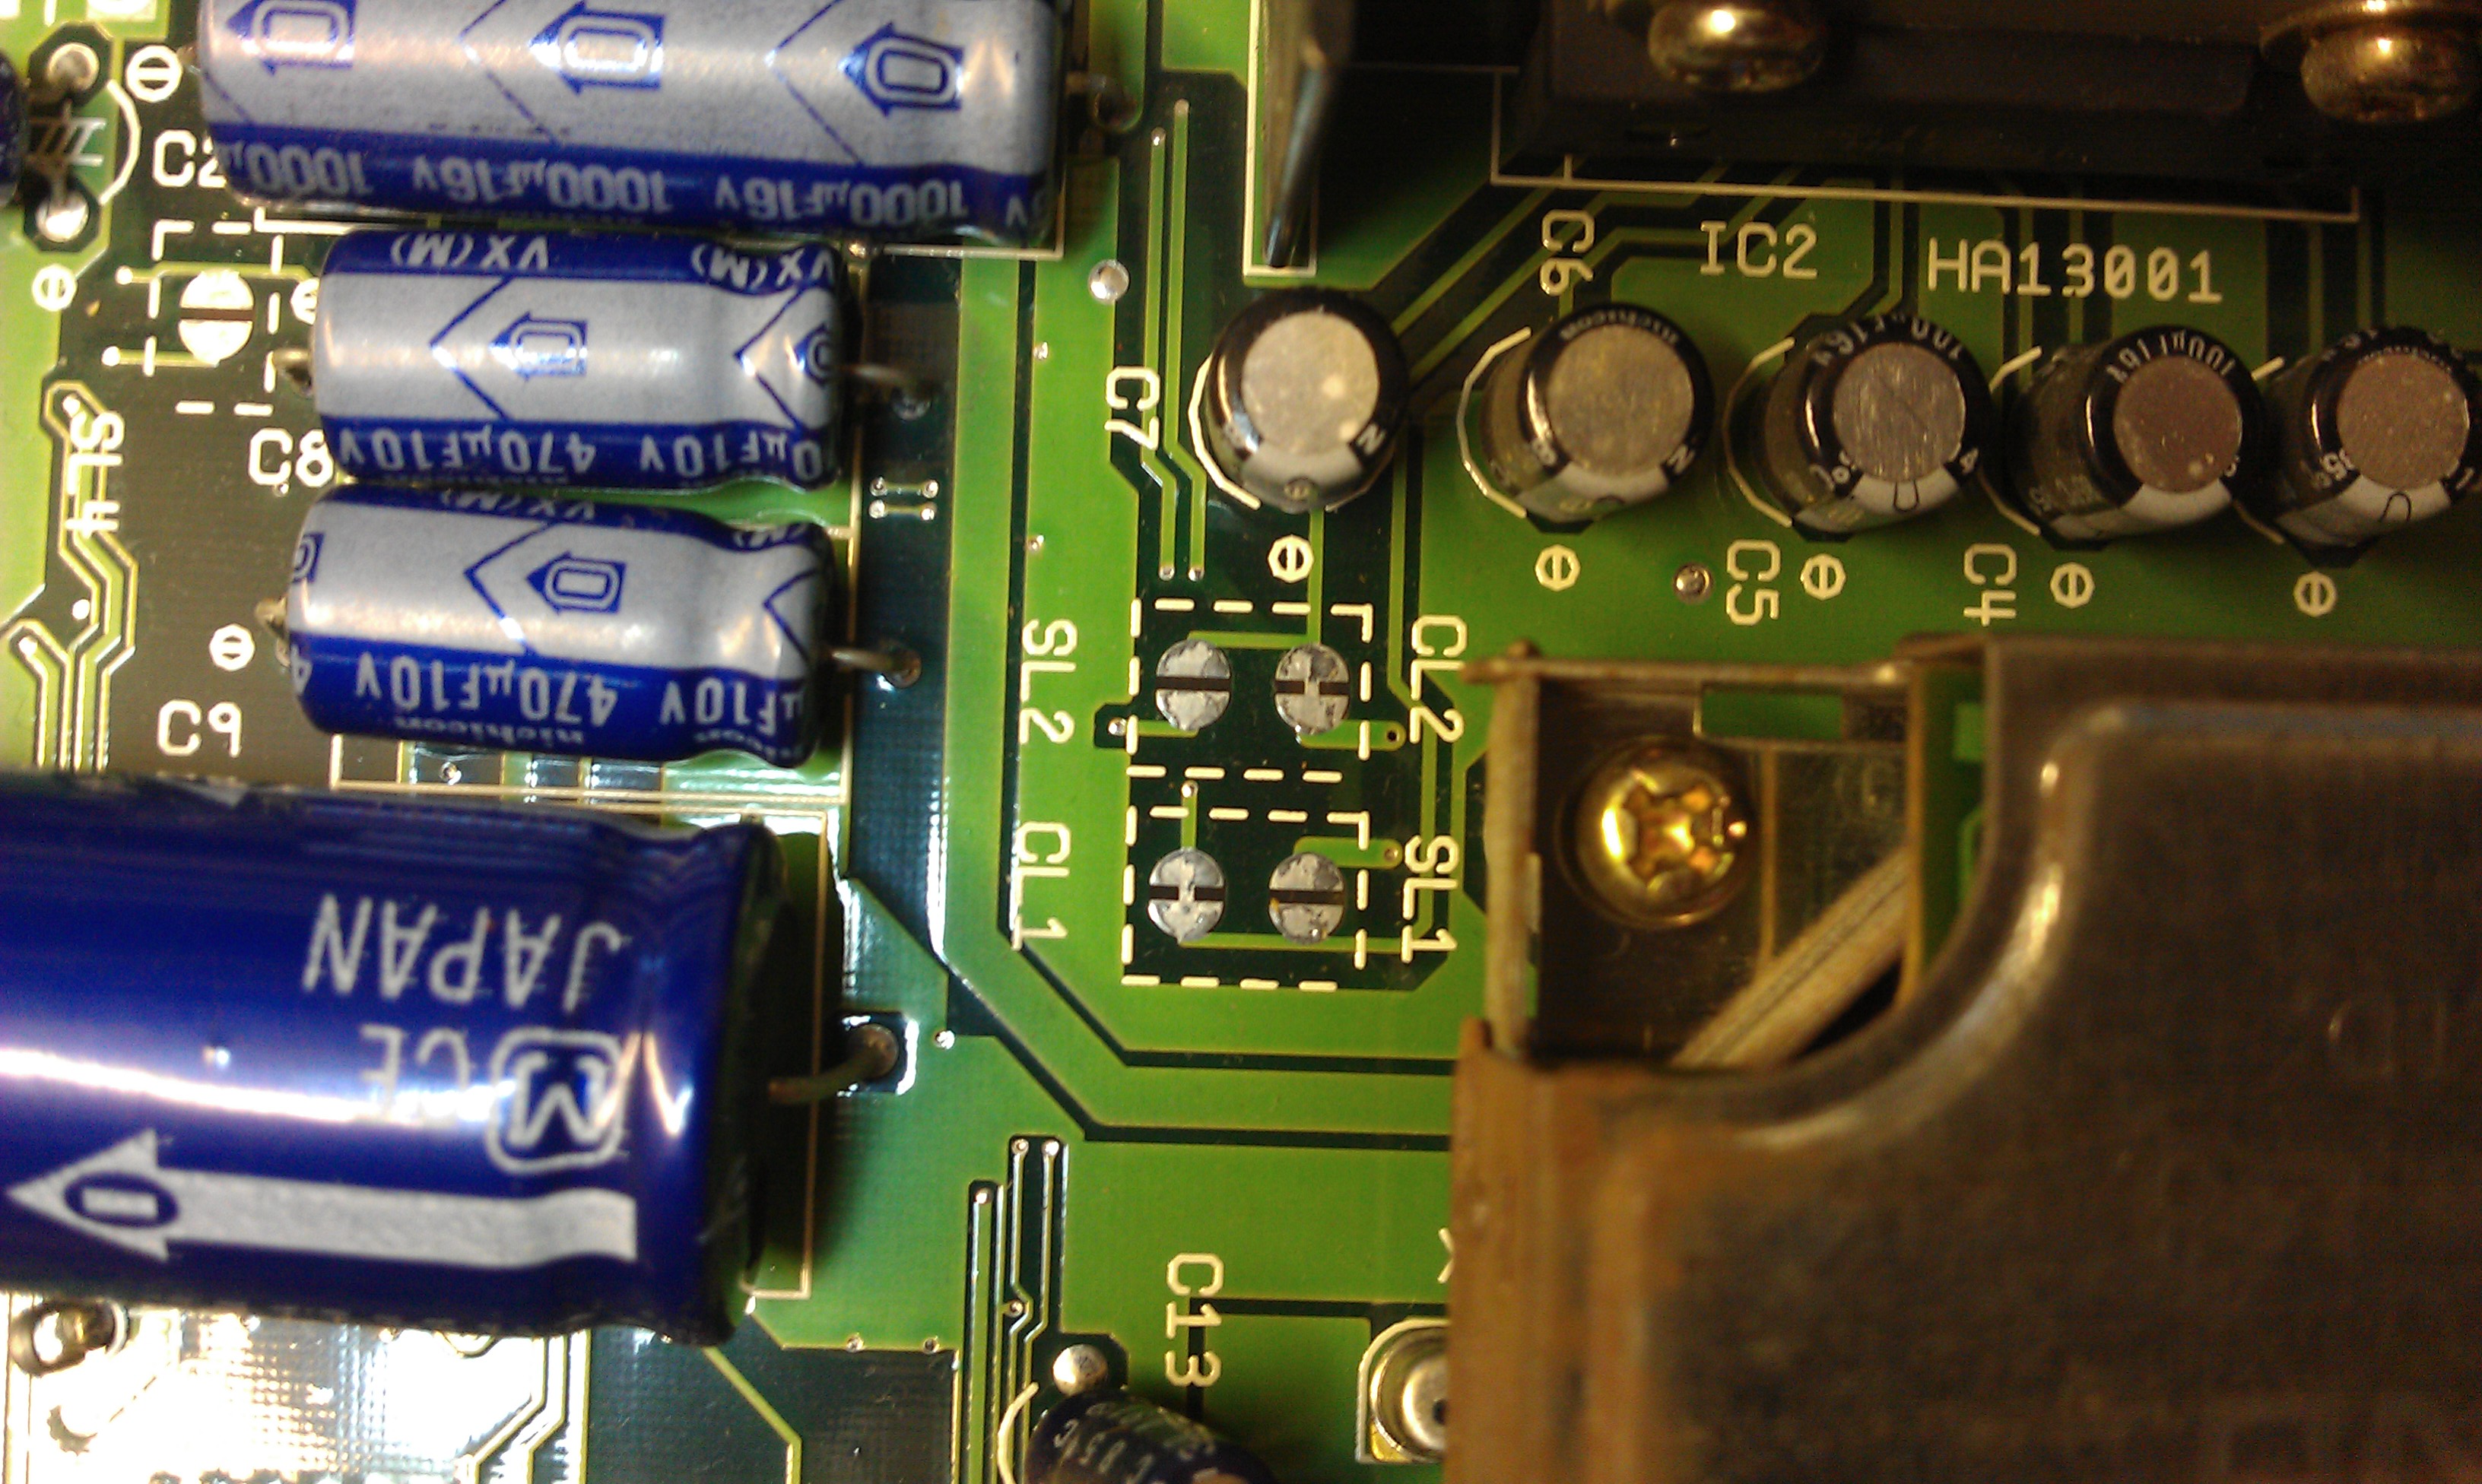
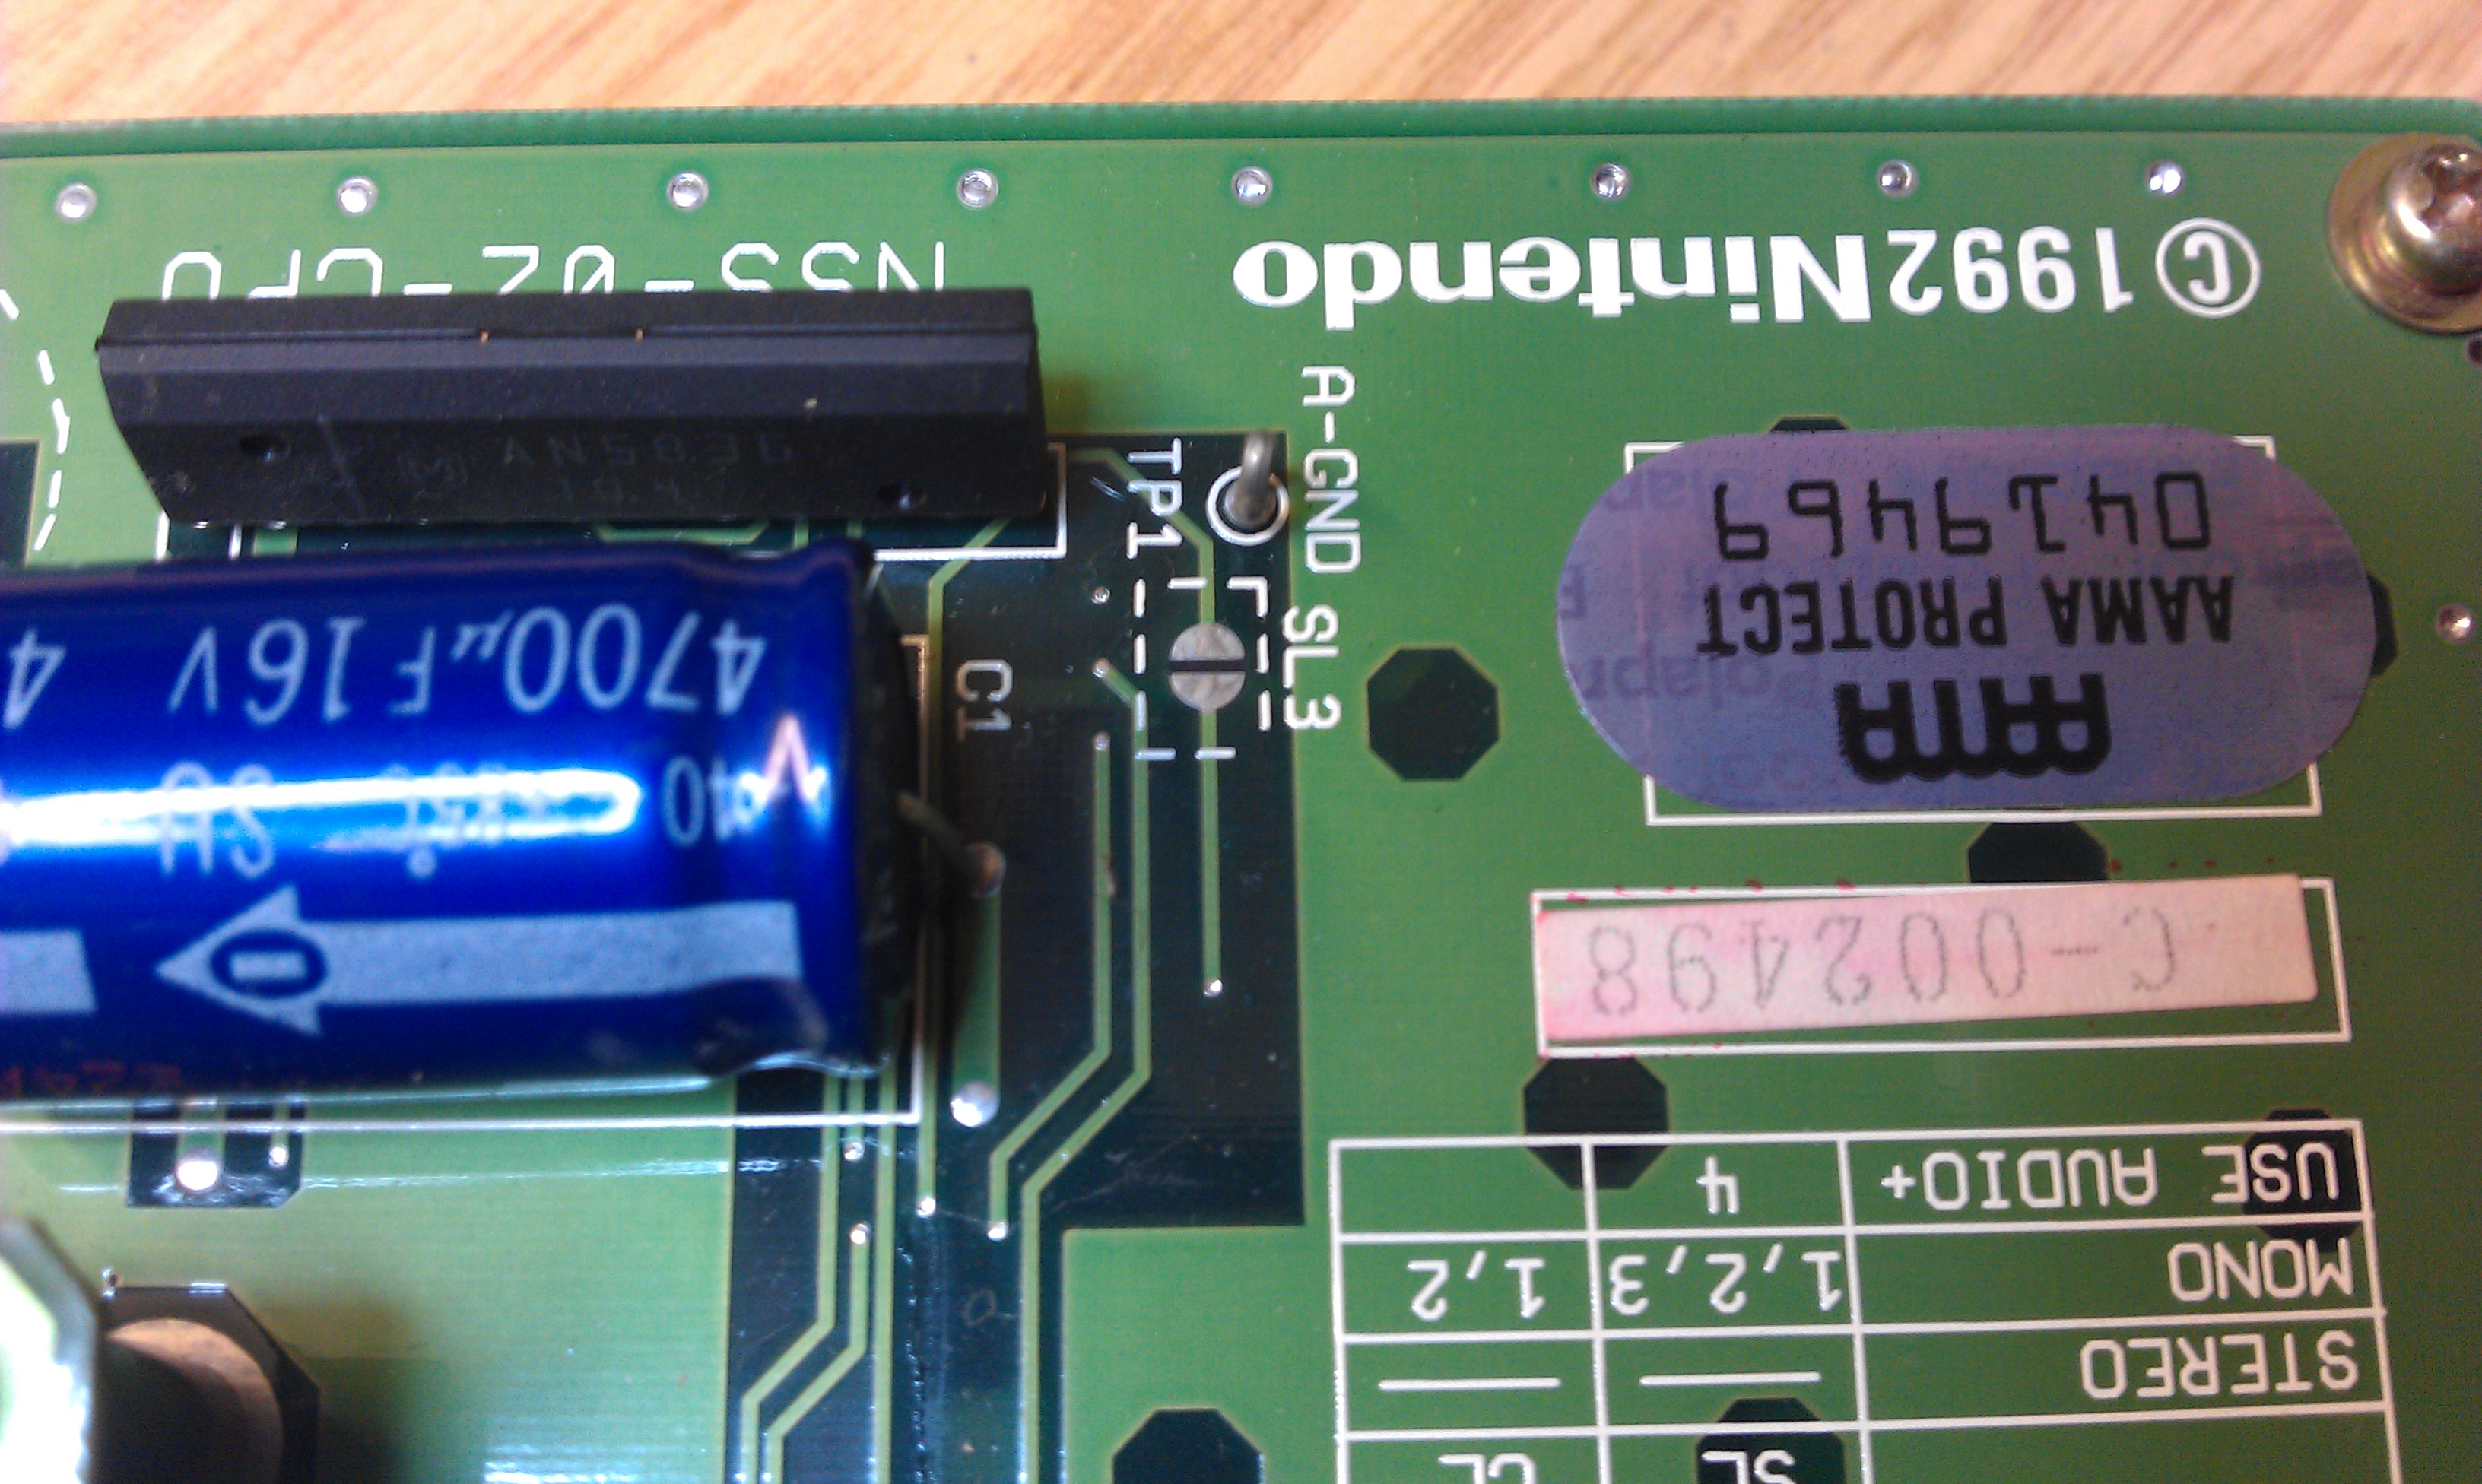
Silk screen instruction clearly show for mono output jumpers SL1, 2 and 3 and CL1 and 2 need to be closed.

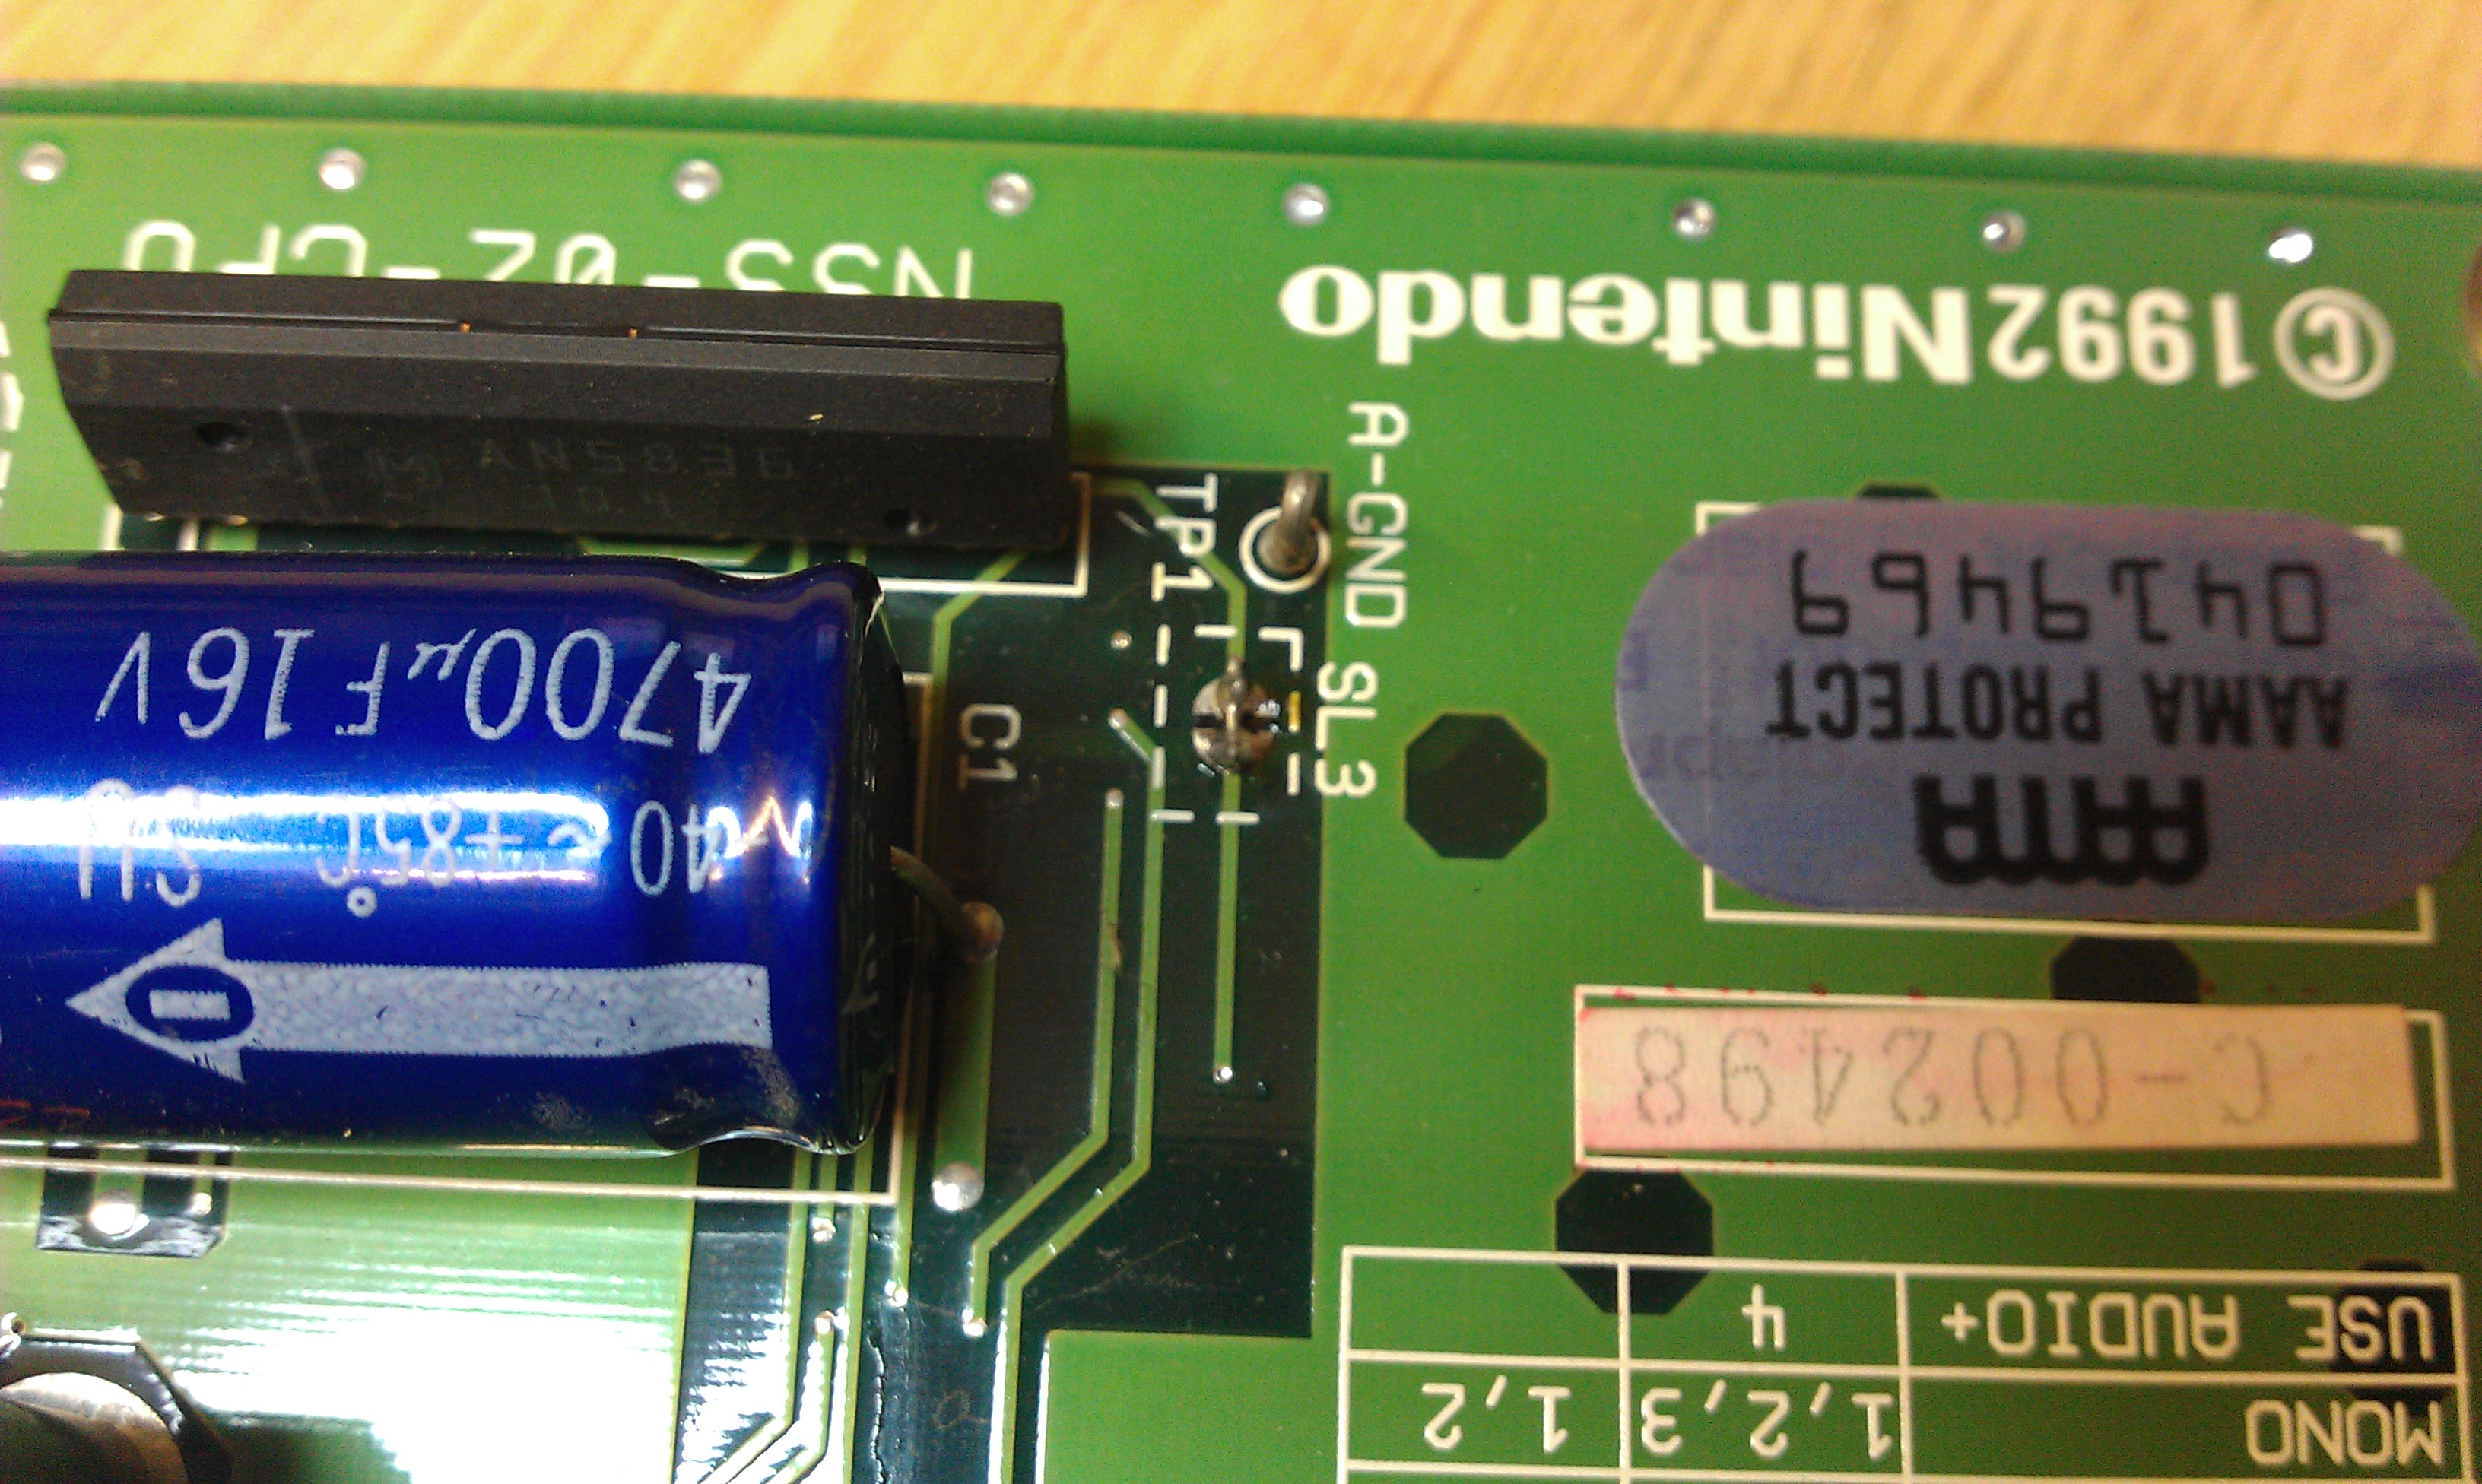
On my board the CL jumpers were already shorted but non of the SL ones were.

I used a tiny off cut from a recently soldered capacitor to make up small links to solder in and within a couple of minutes all was complete.

The board now outputs mono sound.
I also noticed my BIOS ROM was labelled up “NSS V3” and I am pretty sure MAME only has V2. I dumped it and sure enough it wasn’t recognised by MAME.
Ill have to get it sent off or you can download it here

Atari ST disk TOS

 Downloads  Comments Off on Atari ST disk TOS
Jul 022011
 

My mate Sophie wanted some EPROMs burning of the early TOS version for the Atari ST.
This version boots TOS from a disk rather than being “on-chip”.
I was given a couple of links to atari-forum.com and read how others had done it.
Because the ROM dump is only 16k and we want it on a 27c256 EPROM, we have to byte split the file into HI and LO and copy each file into itself 4 times.
Using the Windows command prompt you can type:
“copy /b disktos.lo+disktos.lo+disktos.lo+disktos.lo disktos256.lo”, and same goes for the HI file.

I originally tried this out on my STe and set the jumpers accordingly which allegedly allow a 27c256 eprom to be used but this now seems incorrect.
To throw me further in confusion, one of the EPROMs must have died somewhere between my house and my mates because it didnt work.

Feeling a bit deflated I sent an email off to user 1632 who originally started the post, asking if he could send me his files. He very kindly dumped his eproms and sent me them but they matched the ones I originally created.
All I could think of doing was burning them again and sending them off. This time they worked so a dodgy EPROM was the cause all along.

You can find the original forum post here

disktos

Thanks go to Mike (1632) for his help with this. I would have spent a lot of time looking in the wrong place without his help.