
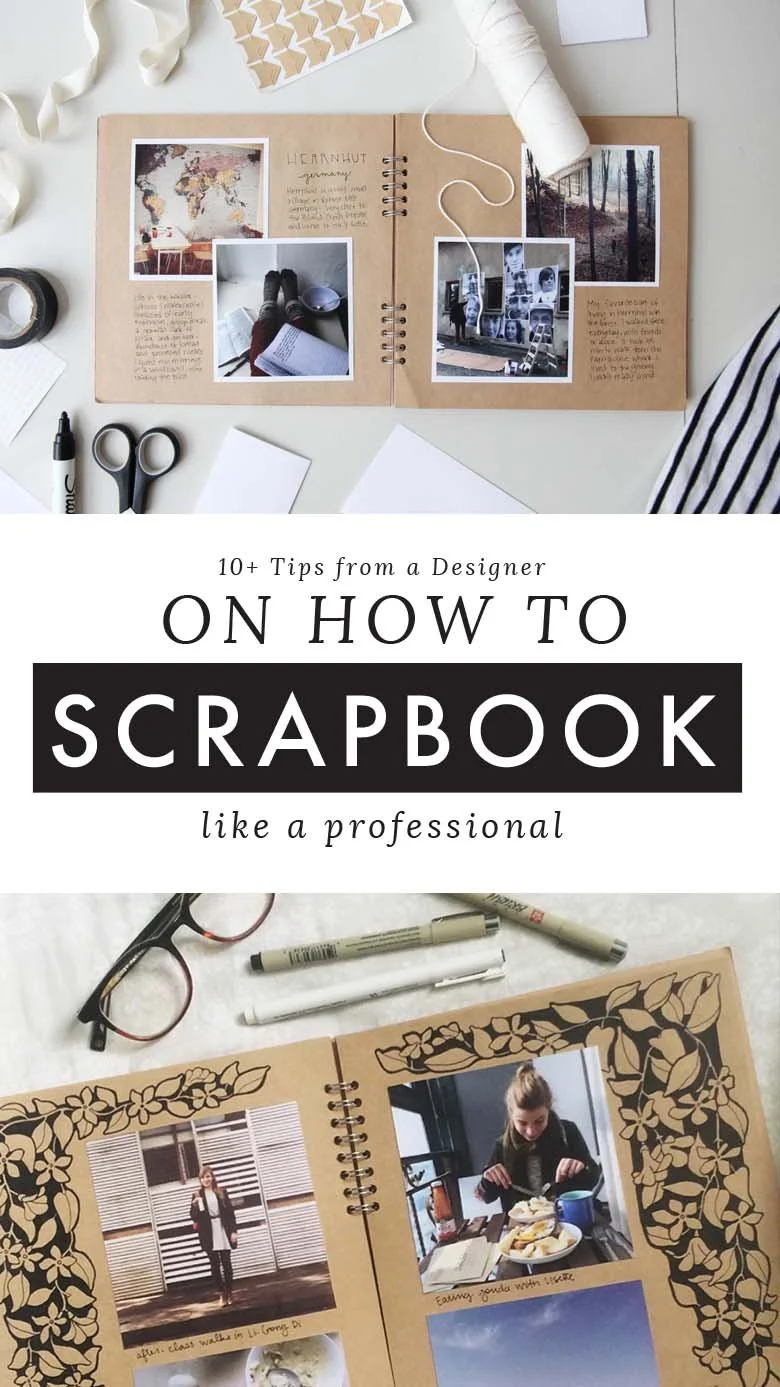
10+ Tips on How to Scrapbook Like a Pro

I am the kind of person who has kept a scrapbook since I was in elementary school. My mom has all the tools: wavy scissors, a myriad of colored papers, and double sided tape. When I think of scrapbooking, I think of a bunch of women gathered together in a big room with fold-out tables filled with papers, stickers, and mountains of family pictures ready to be sorted and organized into pages. It is a lot of fun and honestly, I think scrapbooking as a child is one of the things that led me to pursue a career as a graphic designer.
Now that I have had training as a designer, I know the psychology behind how to display information visually, and so much of it goes into scrapbooking. Much of it is intuitive, and most scrapbookers can just feel it when it's right.
Nevertheless, I want to share a few things I've learned both in my years of scrapbooking and through working as a designer. I'm hoping these tips will help you all feel confident to branch out in your next scrapbook, or maybe start your very first one!
1. PICK A THEME
Picking a theme or style for your scrapbook is an important first step that will help you create a cohesive look from start to finish, which in turn will make each of your pages part of a beautiful whole.
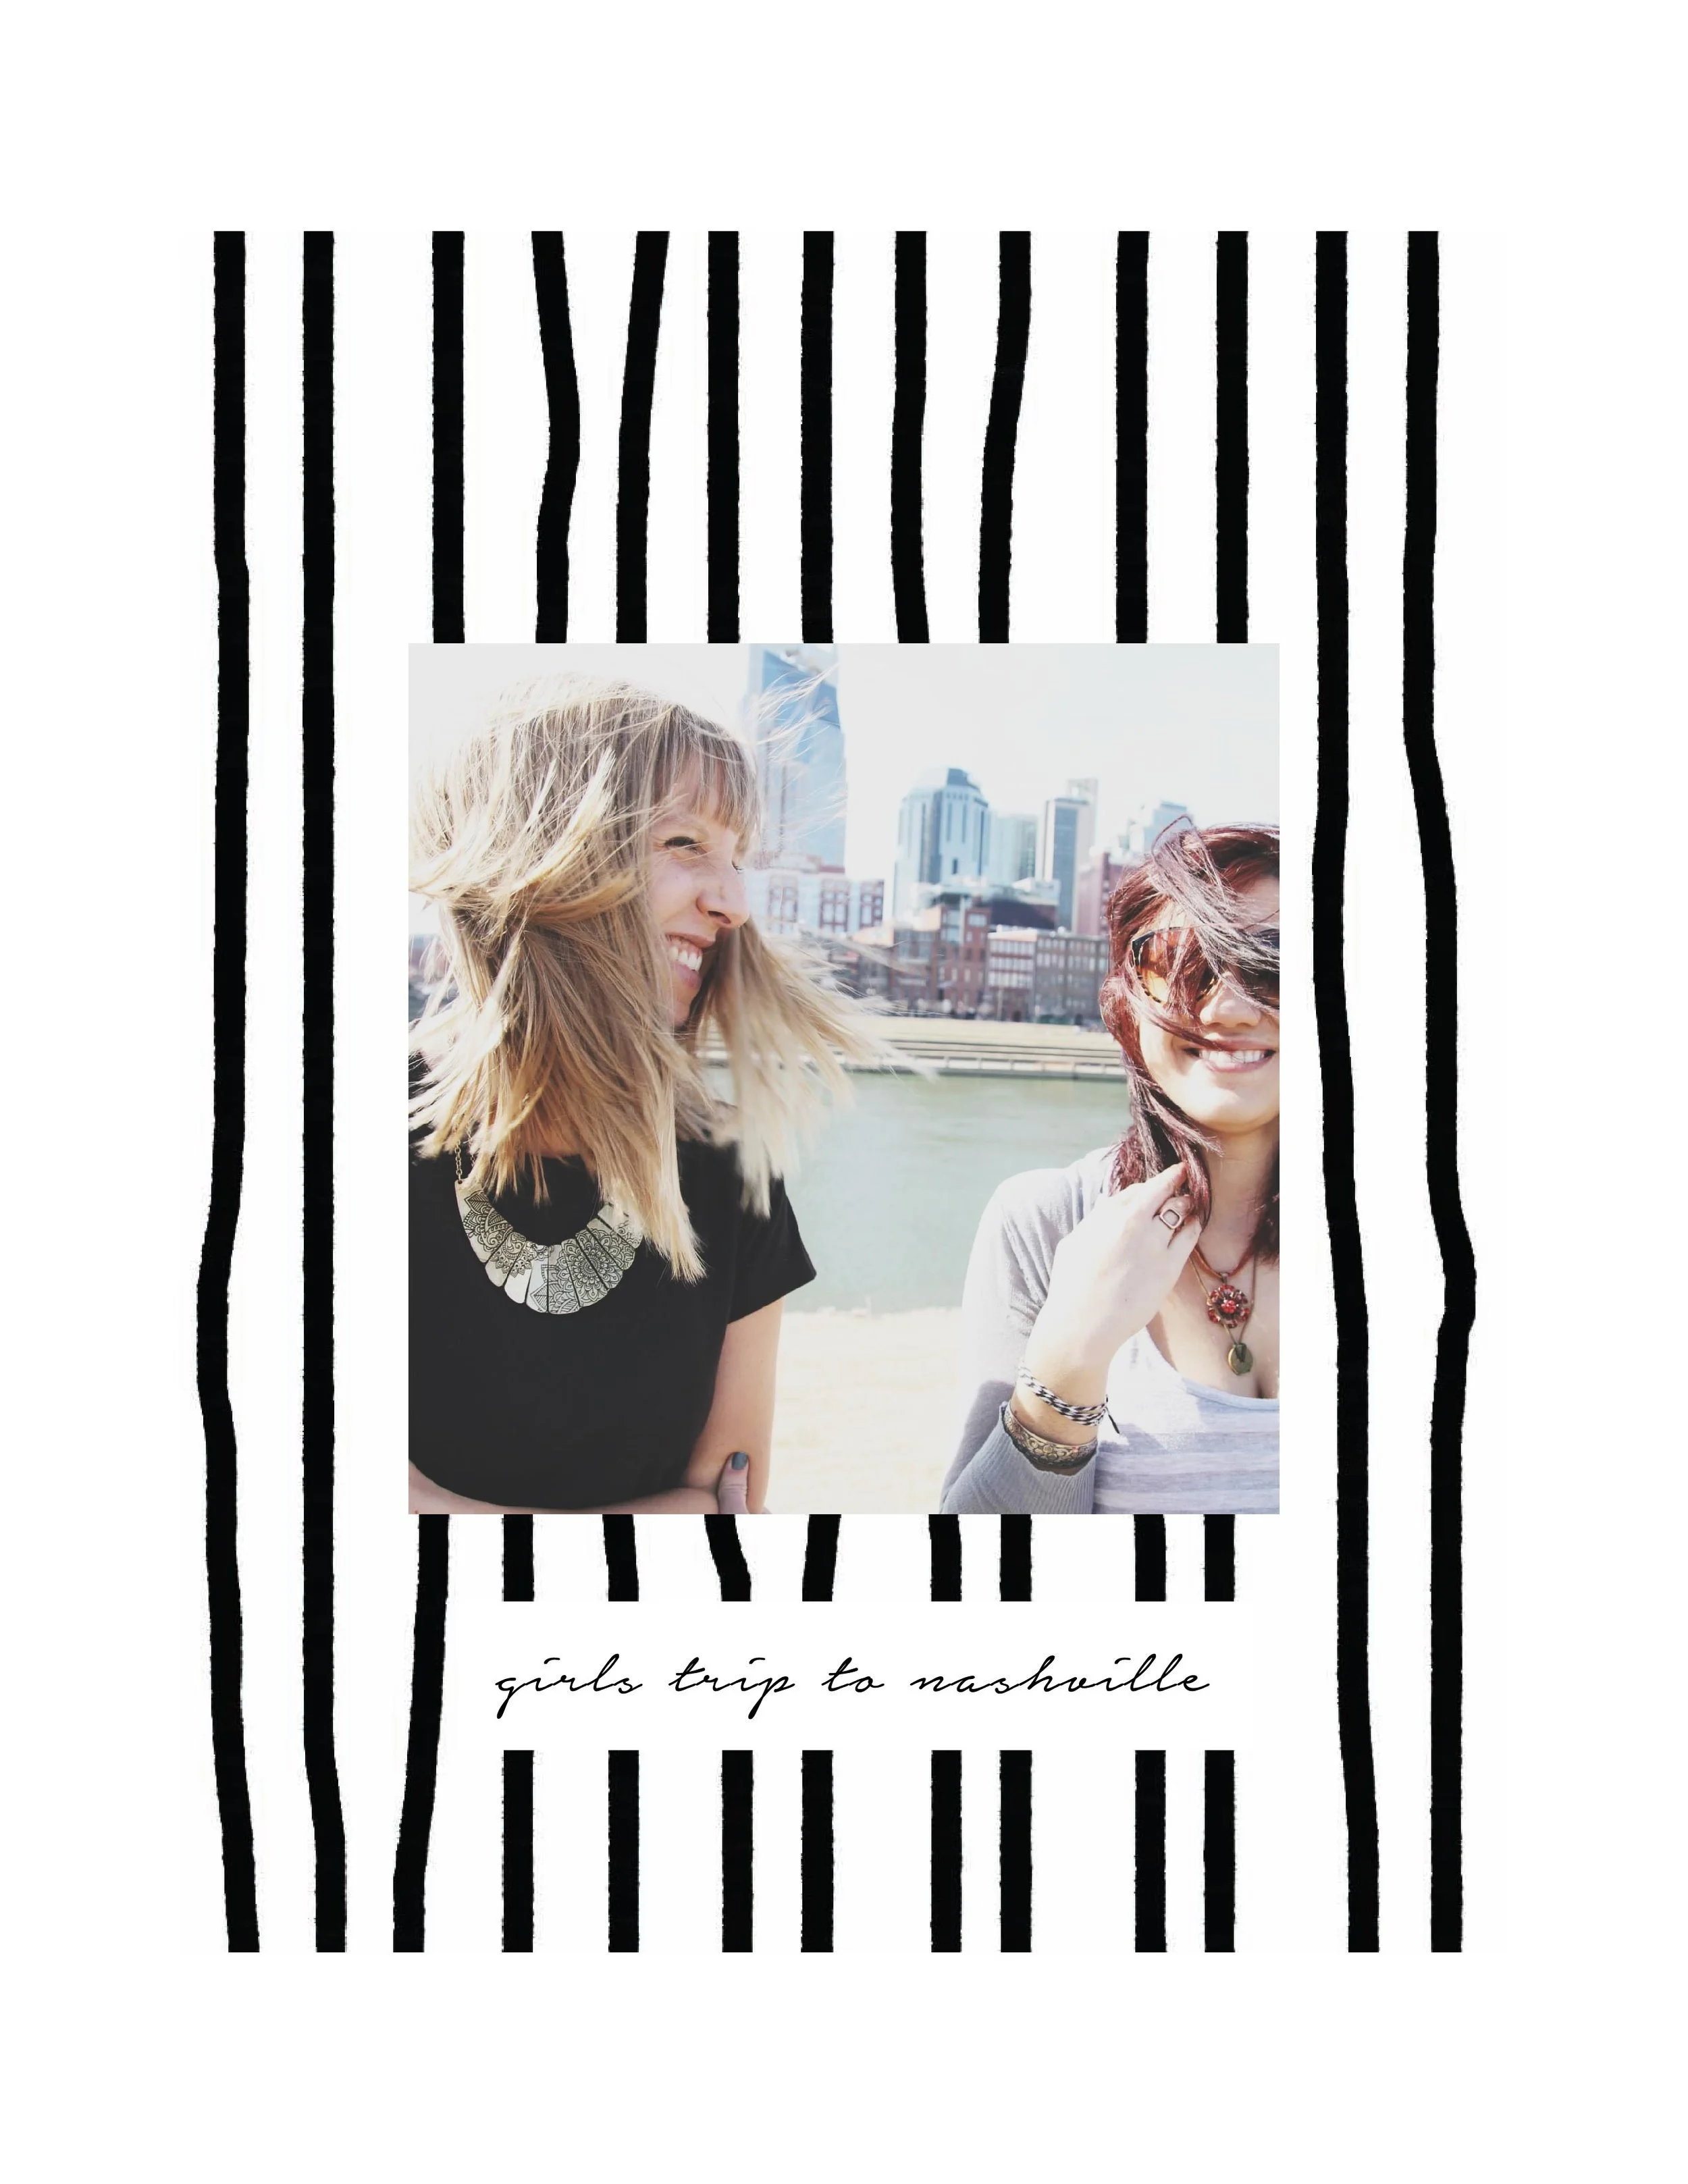
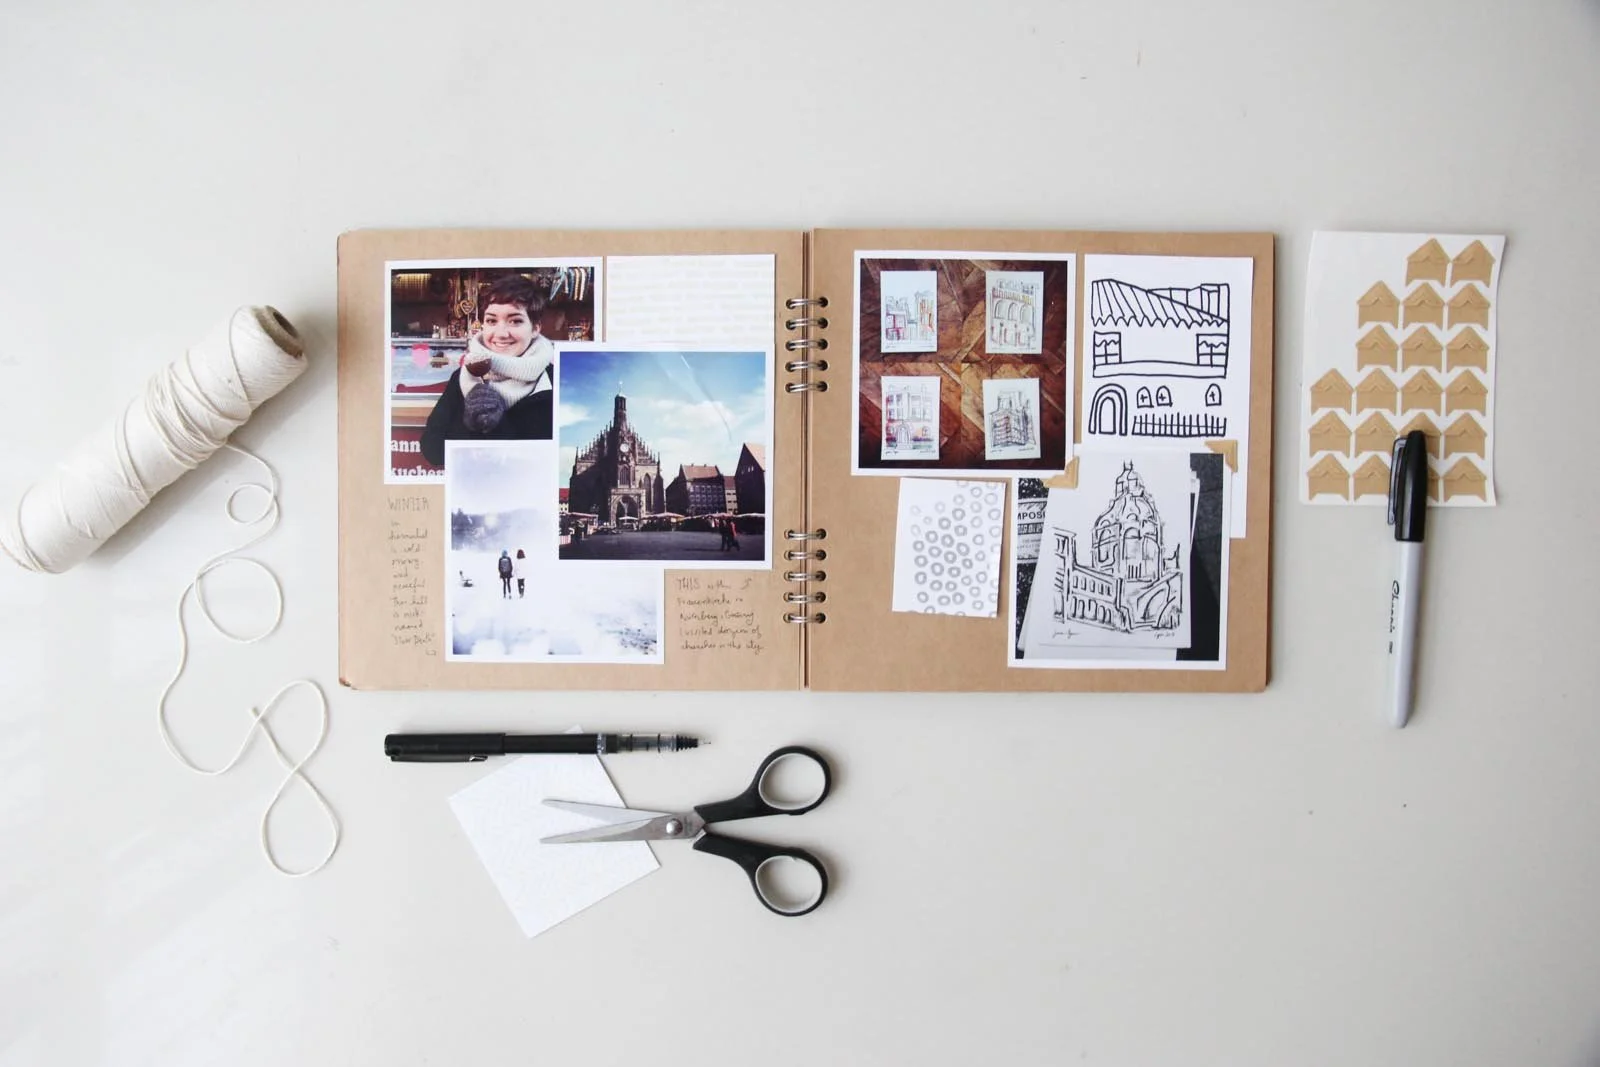
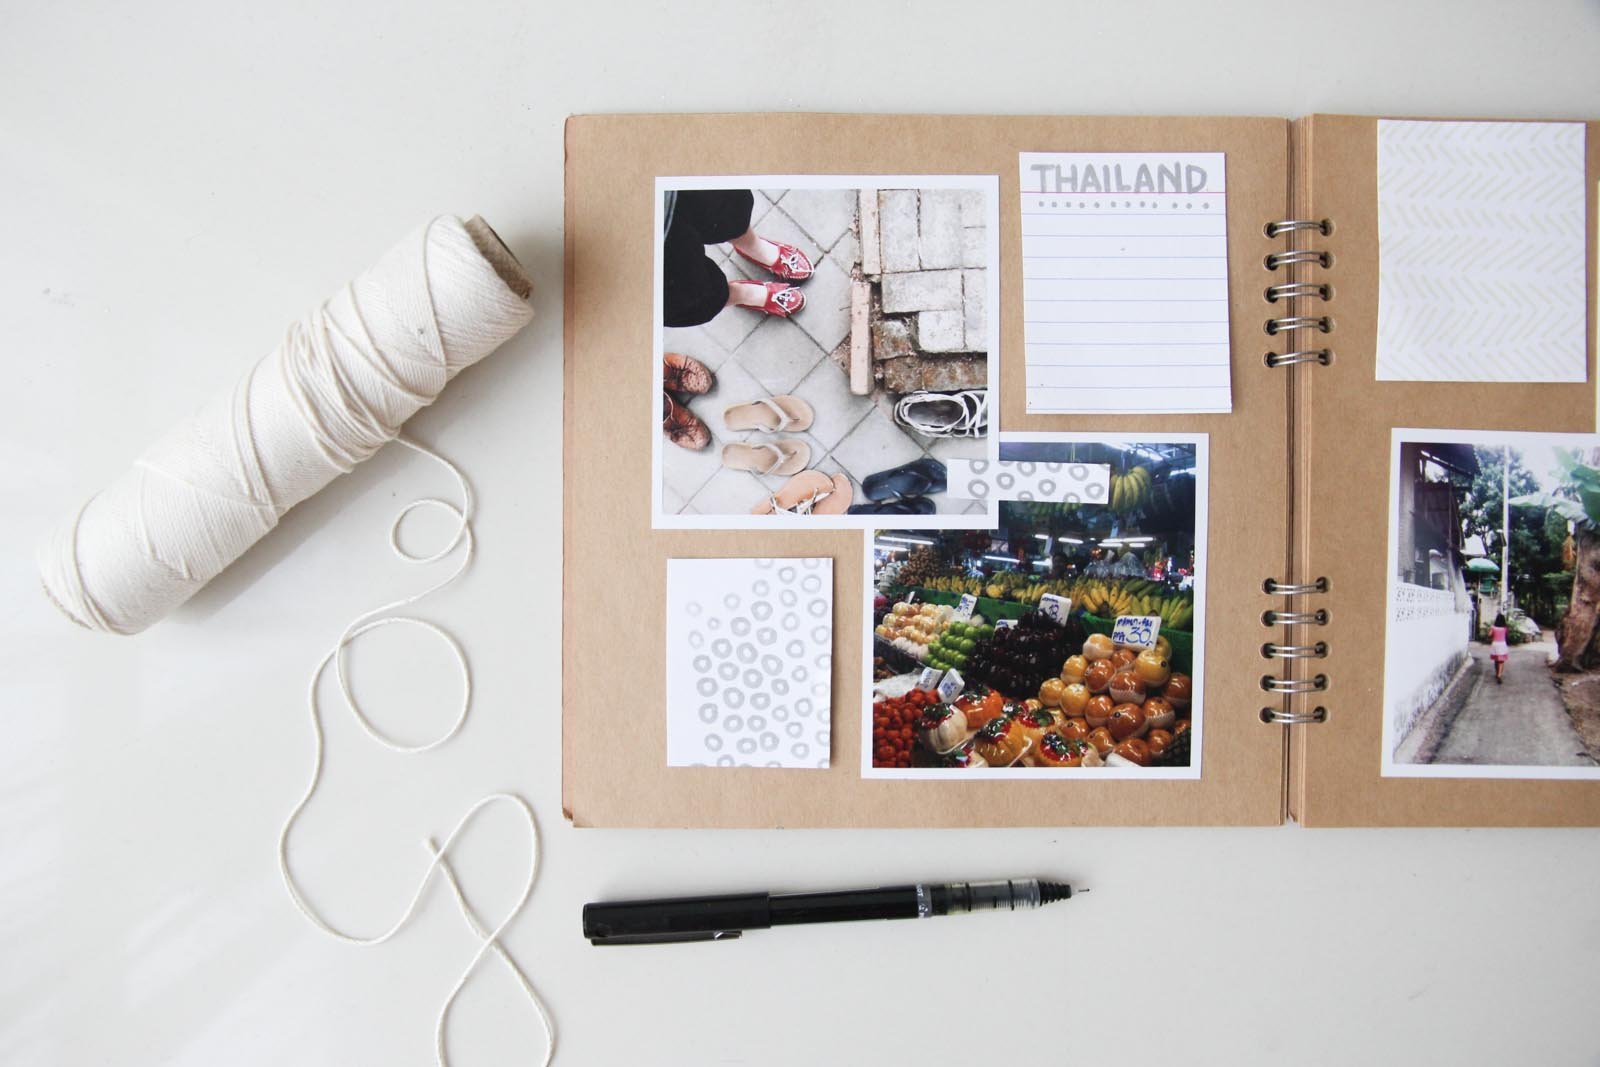
For this scrapbook (which falls somewhere in between a scrapbook, travel journal, and sketchbook) I decided to go minimal with colors and simply use black on kraft, allowing my drawings and the colors in my photos to take precedence. I also decided to leave lots of negative space (blank space on the page) to give this book a minimal aesthetic.
Think of a few descriptive words you want to use for your scrapbook: will it be bold, graphic, whimsical, earthy, neutral, cool, soft, or feminine? Write your words down and refer to them as a style guide throughout your creative process. This is also a good time to collect inspiration images or start a mood board on Pinterest. For starters, see my "Scrapbooks + Sketchbooks" board on Pinterest.
2. CHOOSE A COLOR SCHEME
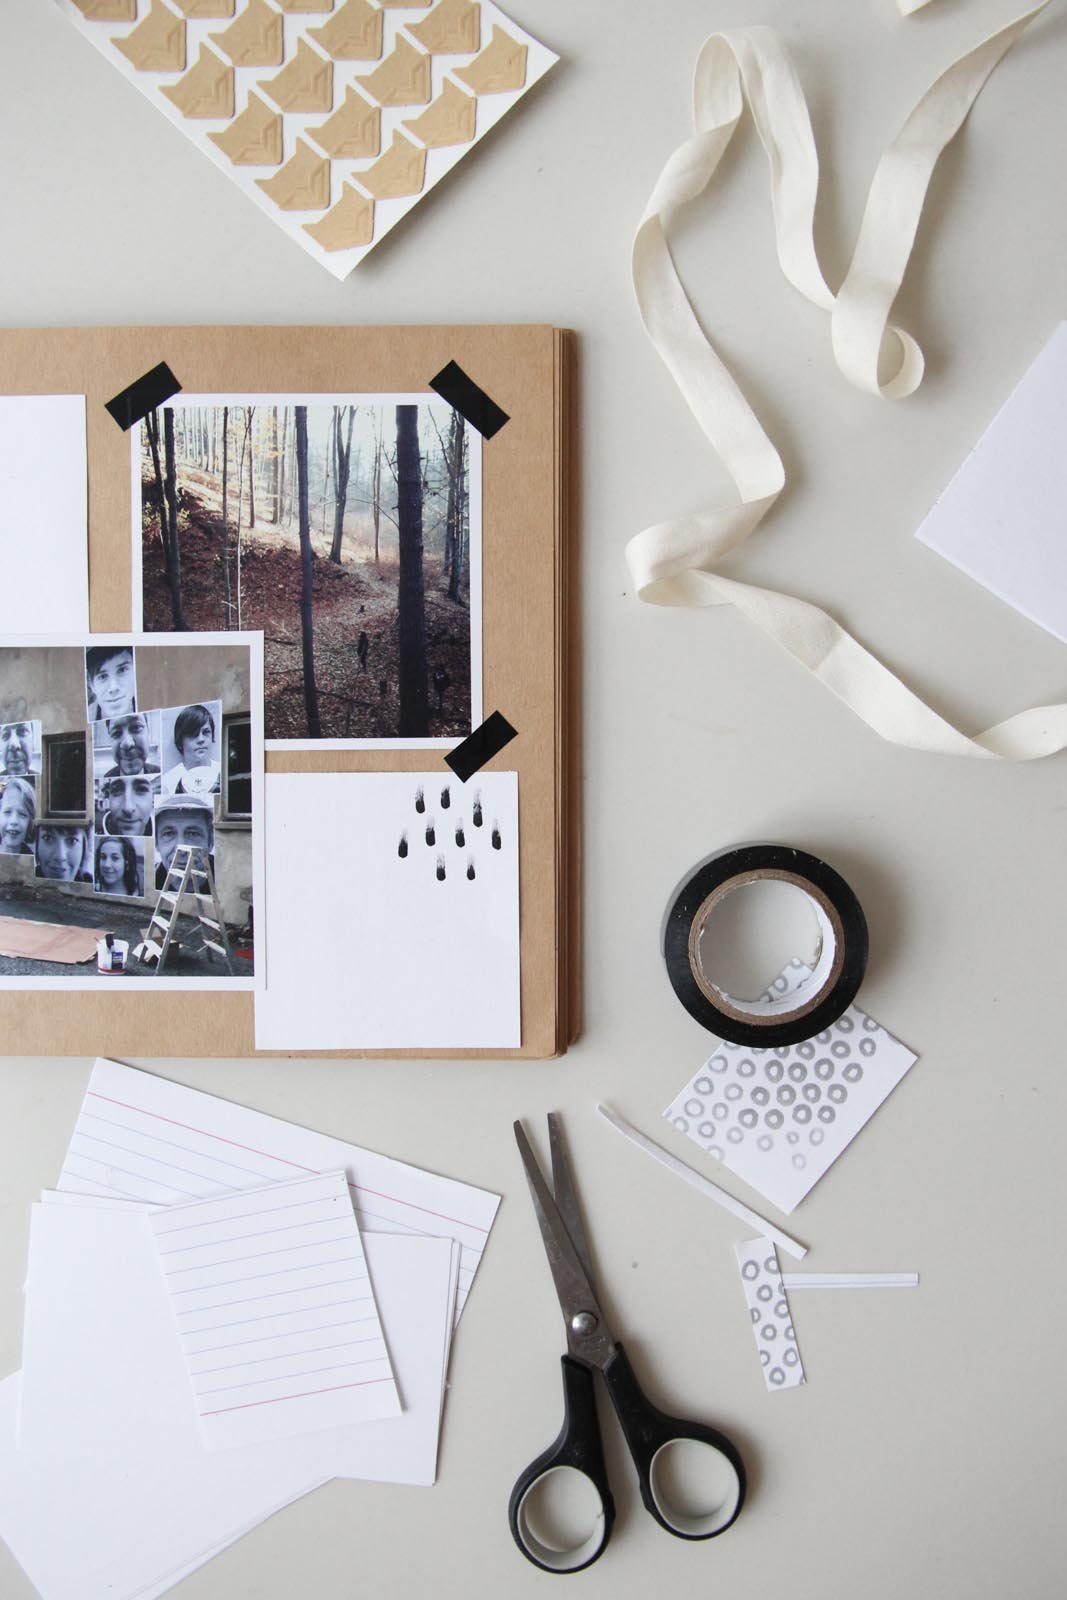
Start by choosing a type of paper (you can try white, cream, black, or kraft as I've used in the picture here). This is very much connected with your theme, as your paper choice will directly impact the mood of your scrapbook so think about what kind of mood you want to associate with these memories. Is it bright, cheerful and celebratory or earthy and natural?
Once you've chosen your paper type, you'll need to pick out your color scheme.
Choose colors that match the setting and the mood of your images. For example, for a summer scrapbook, choose bright colors while a winter holiday book might have more subdued colors. I think it's best to take a good look at the images you'll be working with, and draw your inspiration from them. Try to capture the spirit of the memories you're working with!
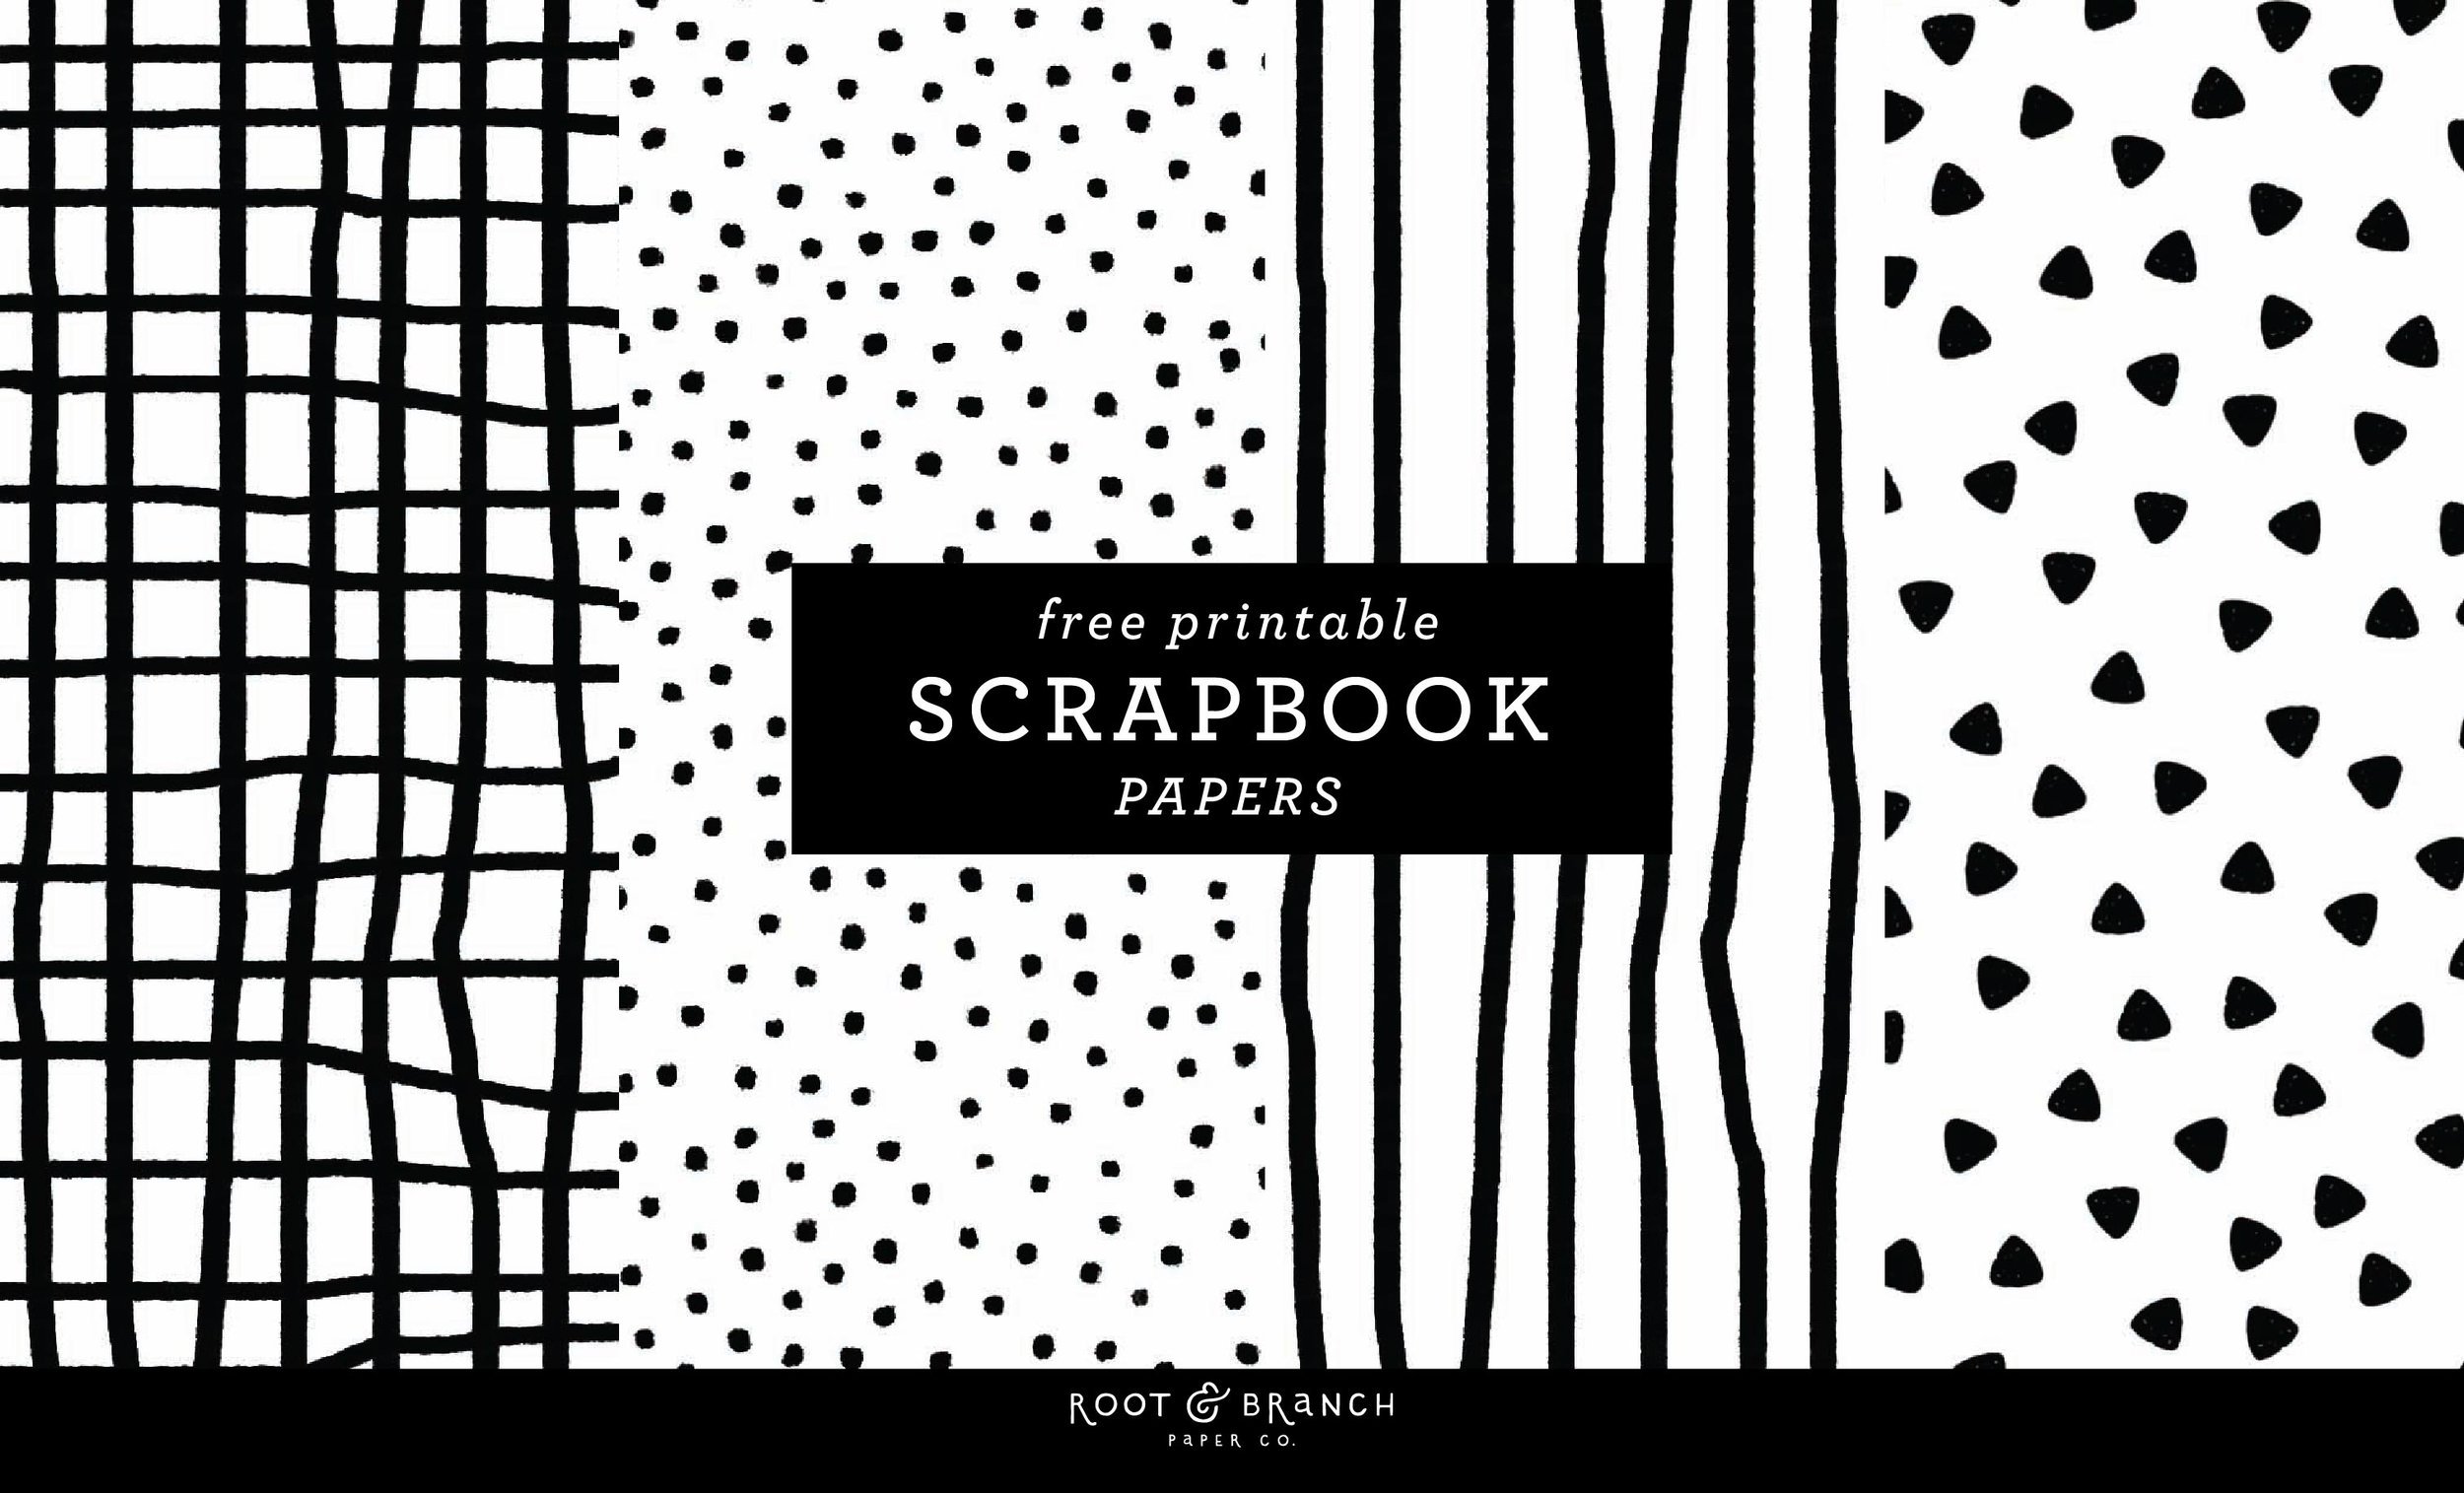
I personally tend to gravitate toward minimal designs and I LOVE a good black and white palette. I created these digital spreads with some handmade printable scrapbook papers that are available to download for free. They're perfect for creating that effortless, minimal look and can be used in hands-on or digital scrapbooks.
4. THINK OF EVERY PAGE AS A STORYTELLING TOOL
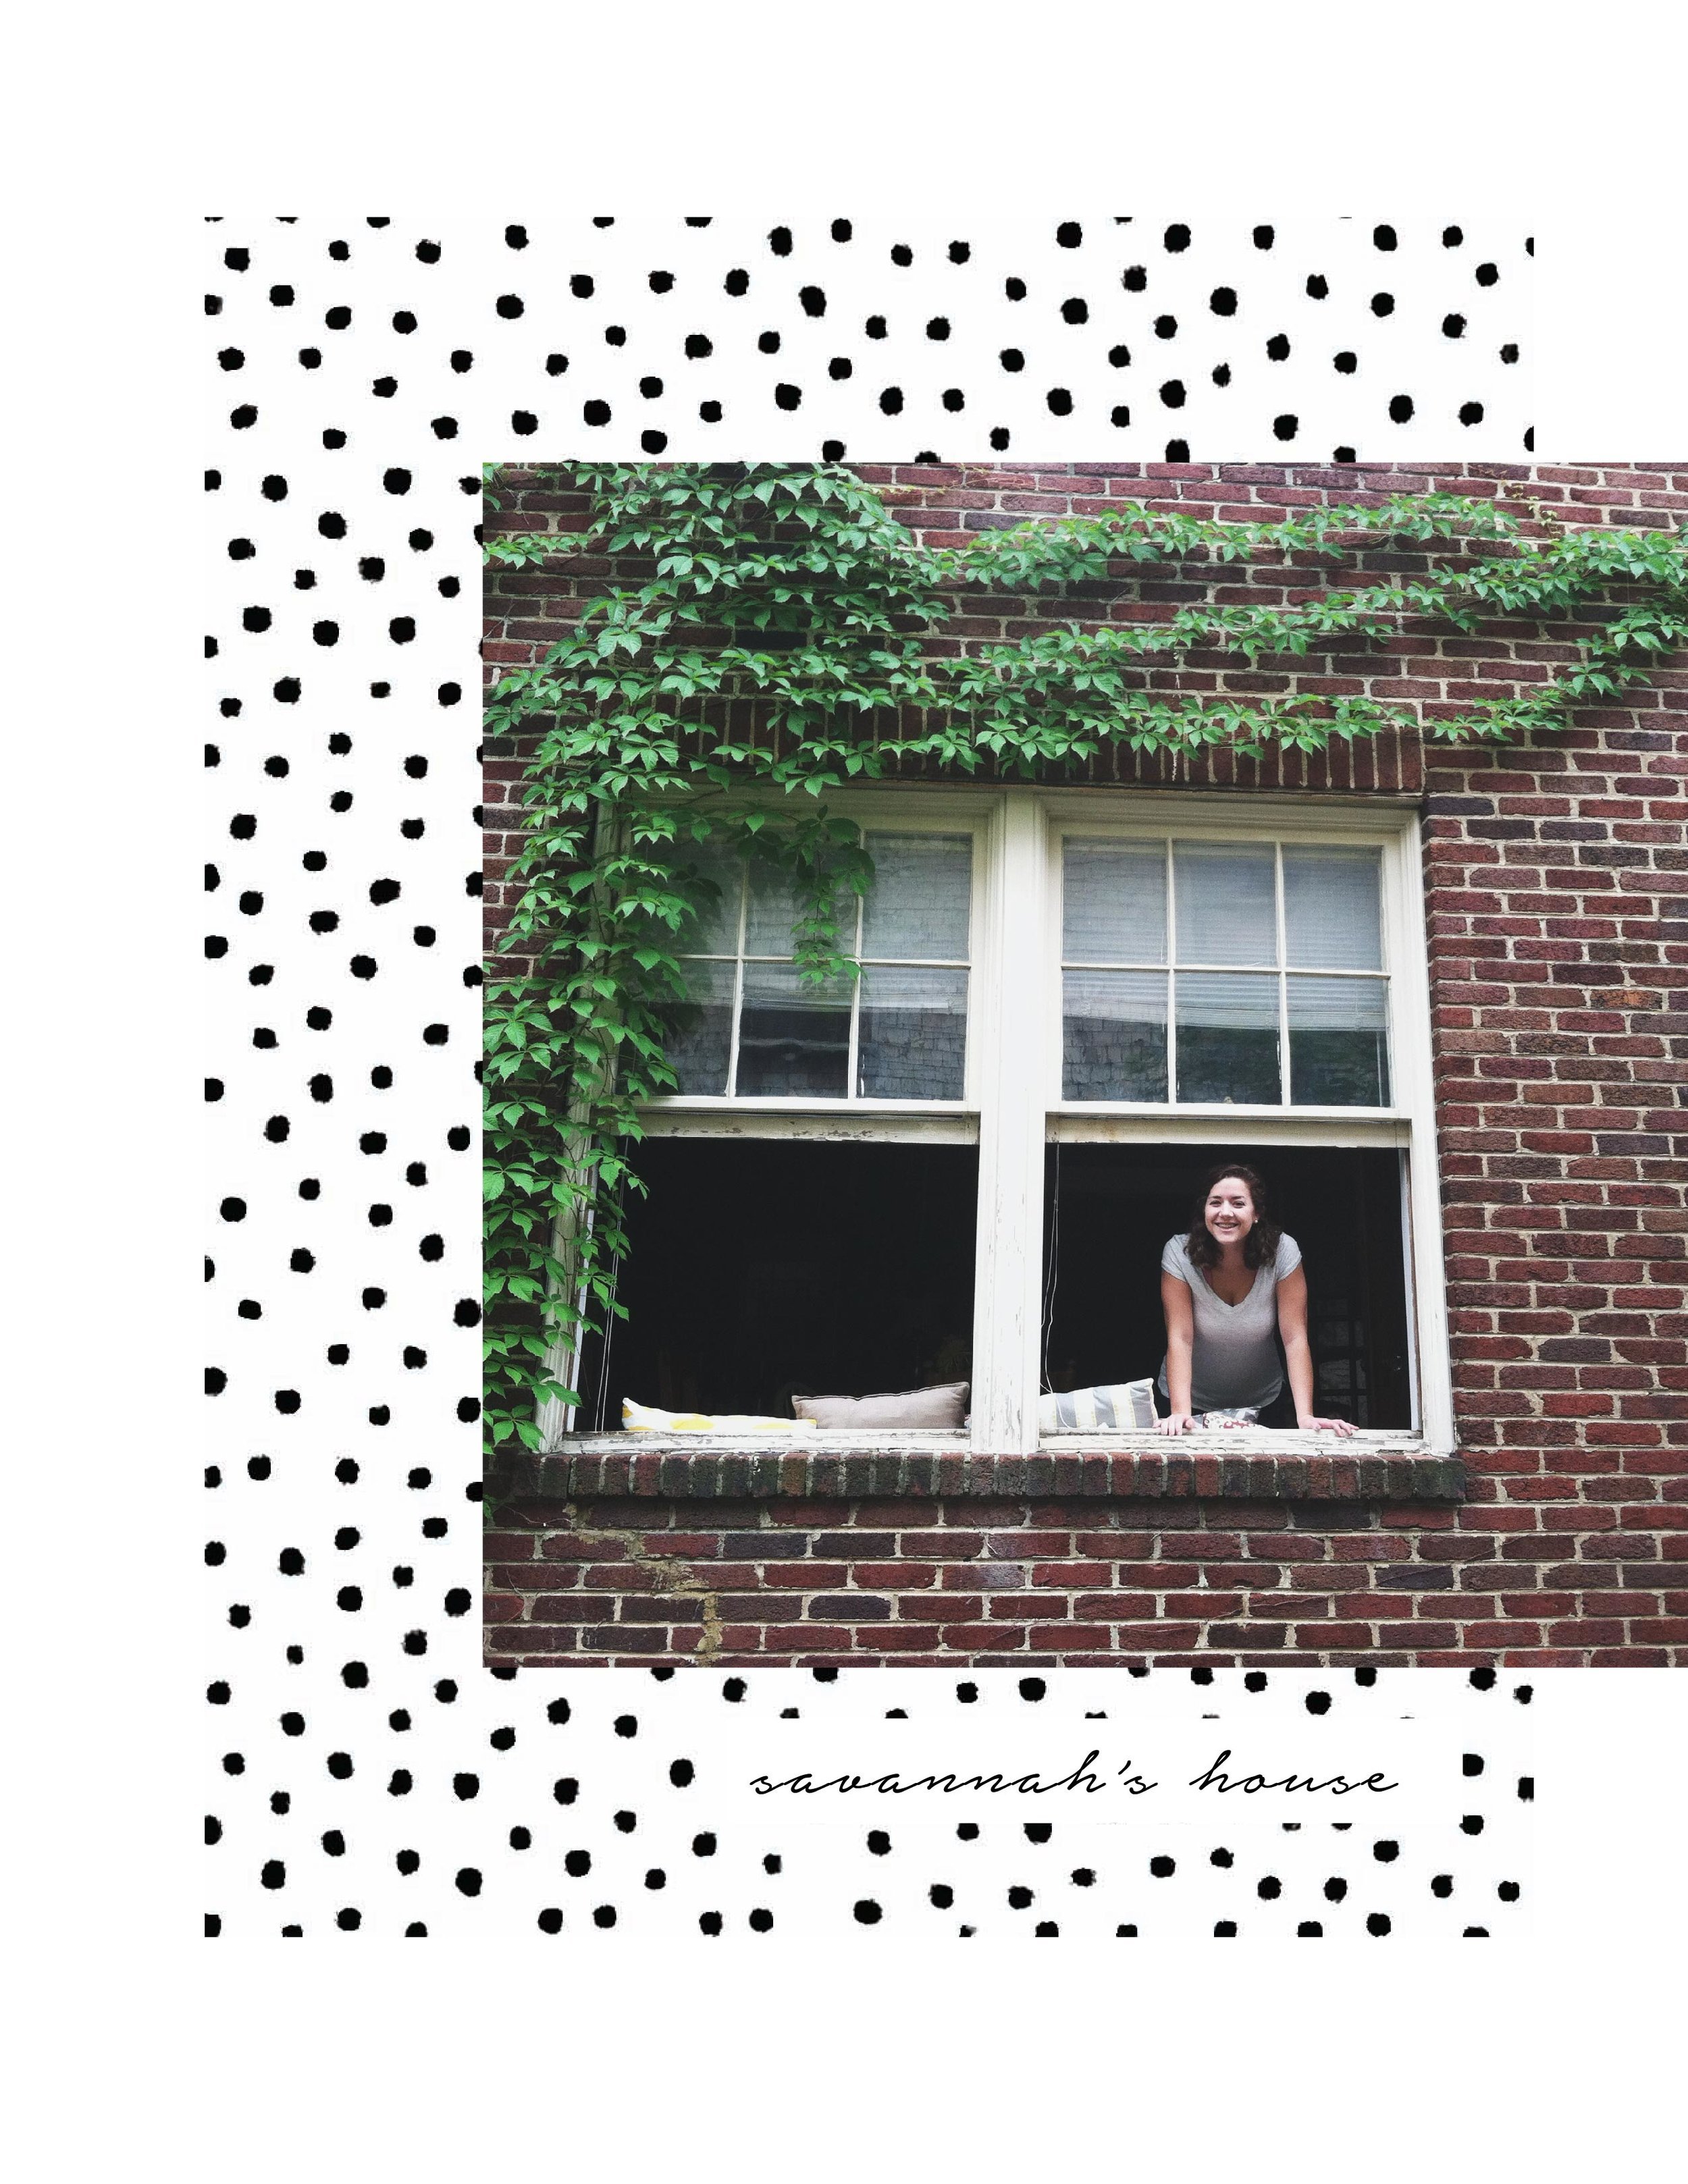
Essentially a scrapbook is just one big visual to illustrate and bring life to your memories. You want to create layouts that enhance these stories for friends, family members, and even future generations to appreciate years from now. One thing I've found helpful is to approach every page as a space to tell one small story. Even if the overarching story of your scrapbook is a long one (for example, your baby's first year or a year studying abroad) choose a small, bite-sized portion of your story to focus on for each spread. This will help you stay focused and honor those memories.
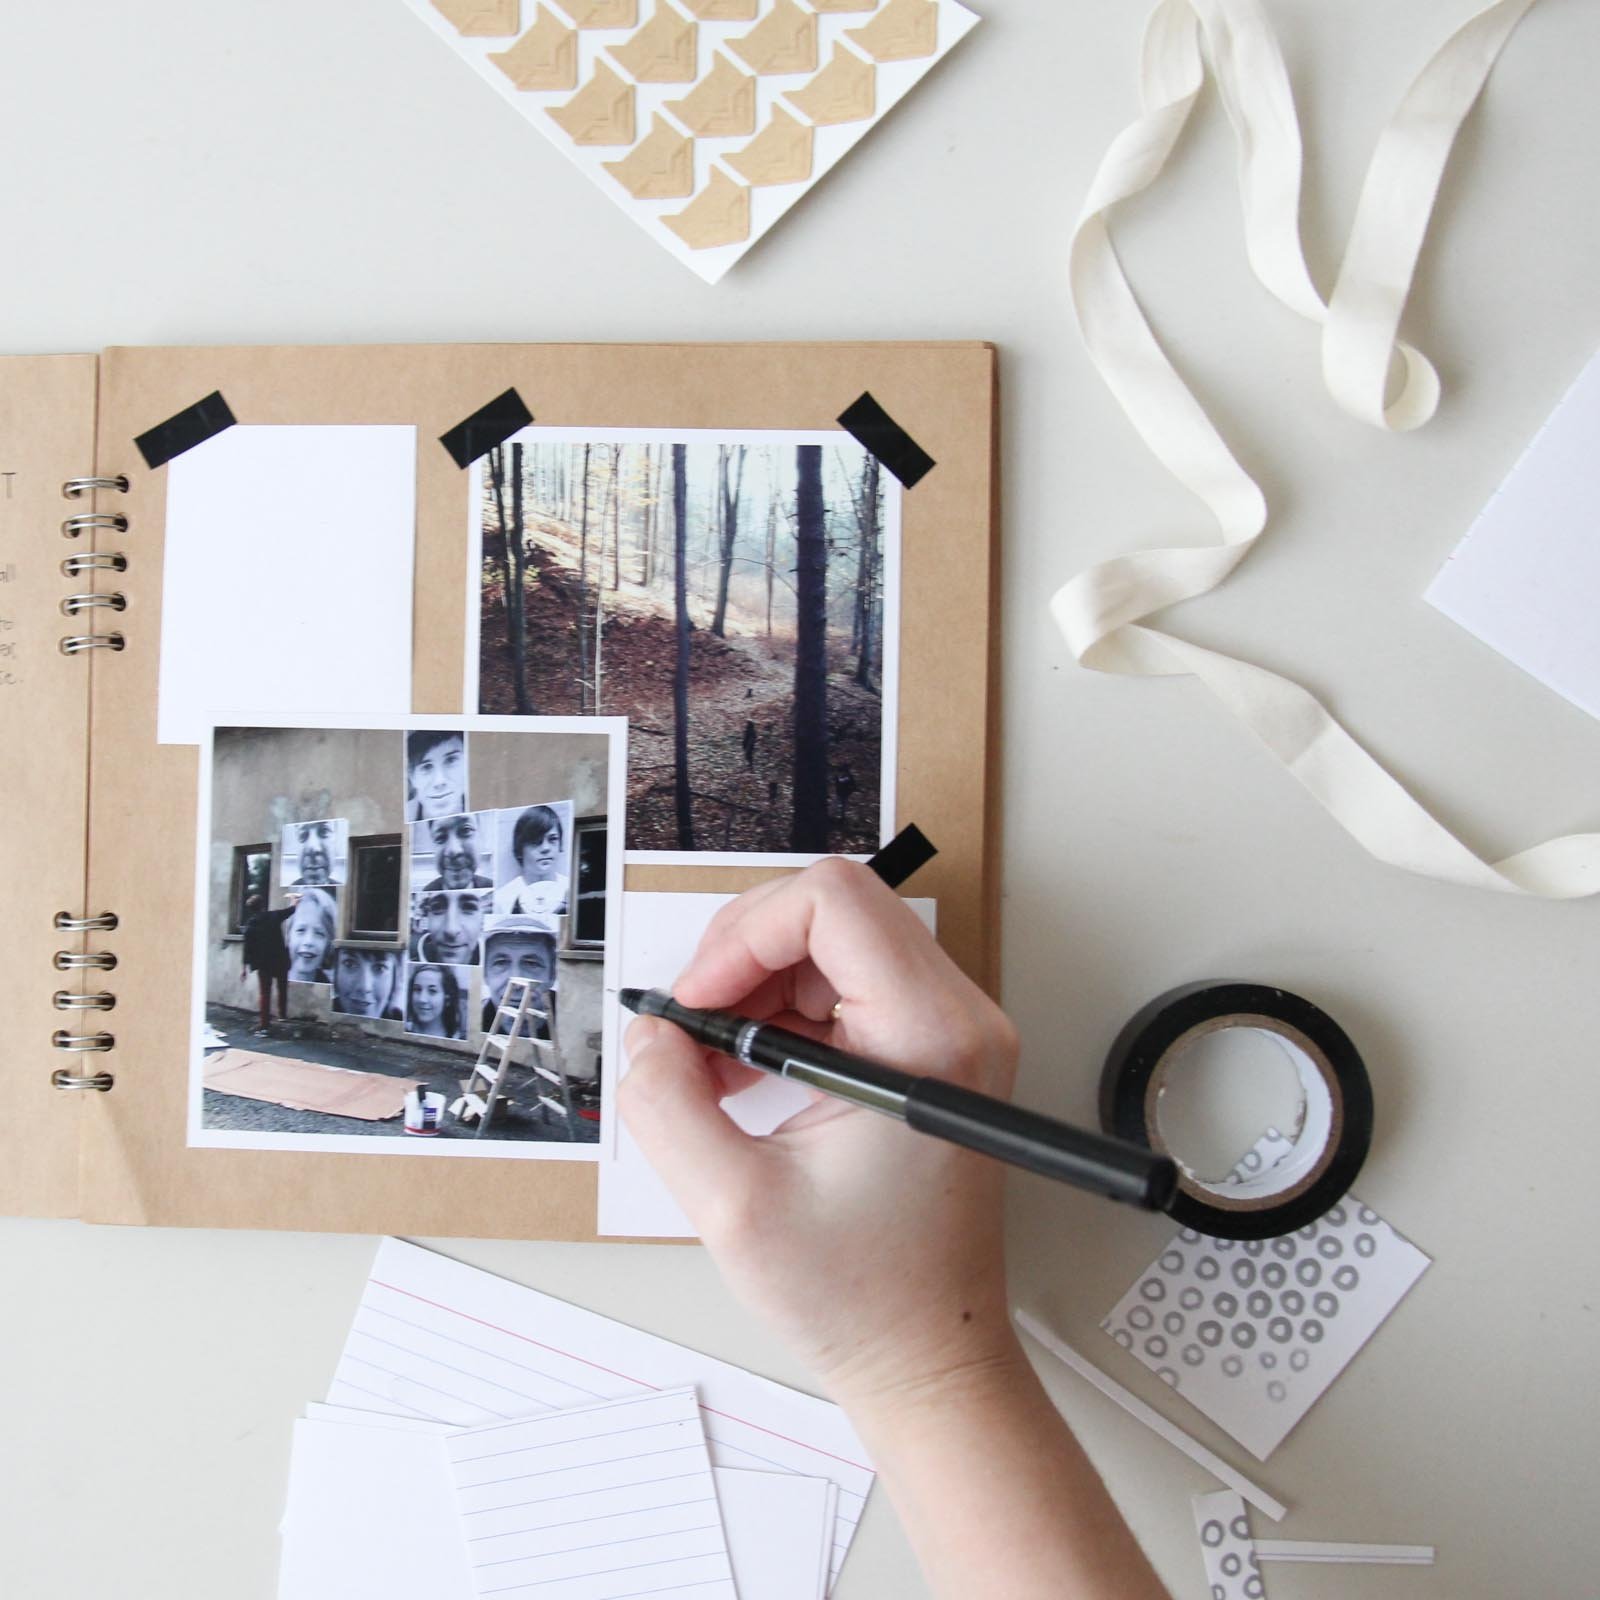
5. Don't Be Afraid to use your handwriting (no matter how sloppy!)
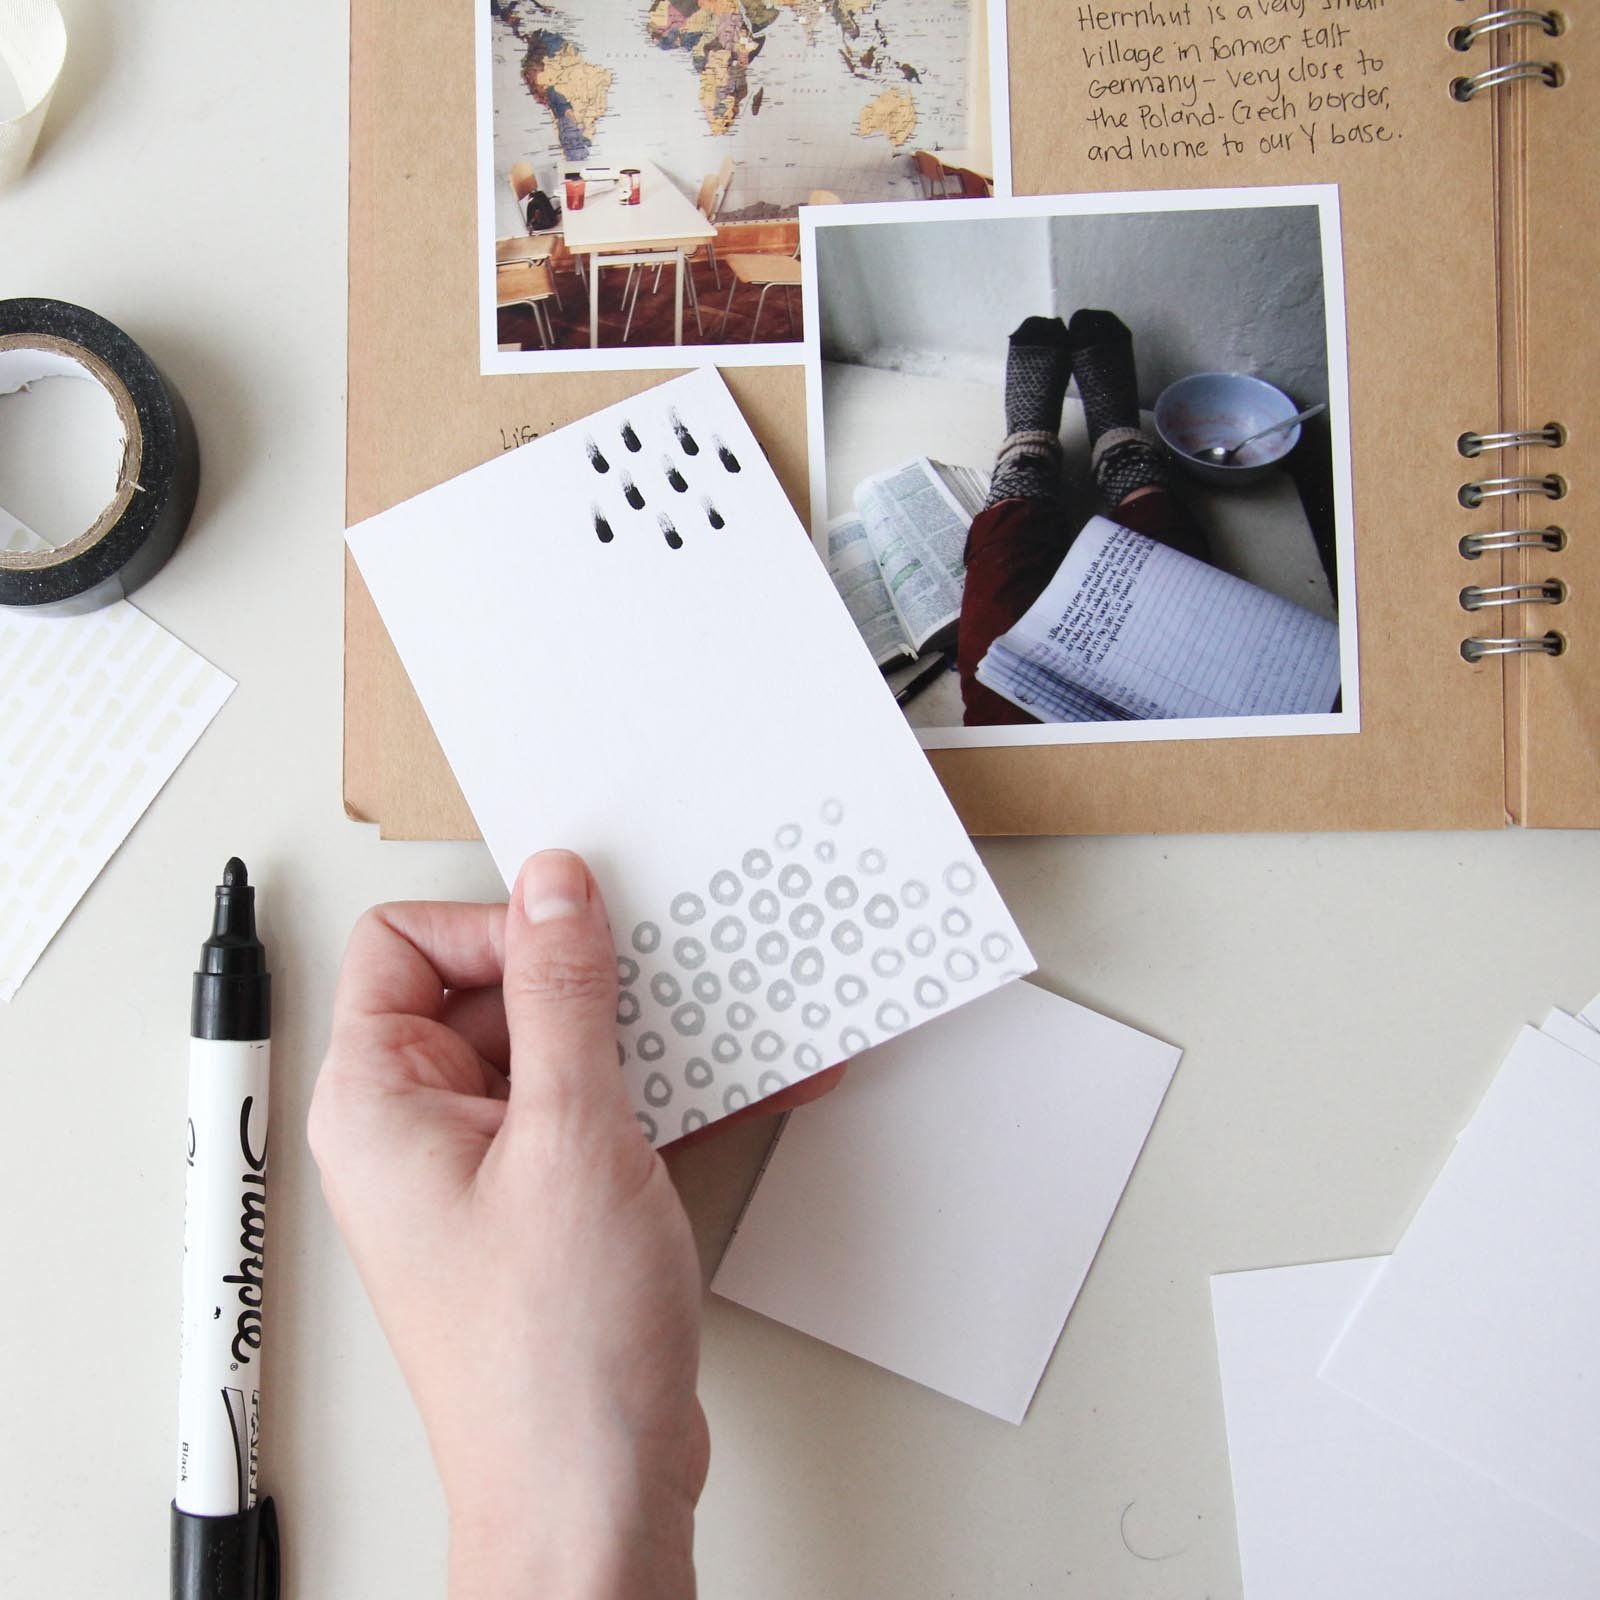
I think one of the most beautiful parts of a scrapbook is the handwritten elements. Often it's tempting to use stickers or type to avoid writing because our handwriting is less than perfect. But honestly I think handwritten elements are the most personal and unique touch you can add to your scrapbook. Think about it this way: imagine your book being read in 10, 20, or even 50 years from now. If it is written by hand, it will be a handwritten letter from the past. Your handwriting is unique to only you, embrace it! I recommend sectioning off small blocks of blank paper to use as "handwriting blocks." I also like to write on separate pieces of paper and then taping them into your scrapbook. This gives you a bit of insurance in case you make a mistake ;)

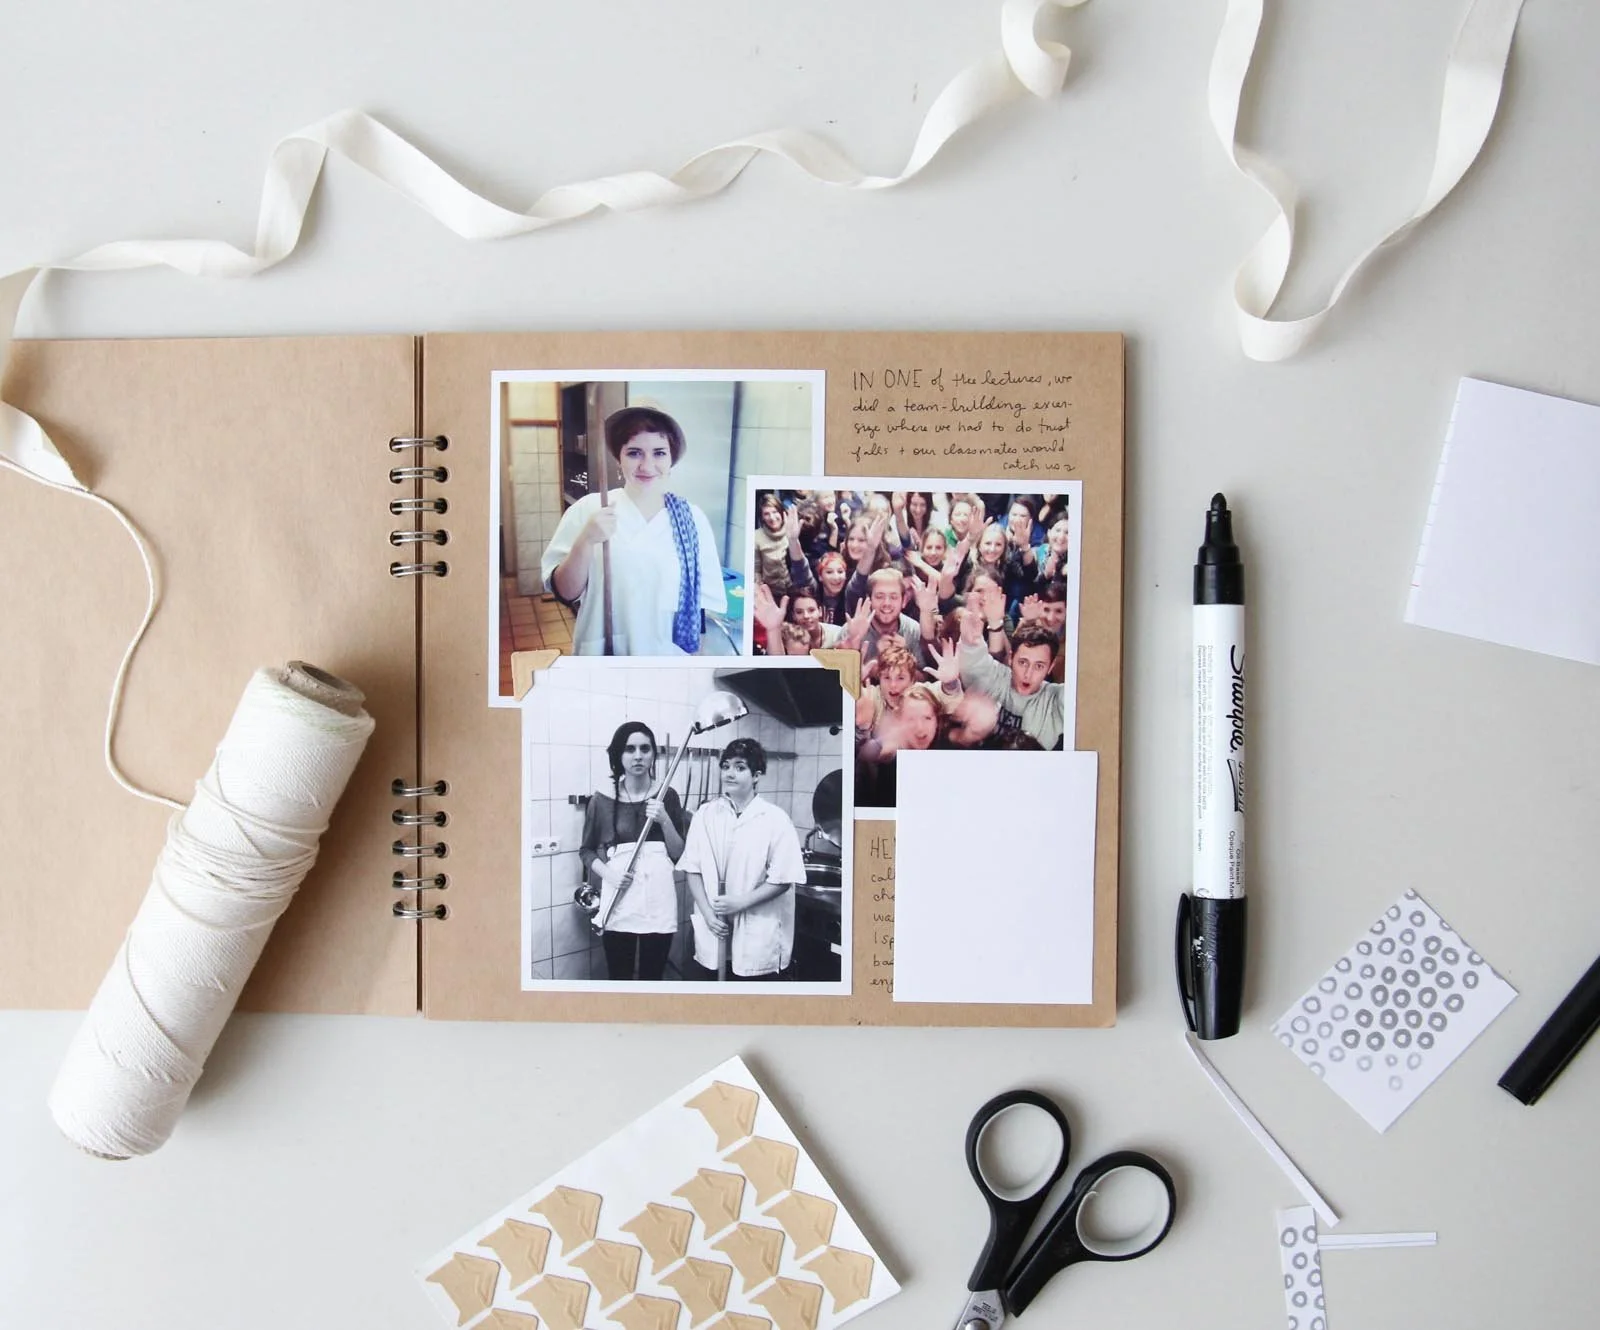
6. Choose a Unique Blank Book
As you can see from photos, I'm a huge fan of kraft page scrapbooks. I think they lend a natural, handmade feel to the book, which complements my style and creates a timeless look. I got these books at Japanese design store MUJI (I love this store!) Muji products aren't so easy to find in the States, but I found some of their notebooks on Amazon, which you can find here.
Be aware though, if you're using a notebook like the one I use from Muji, the spiral binding isn't made to accommodate thicker pages, and when you glue in your photos and other elements, the book can start to feel a bit "stuffed." What I've done to counteract that is just to tear out a few pages of the book before I even begin. That way, no matter how many photos I add, the notebook still folds flat when closed, and doesn't put too much strain on the binding. Spiral bound books are especially good for this reason!
I worked hard to design and manufacture some lovely spiral bound books that are carried in my shop. They’re great for scrapbooking, especially in our blank page style!
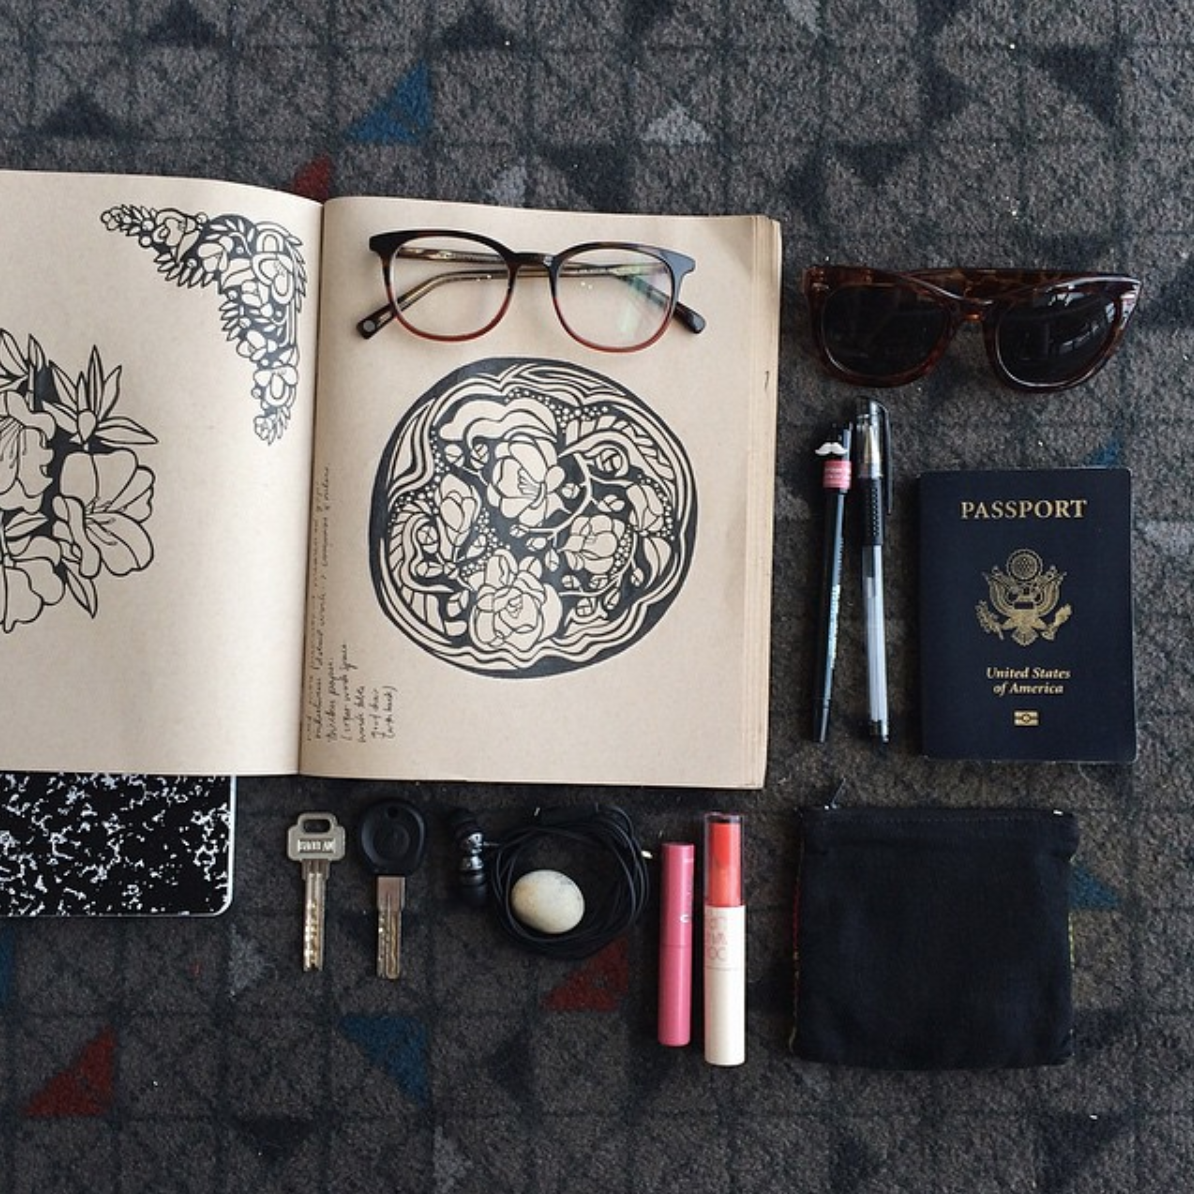
7. Don't Limit Yourself to Using Only Photos! Think Outside the Box
Some of the most beautiful and intriguing scrapbooks are the ones that display a collection of memorabilia. Think ticket stubs, paper scraps and receipts from special outings, bits of wrapping paper and ribbons from birthday or holiday gifts, dried leaves and flowers, programs and event flyers, magazine and newspaper clippings, old stamps, postcards, letters, envelopes and handwritten notes.
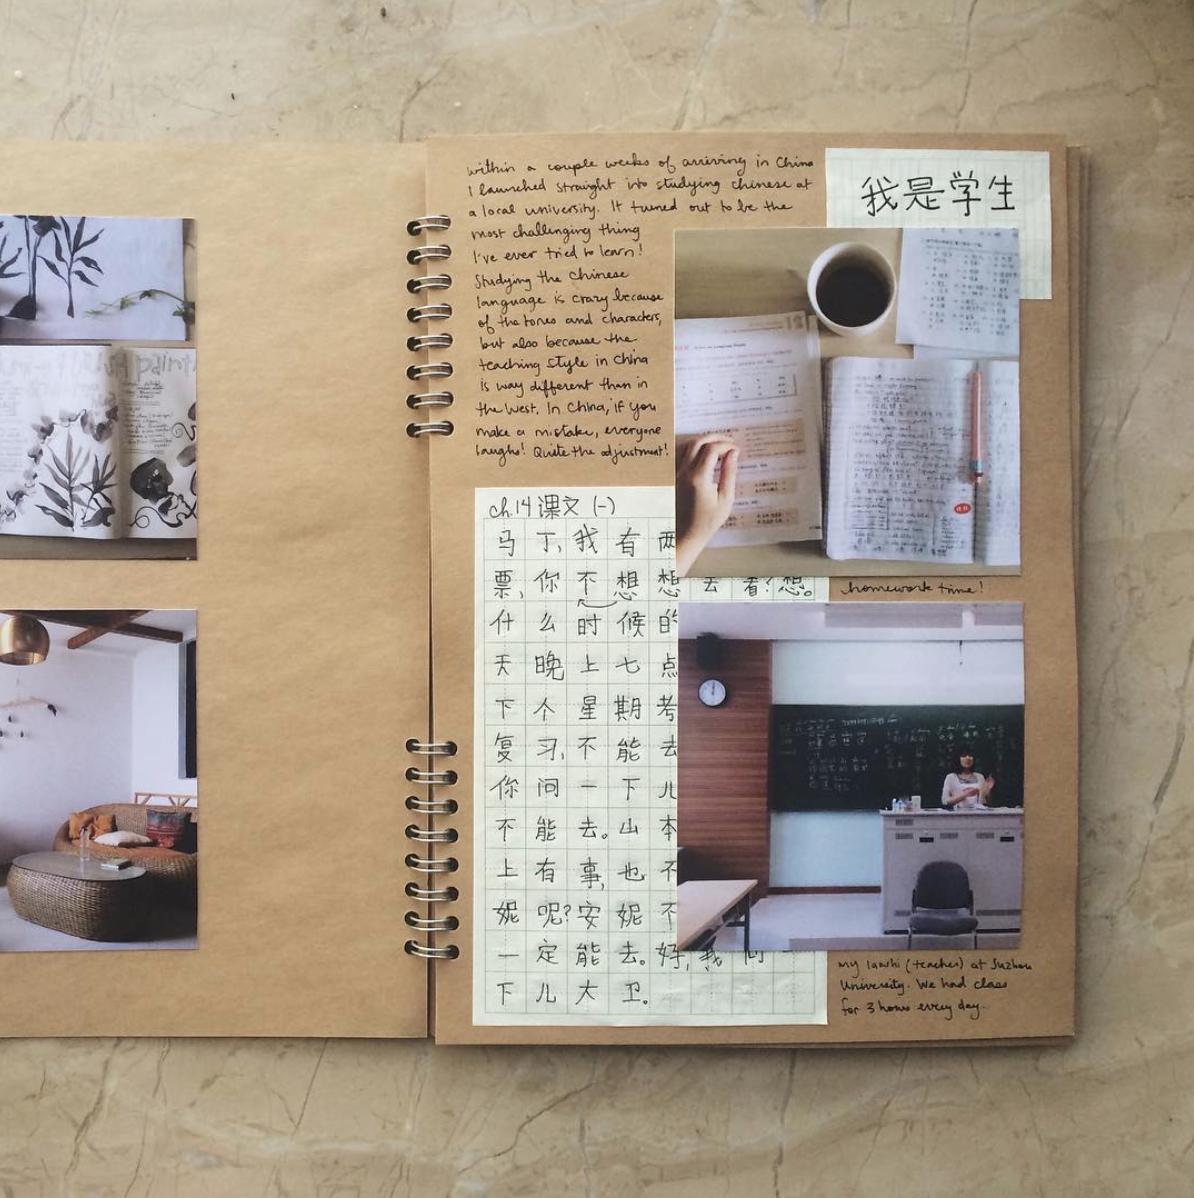
Now's the time to embrace your sentimental side! Before you clear out that junk drawer, think about how you could repurpose little scraps as decorative elements in your scrapbook pages. For example, in this page I've used an old sheet of notes from my Chinese class as a layering element to create a bit of visual interest in the background.
8. USE ACID-FREE + ARCHIVAL MATERIALS
This is a very important point to ensure your scrapbook survives many years! These days you can find beautiful papers, tapes, including our illustrated washi tapes, and glues in almost any form, but not all of them are made to last. Be cautious when choosing your supplies, and don't just go straight for the stuff in the prettiest packaging! (Is anyone else guilty of shopping this way? Yeah, me too).
When it comes to paper, make sure your paper is marked as acid-free and archival. Acid-free means that the paper is made with a neutral or basic pH. I don't want to get all science-y on you, but this means that the acidic elements of the tree pulp (the culprits that cause paper to become yellow and brittle after long periods of time) have been neutralized in the production process. Acid-free paper is made specifically for artwork and documents intended to be preserved. Papers that are marked "Archival" quality have been tested and proven to last. Basically, if you're shopping in the scrapbooking section, most materials are going to be acid-free and archival. Just keep these terms in mind if you (like me) tend to use a wider variety of papers and materials.
I highly recommend using double-sided tape instead of glue. Make sure you apply the acid-free, archival standard to your tape as well as your paper. There are a plethora of good tapes out there made specifically for scrapbooking, and I highly recommend buying one that comes with a handy dispenser. A good choice is the Tombow adhesive dot dispenser, available here.
If you're really concerned about the preservation of your scrapbook, use a book that includes or offers an easy way to add plastic sleeves to protect your pages from aging and fingerprints. Again, I recommend Creative Memories for this. You can find one of my favorites of their books here, with corresponding pages here. As an added bonus, these pages are available in white, cream, kraft and black, so using this book, there are tons of options for you to get creative with your style!
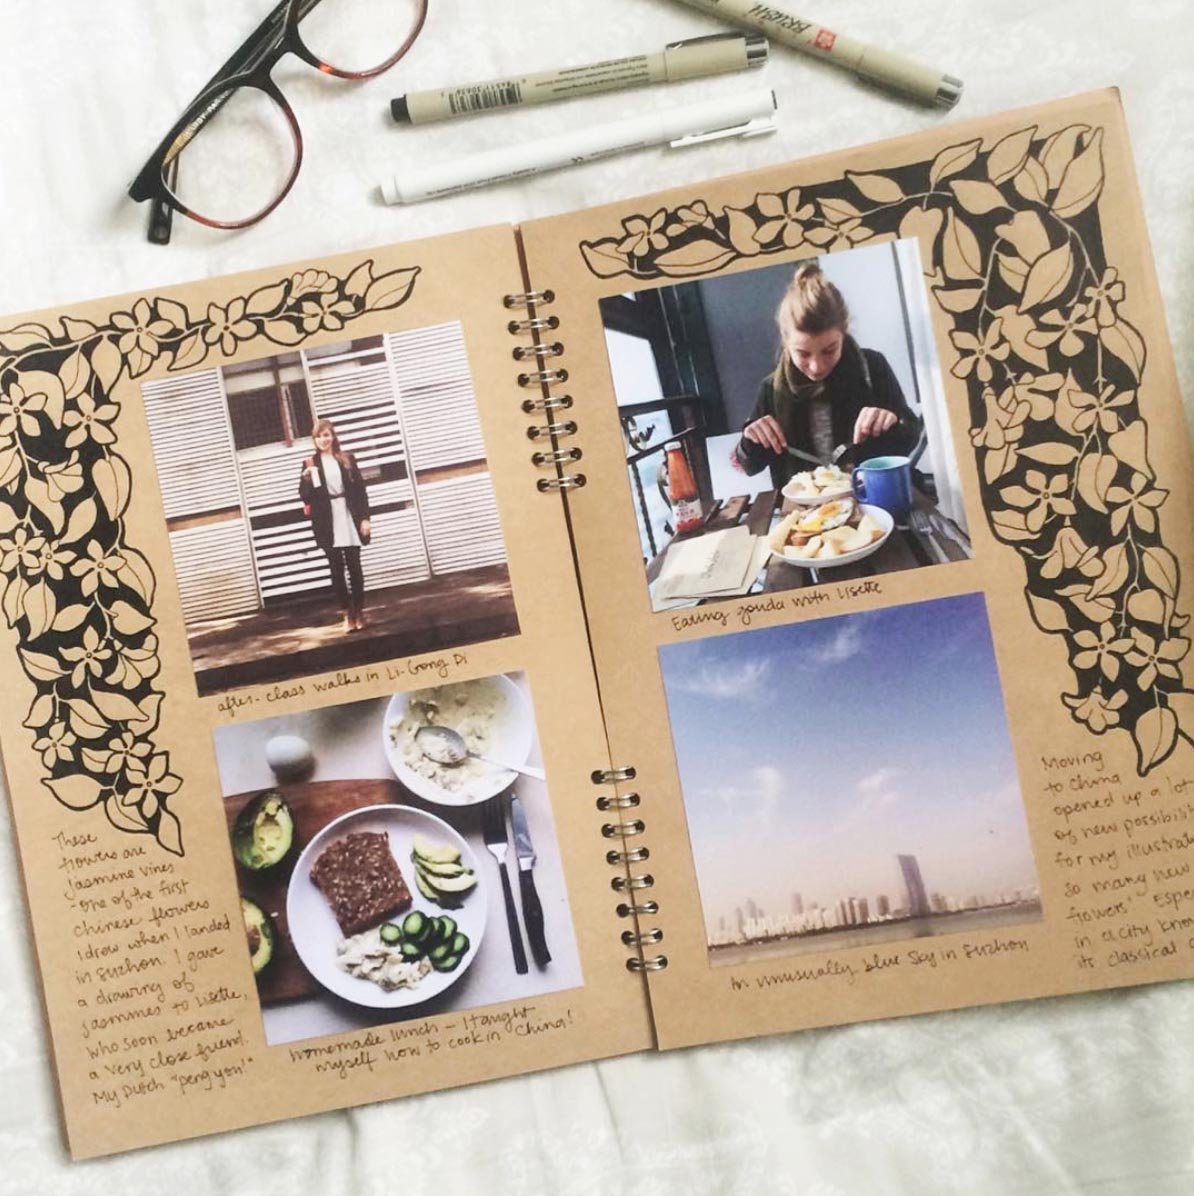
9. CREATE YOUR OWN DECORATIVE ELEMENTS
This is one way to make your scrapbook a work of art, with no real art skills necessary (I promise!) All you need is blank paper and your choice of materials: pens, markers, colored pencils, watercolor, acrylic or gouache paints.
One of my favorite ways to add visual interest to a page is by creating a handmade "pattern" and then using scissors to cut it up into background pieces. This doesn't have to be complicated. I suggest drawing colors from your images, or creating simple black and white or grey and white patterns that will complement your photos, as seen below:


For an easy shortcut, download our free printable scrapbook papers in black and white. They're the perfect way to add a bit of texture to a minimal scrapbook, and they are available for Root & Branch email subscribers. Not a subscriber? Get in here:
10. DON'T HIDE YOUR SCRAPBOOK AWAY!
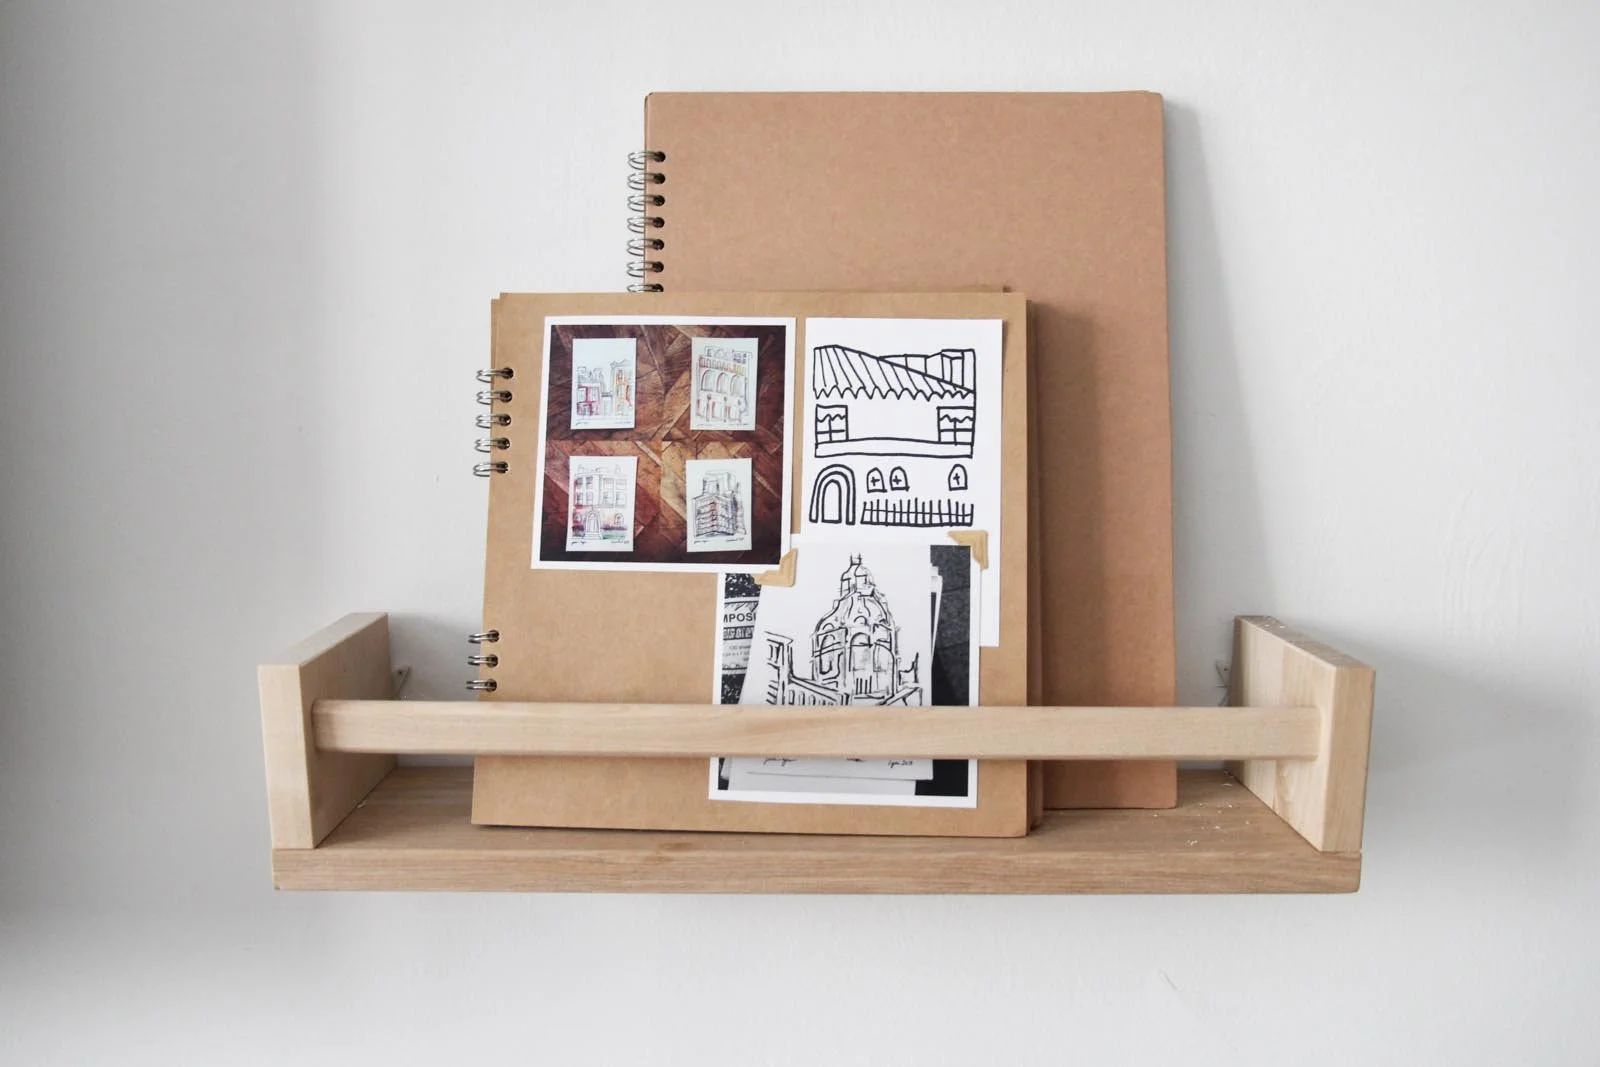
I think most scrapbooks end up on a shelf somewhere or hidden deep in a closet, waiting until that next dinner party or time to relive embarrassing moments at a family holiday. This shouldn't be! I think if you put in the effort to make a beautiful scrapbook, you should put it on display!
An easy way I've found to do this is using these $4 shelves from IKEA. They don't take up much space but it keeps my scrapbooks out in my living room, incorporating them into my home decoration. This means your scrapbook is always at hand's reach in case you want to share it with someone, and it's harder to forget about ;)
I found a couple other scrapbook shelf options here and here.
This scrapbook is only halfway finished, but I still put it on display, partially as a way to remember my experiences, but also as a reminder to finish it! Haha!
11. A BONUS TIP: KEEP YOUR OPTIONS OPEN!
This is especially helpful for when you're creating a scrapbook on a time crunch (and who isn't?) One thing I like to do is build in a bunch of open "text blocks" like the white box featured here.
Basically what this does is that it gives you a chance to postpone one aspect of your creative process and still create a page or spread that still looks finished.
I like to create my spreads in 3 steps: first choosing and arranging images or main visual pieces, then adding decorative elements, then finally going in and adding handwritten "captions" or journaling.
This third step is by far the most detailed and intensive part, so it's good to save it until you're really ready!
Building these text blocks into my spread layouts allows me to go through and "journal" my scrapbook when I feel inspired. Writing takes up a different kind of energy than arranging and glueing photos, which is a more mindless task that can even be done while watching TV. Give yourself the freedom to finish anytime, while still making a book that feels "finished enough" that you can share it with others.
Sometimes it's also fun to ask friends or family members to hand-letter or write their own take on an experience, if they were there too.
Well, there we have it!
That's my 10 tips (and one extra!) on making a beautiful, unique, and professional scrapbook. Hope you all have enjoyed and benefitted from this!
What scrapbook will you be working on next? A wedding memory book? Baby book? Travel book? Let me know in the comments!
And don't forget to sign up to download your printable scrapbooking papers.
For more creative inspiration, tips and ideas, visit our shop or follow Root & Branch on instagram.
Happy scrapbooking!
xx
Jessie