Ranunculus
Disclaimer: This site contains affiliate links to products we wholeheartedly believe in. Your purchases through these links help us bring you more valuable flower-farming content. Thank you for being so supportive!
The remnants of spring days are dwindling and will soon be another echo of a past season.
With the cold spring that captivated our area this last year, some of the more cool loving blooms are hanging in the garden, though with the summer solstice here, on cultivar in particular is displaying signs that it is time to say “goodbye” until next year. I embrace the fluctuations each season (somewhat begrudgingly) but ultimately, I have no choice.
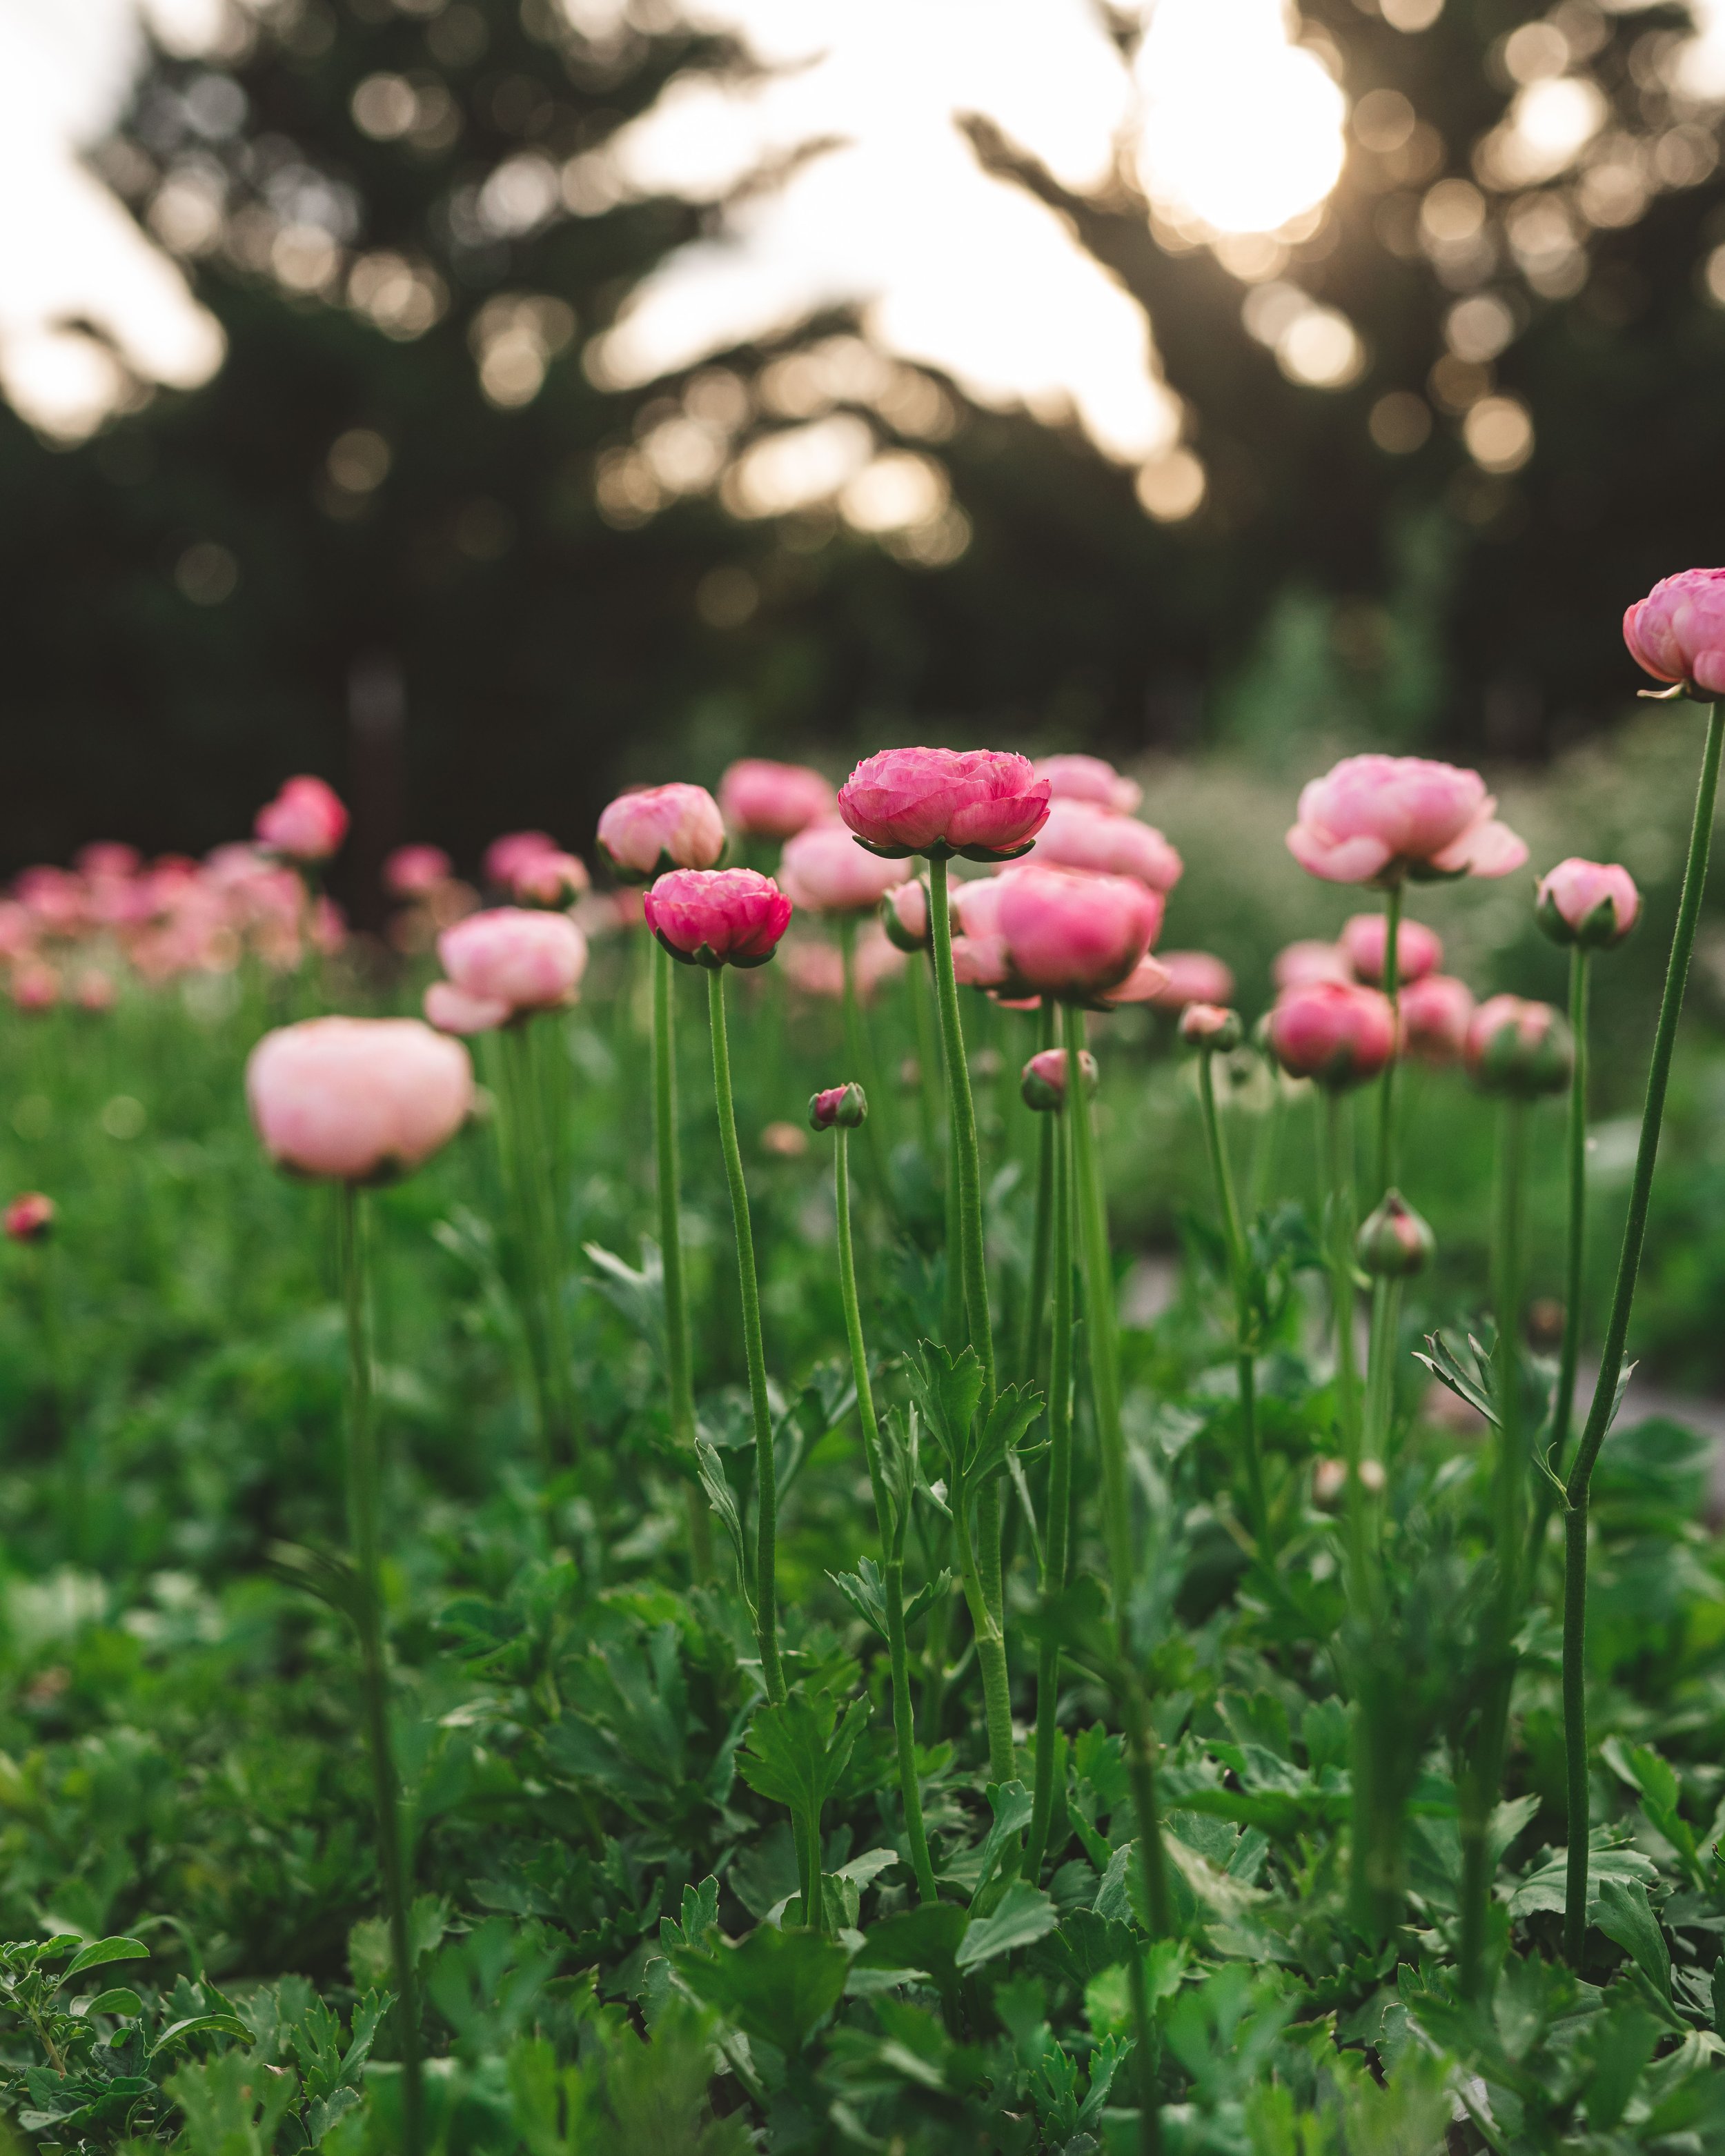
One flower in particular is always difficult to let go because it is so gorgeous and versatile that as I wait for the dahlias to come in, I find myself in limbo. I’m specifically referring to none other than “rose of the spring,” my fickle (yet endearing) friend the ranunculus.
I’d like to send the ranunculus off with a great send off by gushing about them and hopefully helping you to navigate your own patch of these beauties for next spring. They can be a little finicky, as they are what I think of as the Goldilocks of the flower world, but with a little help they will produce armloads of blooms to make you swoon!
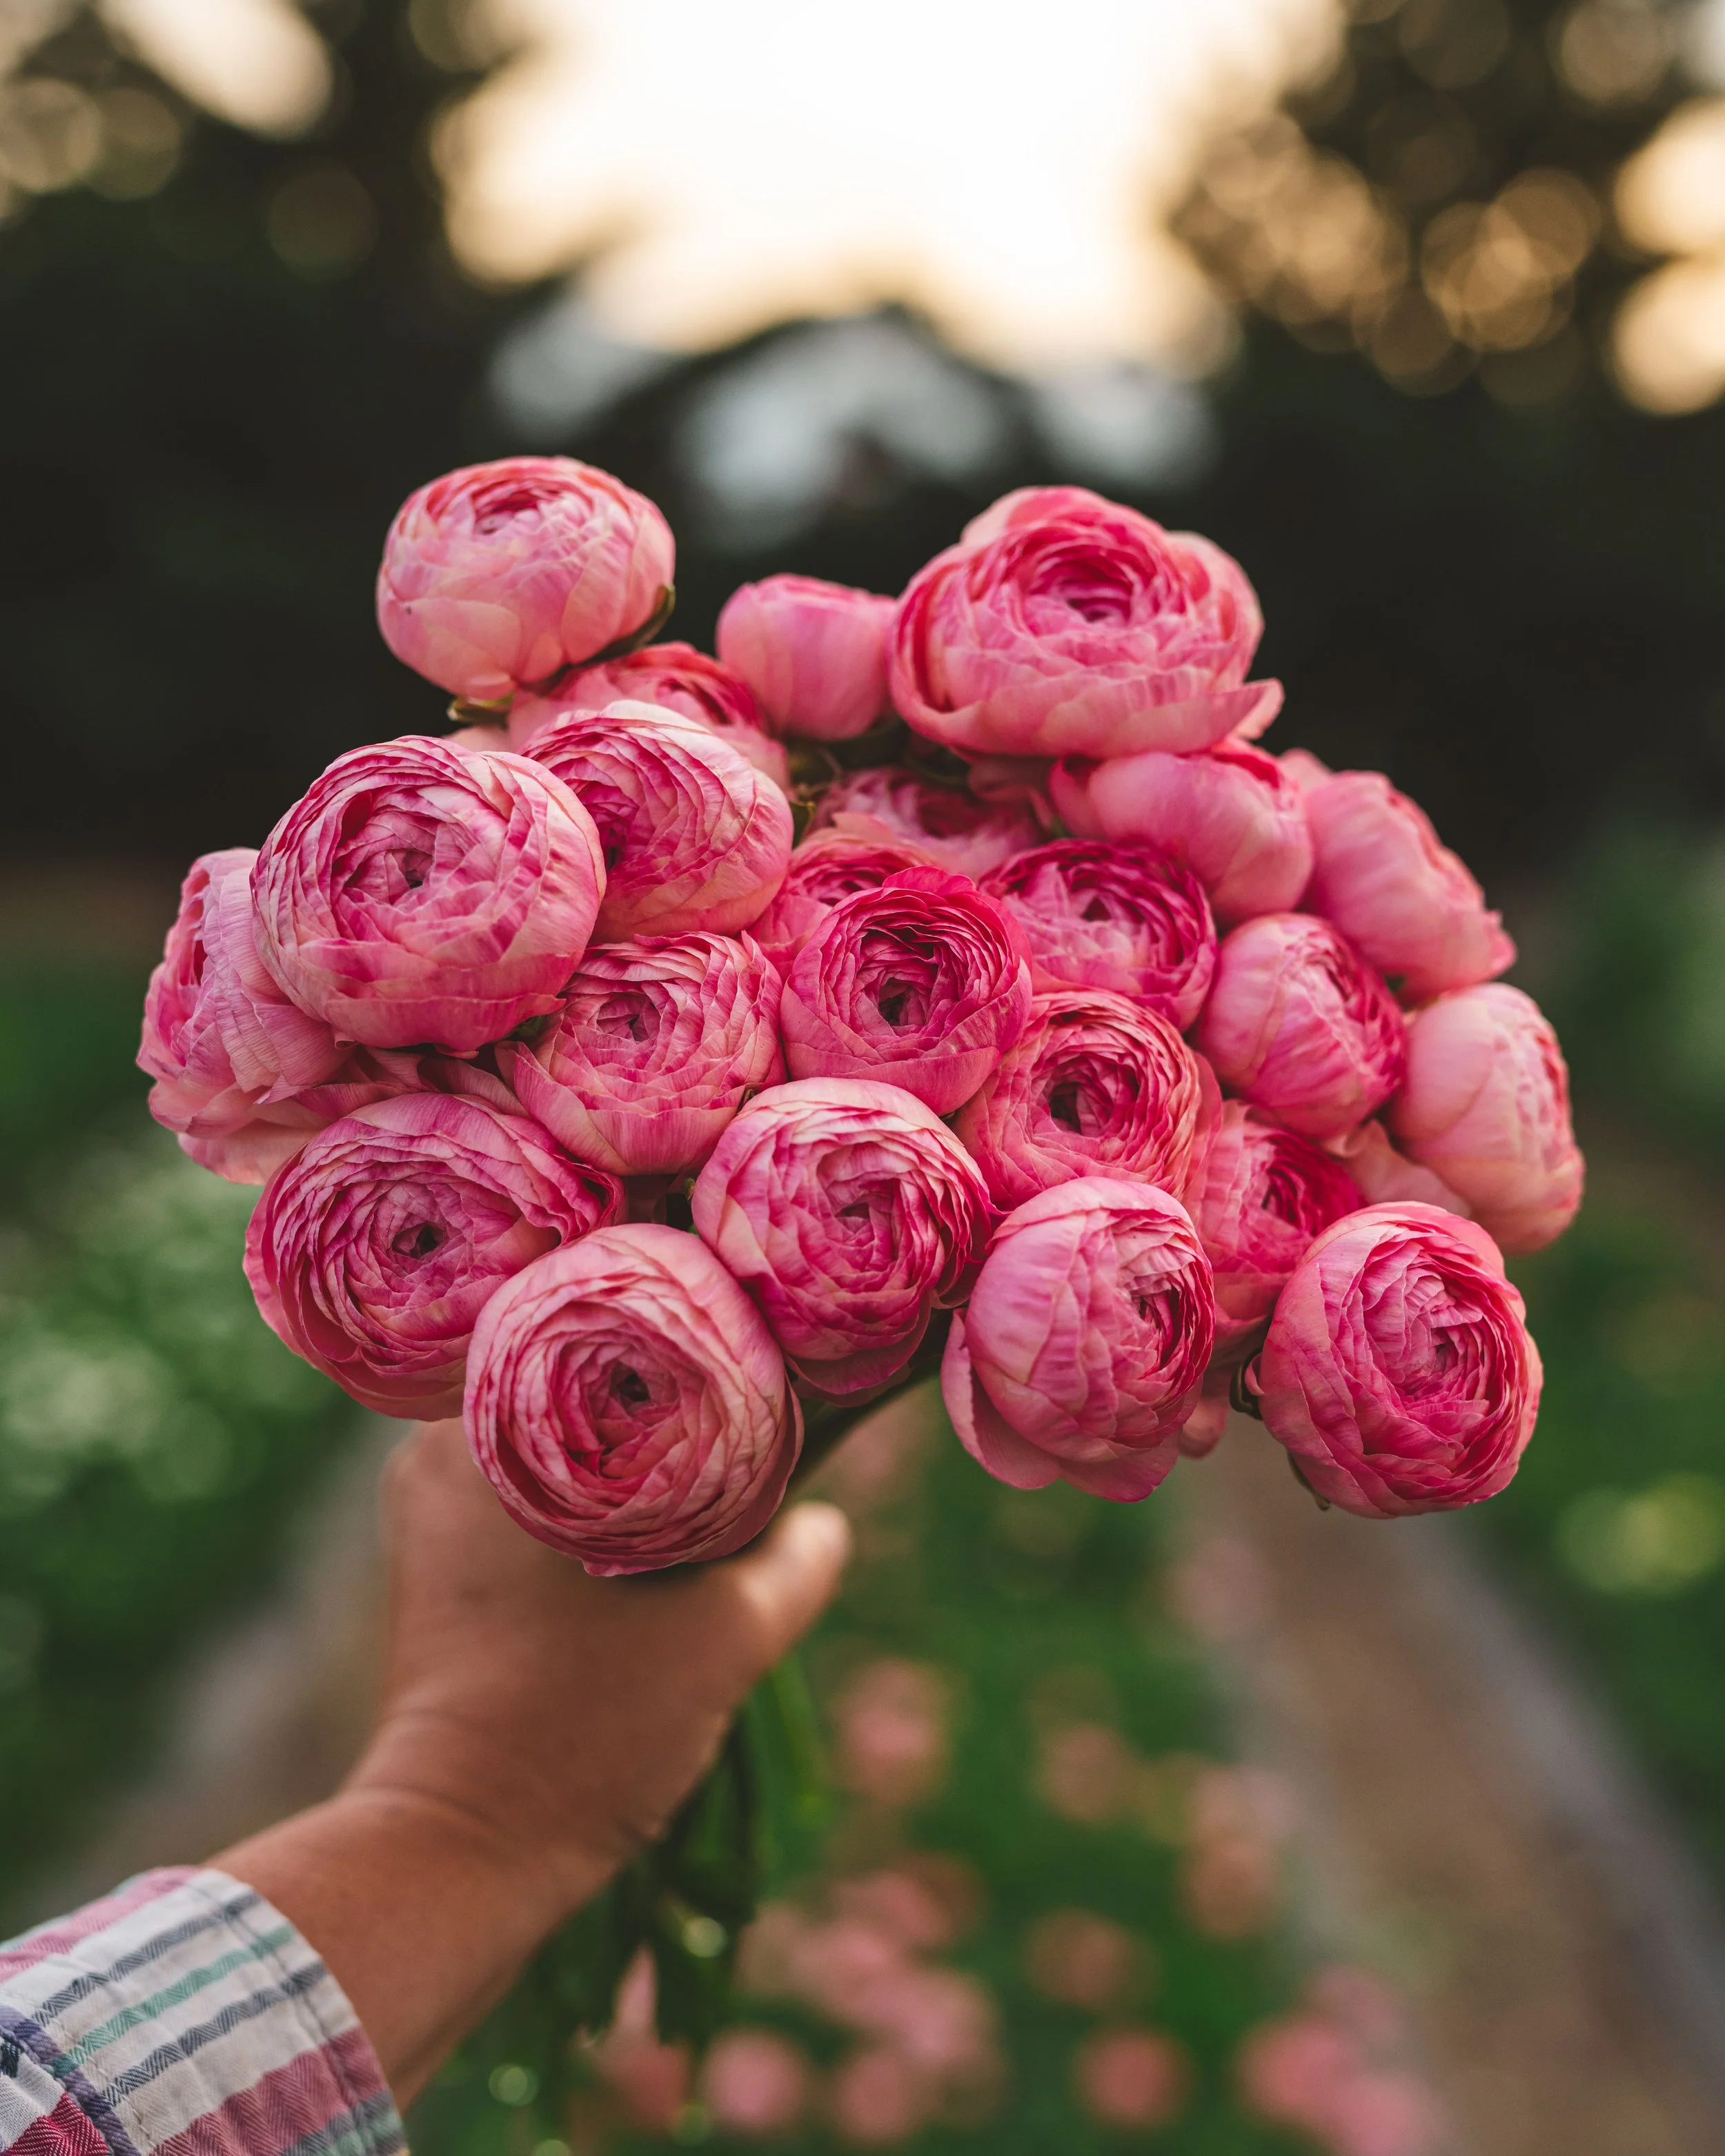
Ranunculus come in a rainbow of colors and different forms. My favorite are the Italian varieties but I do also love the Japanese Butterfly ranunculus. I tend to have a habit of going for all the salmon, apricot and peachy tones that I have to remind myself that other colors are important too!
Without further ado, let’s dive into the nitty gritty of these fluffy beauties!

Where, what and why of Purchasing Ranunculus Corms
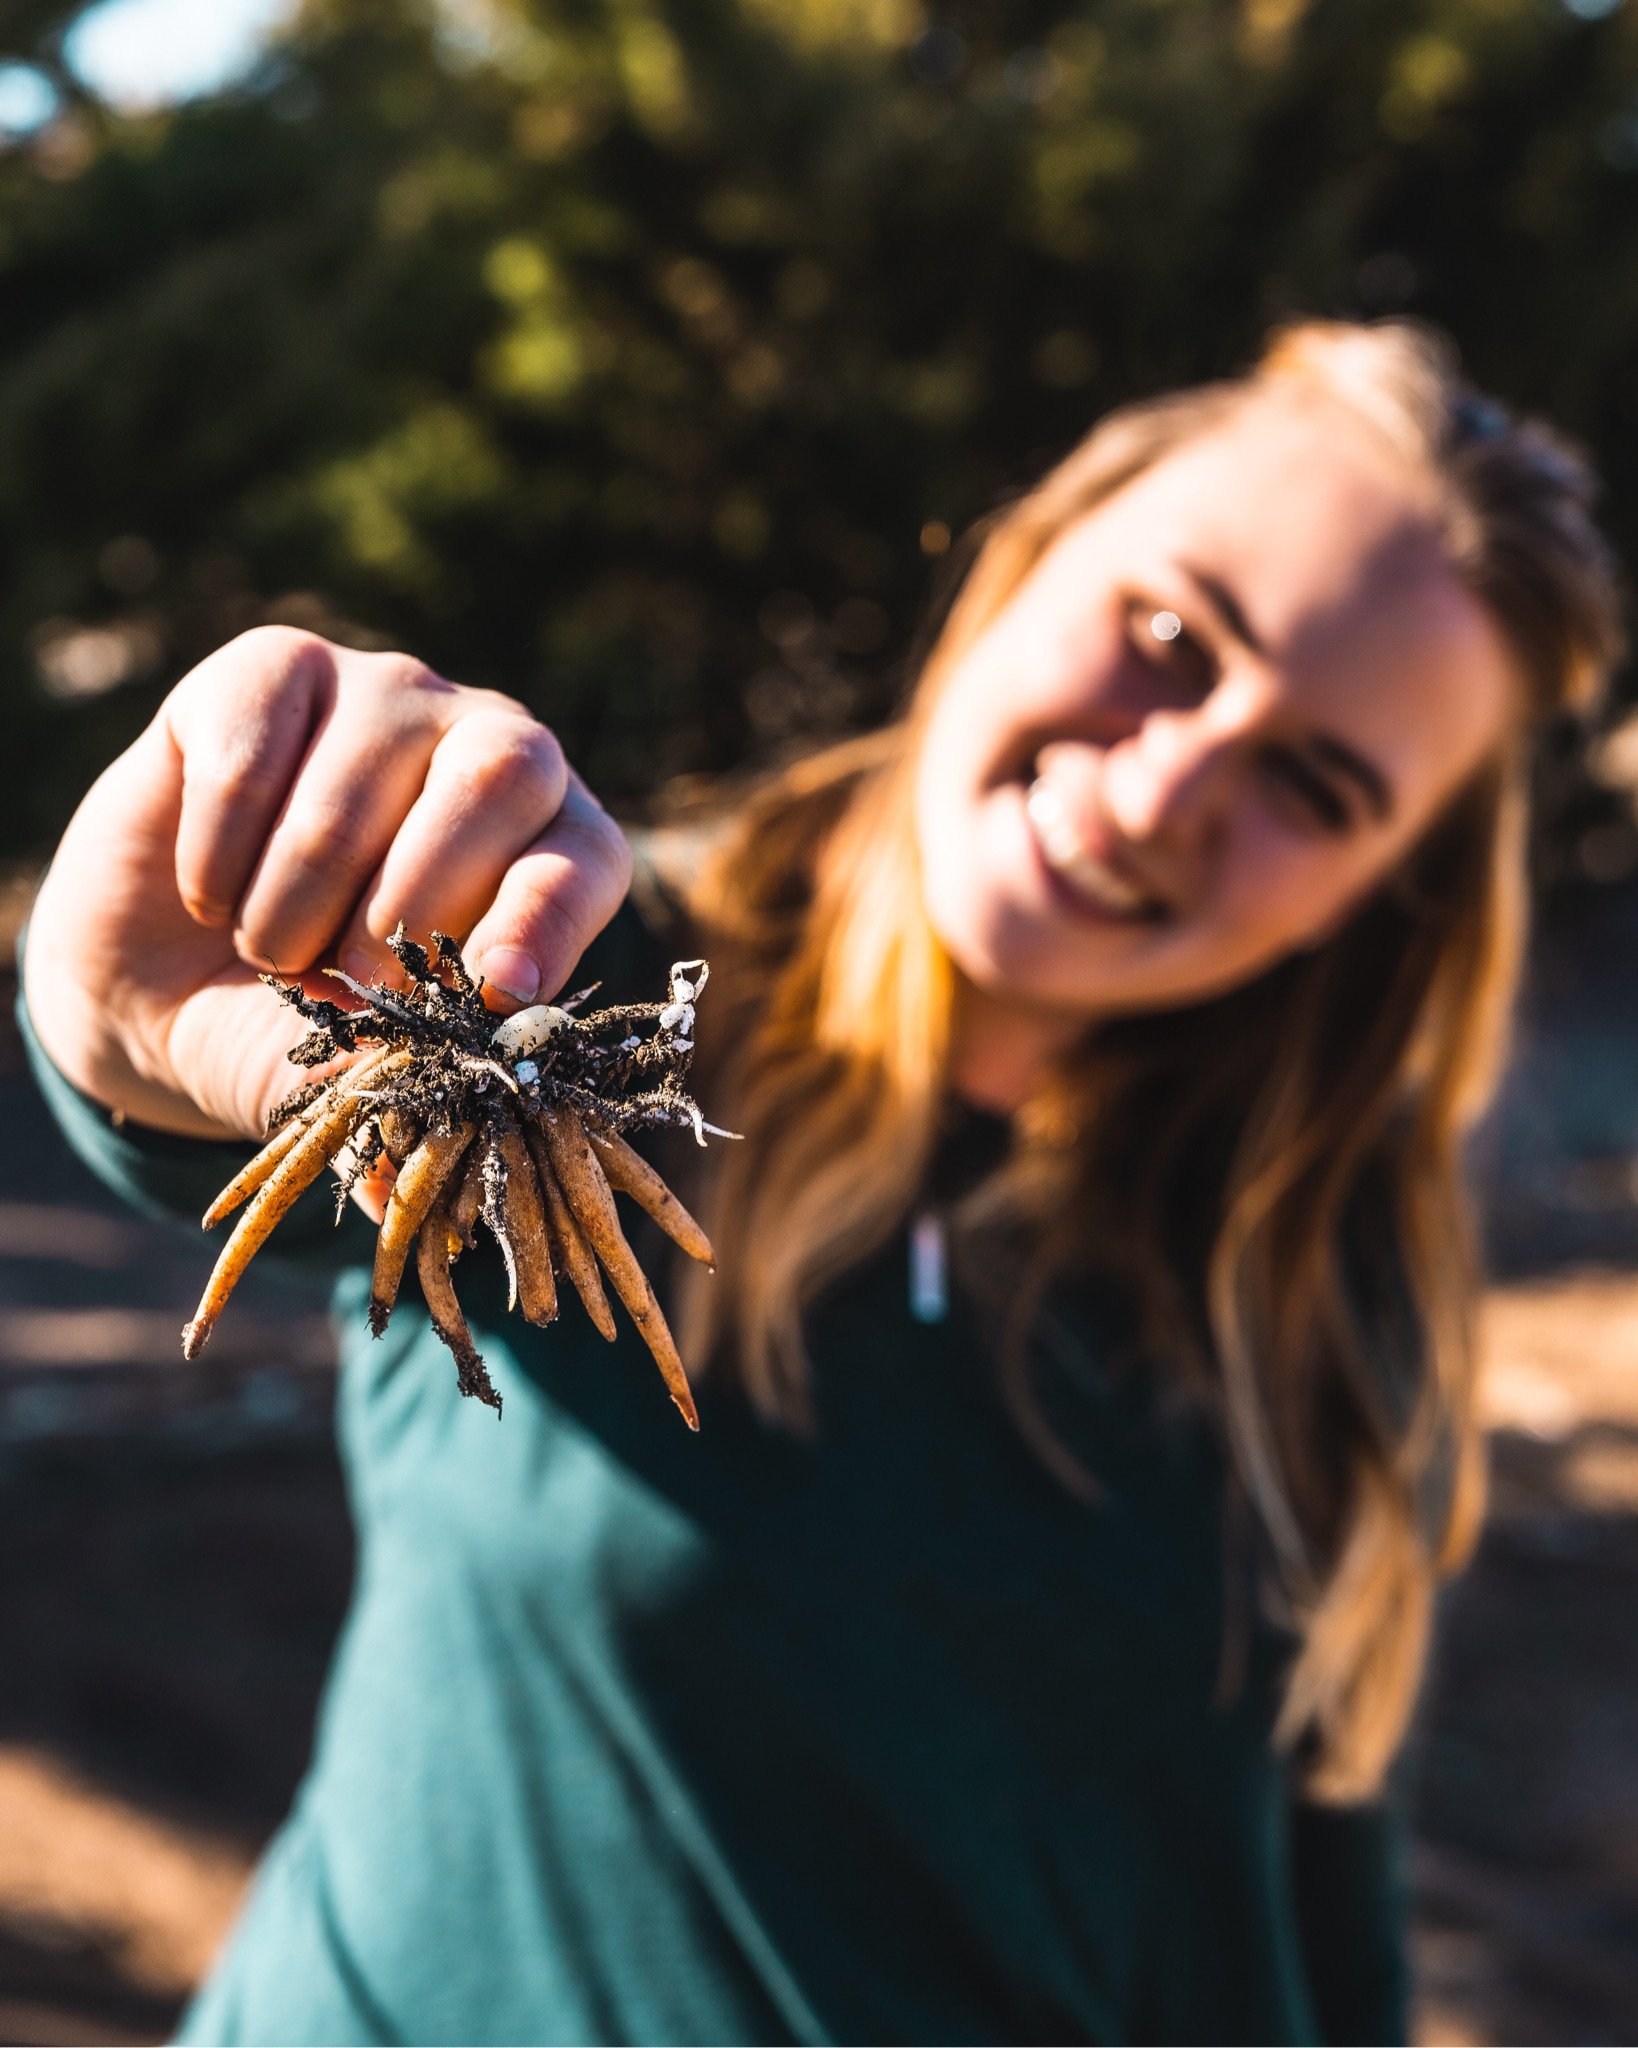
Ranunculus are grown from corms, which are like their tubers. Ranunculus grown from corms will give you the same characteristics as the mother plant, from color, form, flower size, and even stem length, which varies from variety to variety.
Similar to many spring-blooming crops, you will begin your search for sourcing these corms about the spring prior for commercial growers. For smaller amounts, you should also be able to snag some from retailers in the fall.
During our first season with ranunculus, I grabbed some from a clearance rack at Costco. I didn’t have much experience growing them and the thought of needing to order hundreds and two to three dollars a corm wasn’t happening. We had an inkling of success from those corms, enough so that we decided to officially add them to our crop planning, which meant ordering from a reputable wholesaler.
The result from the higher-quality corms was incredible!
I suggest snagging them from a reputable seller and ditching the clearance racks at the big box store. Here in the U.S. we are typically placing our orders for corms with our wholesaler in later winter to spring. Okay… I kind of procrastinate, so spring typically, but they do start running out of the more desirable colors, varieties and larger-sized corms.
Which Ranunculus Varieties to Choose?
There are many varieties of ranunculus to choose from not only in colors but in forms as well. Our decision is typically based on the events we have booked for the late spring/early summer season but I also try to get varieties that produce well in our climate.
We have found the Elegance varieties to be our tried and true, more budget-friendly cultivars, but it will also depend on which seller you decide to purchase from and their available varieties.
Deciding on What Size Ranunculus Corms to Purchase
Wait… size?!
There are different sizes of ranunculus corms available, much like anemones, that can be purchased.
Typically, when purchasing retail, you’re not going to get much of a choice, but as a commercial grower purchasing from a wholesaler, they typically offer sizes 2/3, 3/4, 4/5, and 5/7. The corms are measured in centimeters; the larger the number, the larger the corm. As the size of the corm increases, so does the corresponding price tag which could make the smaller sizes more enticing.
I recommend not going any lower than 3/4, and I often go for the larger size, which adds up quickly, but ultimately, it is worth the extra money. We live in the high desert of Nevada, just down the other side of the Sierras from Lake Tahoe. It is a beautiful area, but it is also difficult to grow in most of the season. We just had a pretty good frost two days before summer solstice between the bouts of nearly ninety-degree days. This is tough on plant babies, especially our fickle friend the ranunculus.
Larger-sized corms produce a more robust plant that we have found to handle our maddening weather fluctuations much better. If you live in a moderate climate, this may not be necessary for you, but invest in the larger-sized corms if you live in a cooler or harsher climate.
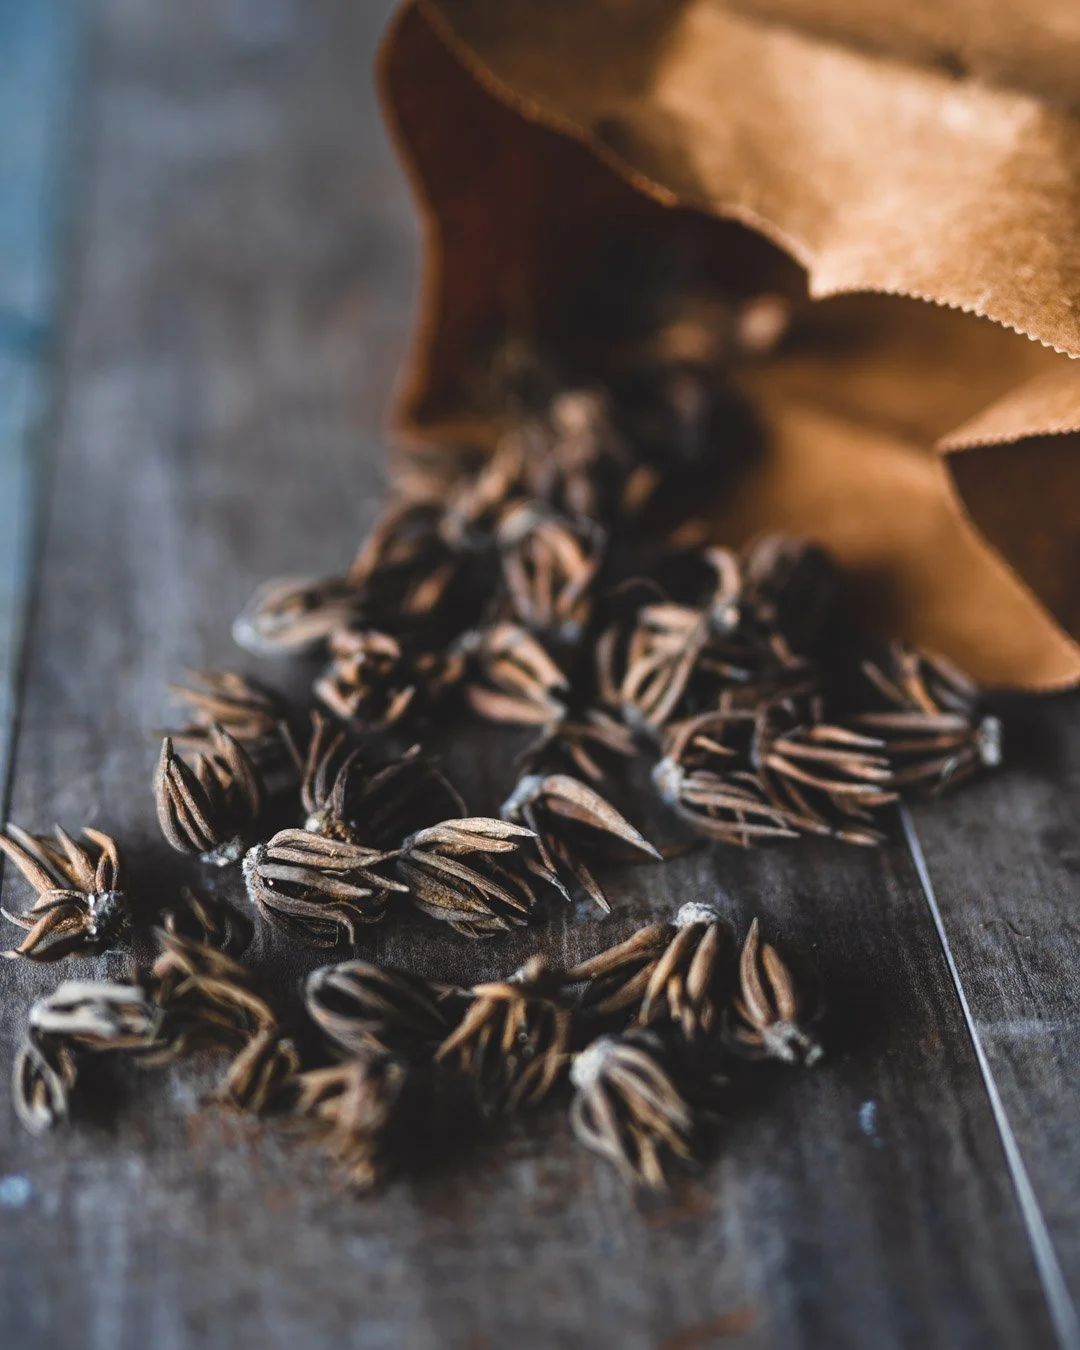
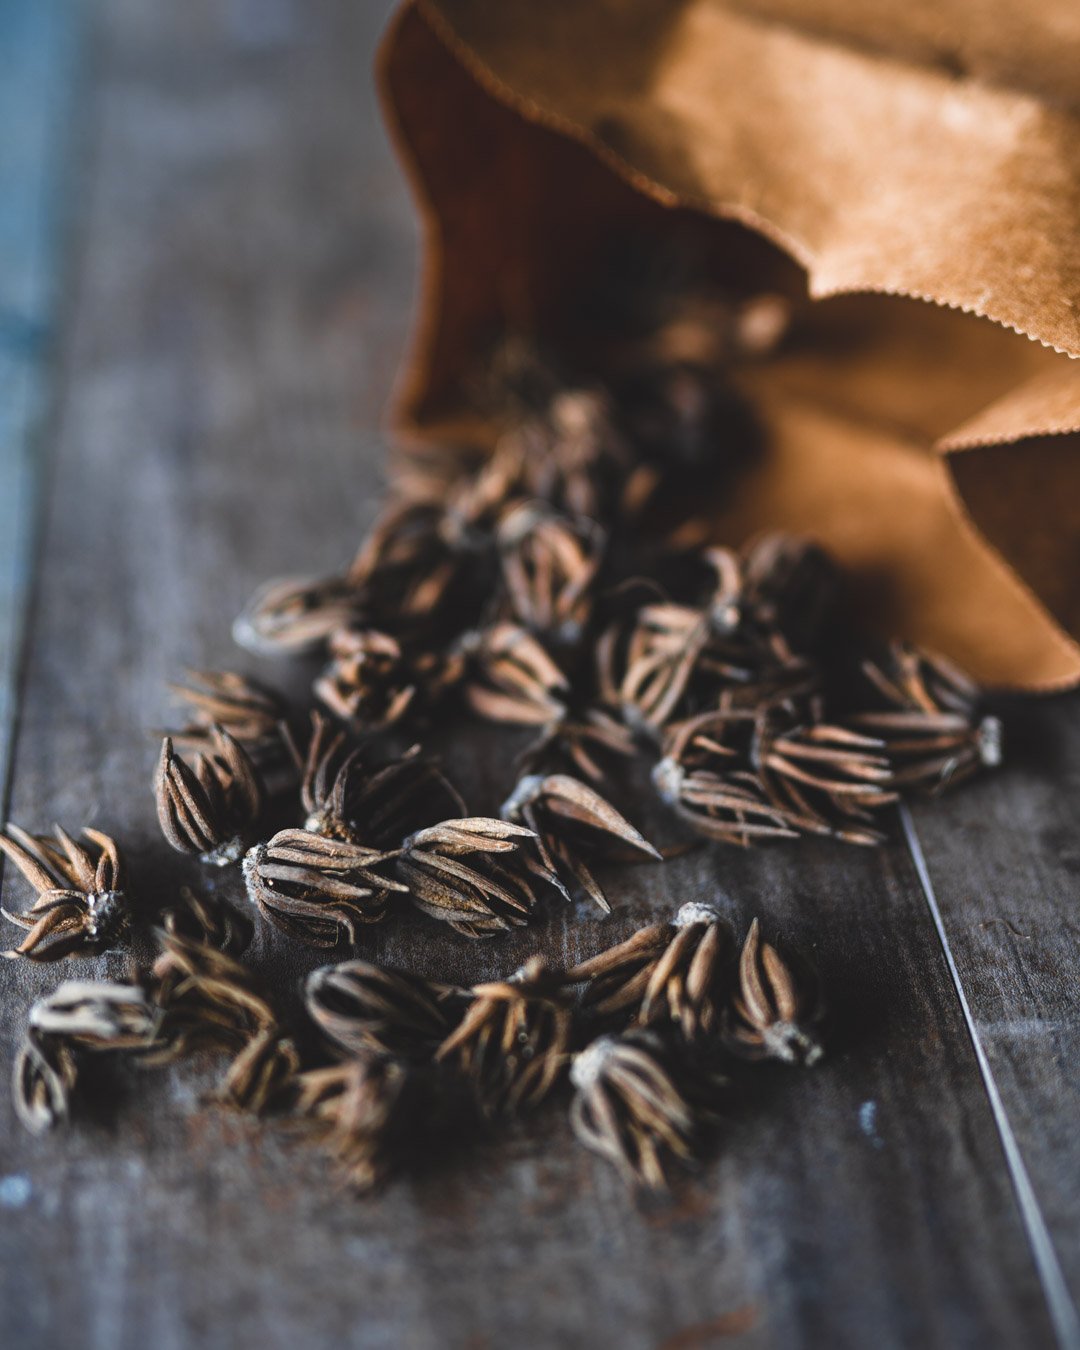
What Ranunculus Corms Look Like Upon Receiving
I don’t remember ordering calamari jerky…
The ranunculus corms come looking like dried-ugly-little-baby-calamaris. The ranunculus are shipped dry to keep them in dormancy until you decide it is time to wake them up by plumping them up. You wake up corms by soaking them in room temperature water for three to four hours. There are various methods on how to do this but time and water temperature remain about the same.
After soaking the corms, you have another choose-your-own-adventure.
You can plant the soaked corms directly into their prepared garden beds or take the additional step, which I especially recommend with ranunculus: pre-sprout of the corms under optimal conditions in the quality substrate.
Pre-sprouting the ranunculus corms is beneficial to give them a much-needed jumpstart on their growing and to help lessen the chances of the corms rotting on you. You can increase the overall health of your ranunculus plants by pre-sprouting and using trays with air-pruning technology. If you decide to pre-sprout your ranunculus corms we recommend using the following:
For average-sized corms (3/4-5/7), 72-cell Air Pruning trays with deep trays
For larger-sized corms, 50-cell propagation trays or six-plug insert with air pruning technology used with the deep tray
For exceptionally large-sized corms or butterfly ranunculus corms, 32-cell propagation tray or the four-plug tray insert with air-pruning technology, which converts to 32-cells with the deep trays
When can I expect to have ranunculus once I wake up the corms?
Once you break dormancy on the corms, growing in optimal conditions, you can expect to have your first bloom in about 90 days. In warmer climates, you can begin getting ranunculus bloom in late winter through spring. In colder climates, spring to early summer is fairly typical. This timeframe will also be dependent on your infrastructure as well. Ranunculus don’t like freezing temperatures or temperatures much beyond the seventies Fahrenheit.
Can I save my corms to use for the next season?
The answer is yes and no.
The corms are incredibly easy to dig up and store for another use but most varieties are patented.
You will have to check with your supplier to ensure you aren’t illegally saving corms.
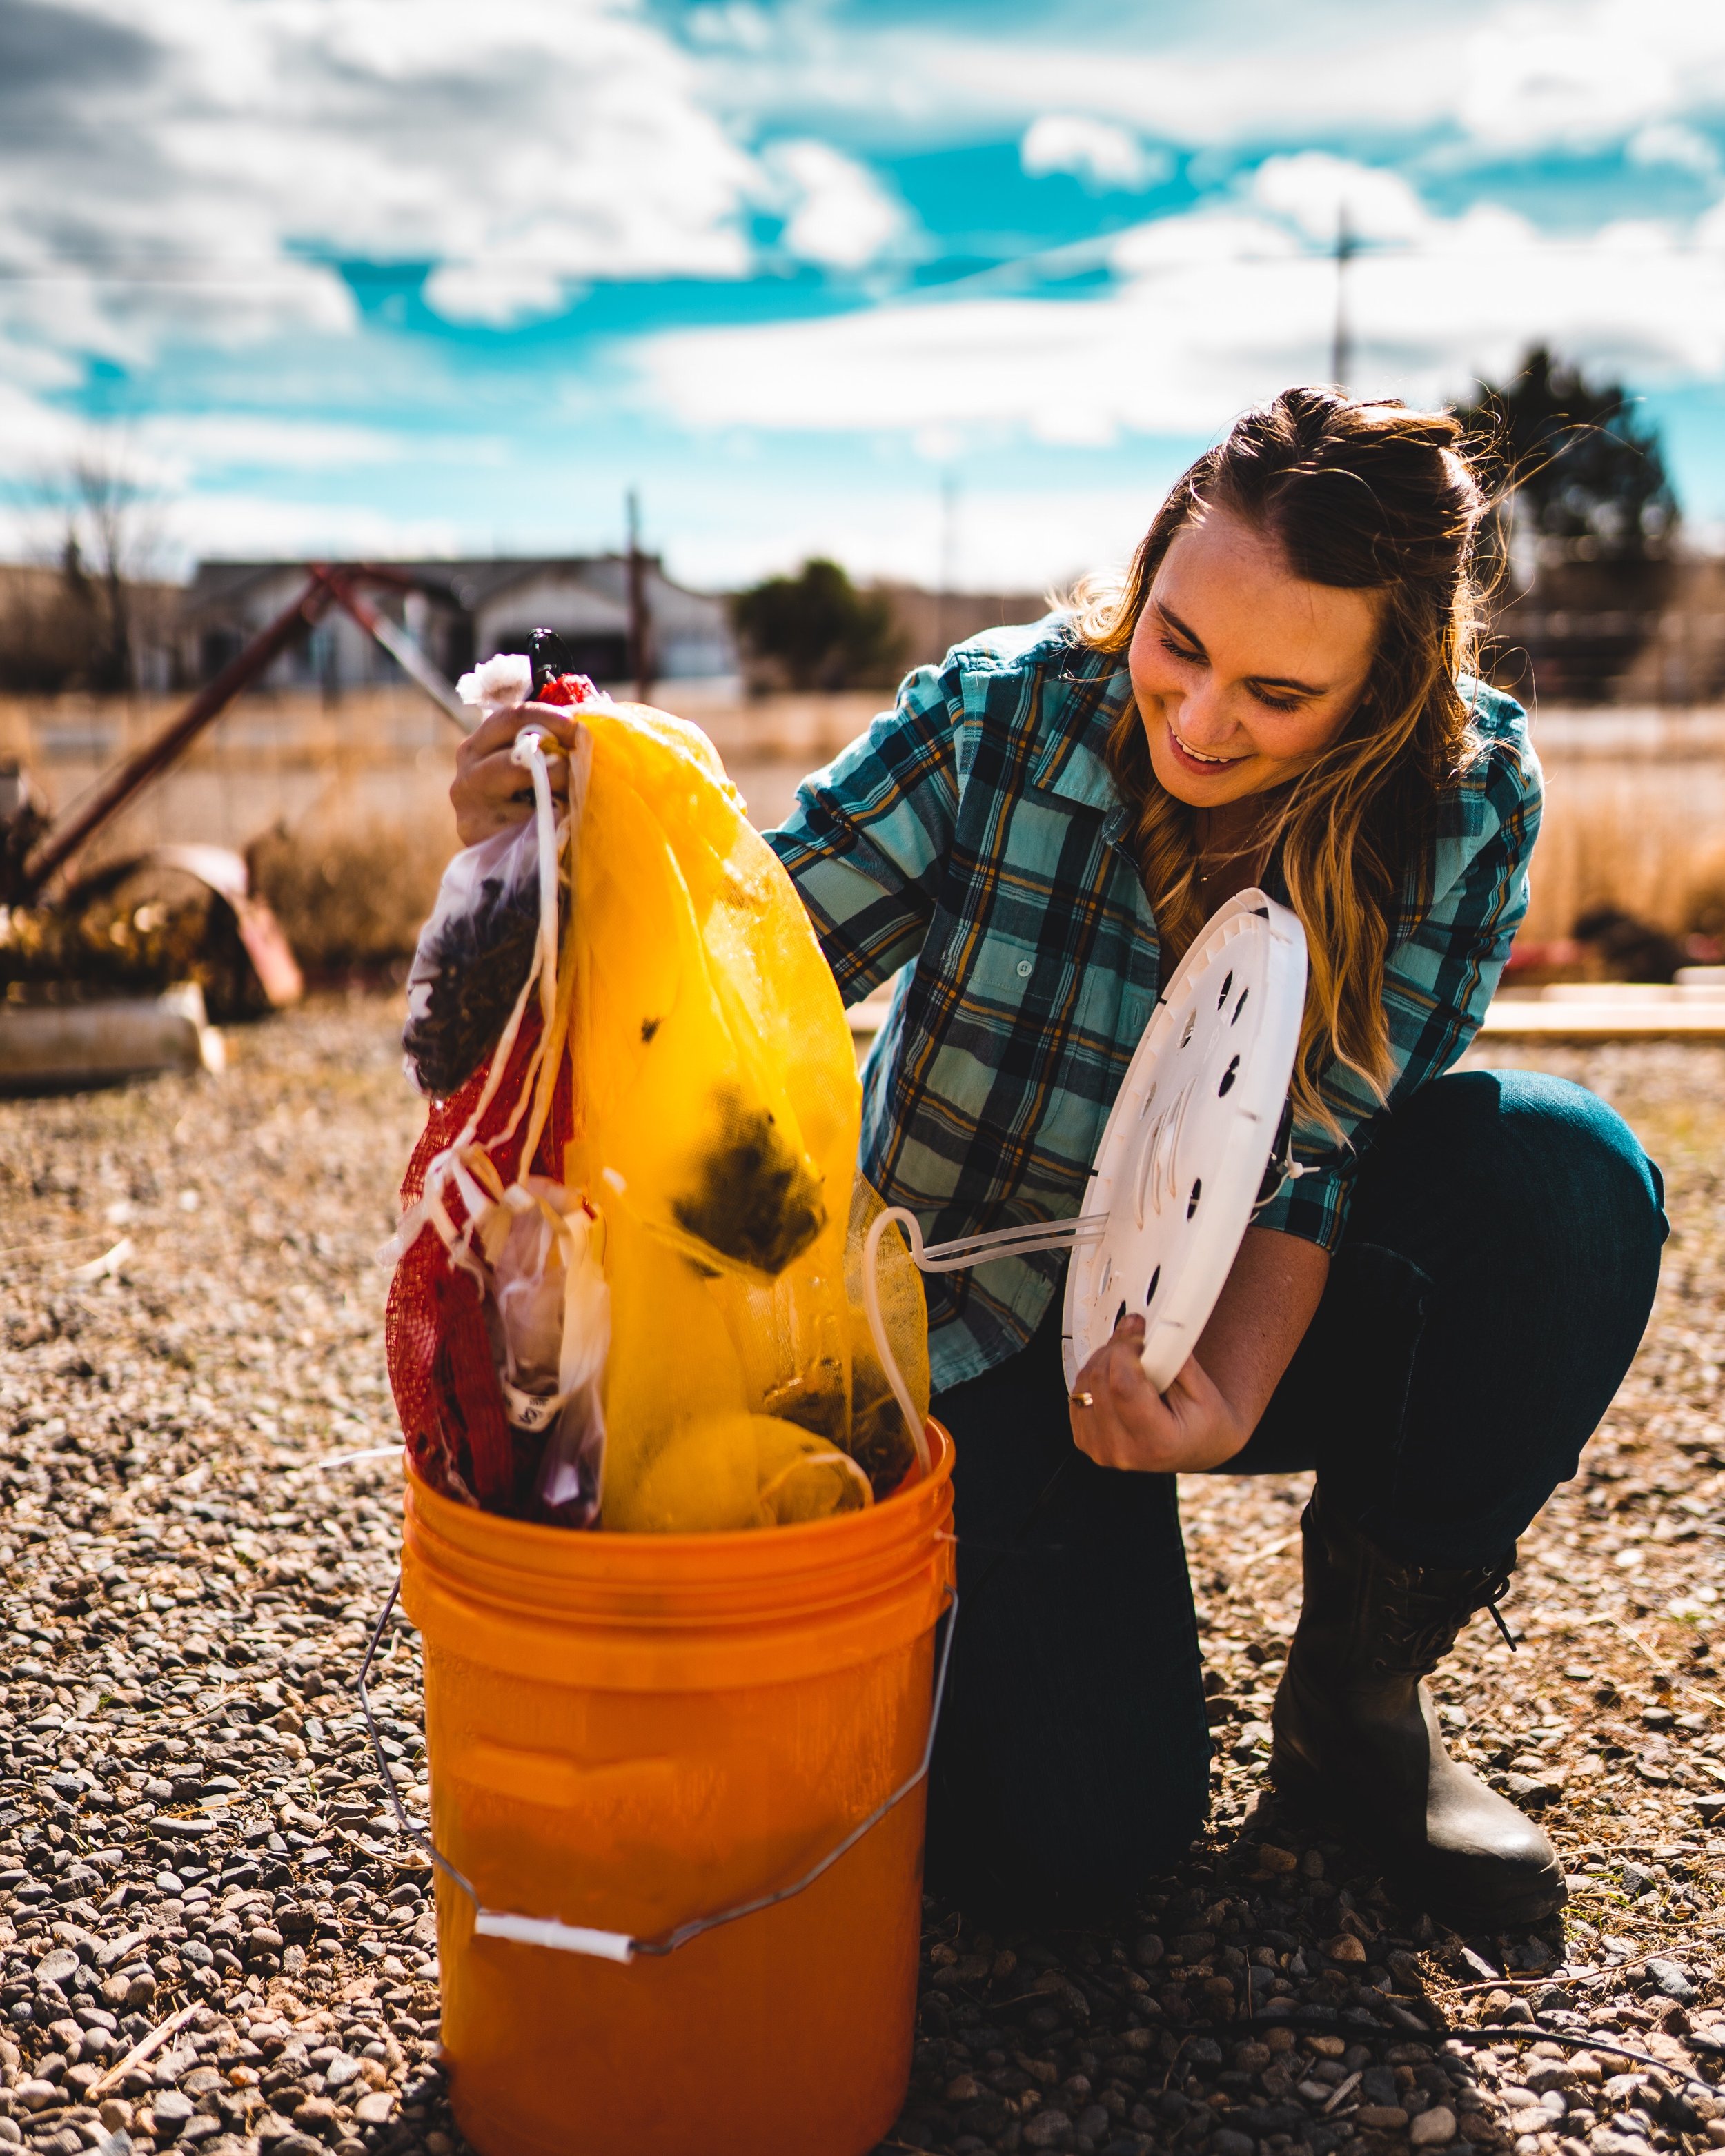
If you are good to go, let the plant die back in late spring/summer, you can help it along by turning water off to them, dig up the corms, rinse with water, lay out to dry. Keep corms in a cool, dark location.

When to Plant Out Ranunculus
Ranunculus prefers soil temperatures of about fifty degrees. They tend to whither succumb to fungi and rot if left in cold, soggy soil conditions.
Fall Planting Ranunculus
Ranunculus can winter over in growing zones seven and over. The key to having ranunculus be able to overwinter in cooler climates is to make sure they had a great head start in the warmer days of fall to best establish. Infrastructure is also essential when overwintering ranunculus to better protect them from the winter conditions, even in a warmer climate.
Wind, rain, and snow will stress the ranunculus plants, not that they can’t survive, but it can leave them vulnerable to fungi or producing less come spring.
Keep them cozy and happy for the best results!
Late Winter-Early Spring Planting Ranunculus
Most of the time, we don’t have our life together in the fall to properly plant ranunculus, so we plant most of our ranunculus in later winter/early spring.
There is also a calculation outside of being overwhelmed in the fall for this reasoning. Our winters can be brutal, but we aim to have our ranunculus in bloom for our late springummer weddings. Commonly, we plant out our ranunculus March through April under double low tunnels. This gives us ranunculus from May to late June.
Your climate and infrastructure will ultimately dictate when it is best for you to safely plant out your ranunculus.

Infrastructure Benefits Ranunculus
Ranunculus simply aren’t quite as tough as anemones.
Though we may pull the low tunnels off once the weather improves, these guys do best when planted under micro tunnels, low tunnels, double low tunnels, or high tunnels.
The better you can control their environment, the more bounty and quality crops you reap.
Succession Planting Ranunculus
Ranunculus can be succession planted in three to four-week intervals fall through early spring in most growing regions.
Just remember, they are Goldilocks: not too hot or cold.
Planting Ranunculus
Yay! You’ve made it to planting day.
This is even more exciting if you pre-sprouted your ranunculus corms.
Preparing the Ranunculus Growing Beds
First, you want to have your garden beds properly prepared.
We do nothing particularly special with our ranunculus growing bed versus our other crops: quality compost, slow-release fertilizer, gypsum, and a handful of other goodies.
What we do ensure to have is drip down at planting time; this way, we can water them without having to hassle with overhead watering, which is a gamble in the cold months and less efficient.
How Far Apart Should I Space Out Ranunculus Plants?
Ranunculus can be planted 4 to 9 inches apart; we grow ours 7x7 inches.
Ranunculus are prone to fungi and powdery mildew. Proper airflow is important in preventing disease, especially in humid climates.
When planting out ranunculus, much like when pre-sprouting, you want to plant the corms with “tentacles” down so they look like they are living a proper squid life!
You want to plant the corms about an inch down, or twice the depth of the corms size.
Some Battles with Ranunculus
Ranunculus are highly susceptible to fungi, which can cause corm rot. This is one of the reasons the pre-sprouting process before planting out is helpful. Botrytis, blight, and pythium are just a few of the possible foes of the ranunculus.
Preventative spraying or soaking during the wake-up process of fungicides can also help avoid devastating loss of corms. In our growing venture, we have also found ranunculus incredibly sensitive to salt build-ups in the soil, which can cause the stems to collapse.
Watch the video here to learn more about our salty mistake and what we learned from it. Salts can build up even with regular feeding, primarily through drips rather than foliar. We have found that flushing the soil with yucca once a month helps the ranunculus overcome some of these problems.
Bugs love ranunculus, especially aphids and thrips. Consider this when crop rotation and implementing your integrated pest management systems. In the early season, we spray the ranunculus with the Pyganic a couple of times before the beneficials wake up and clean house for us from there.
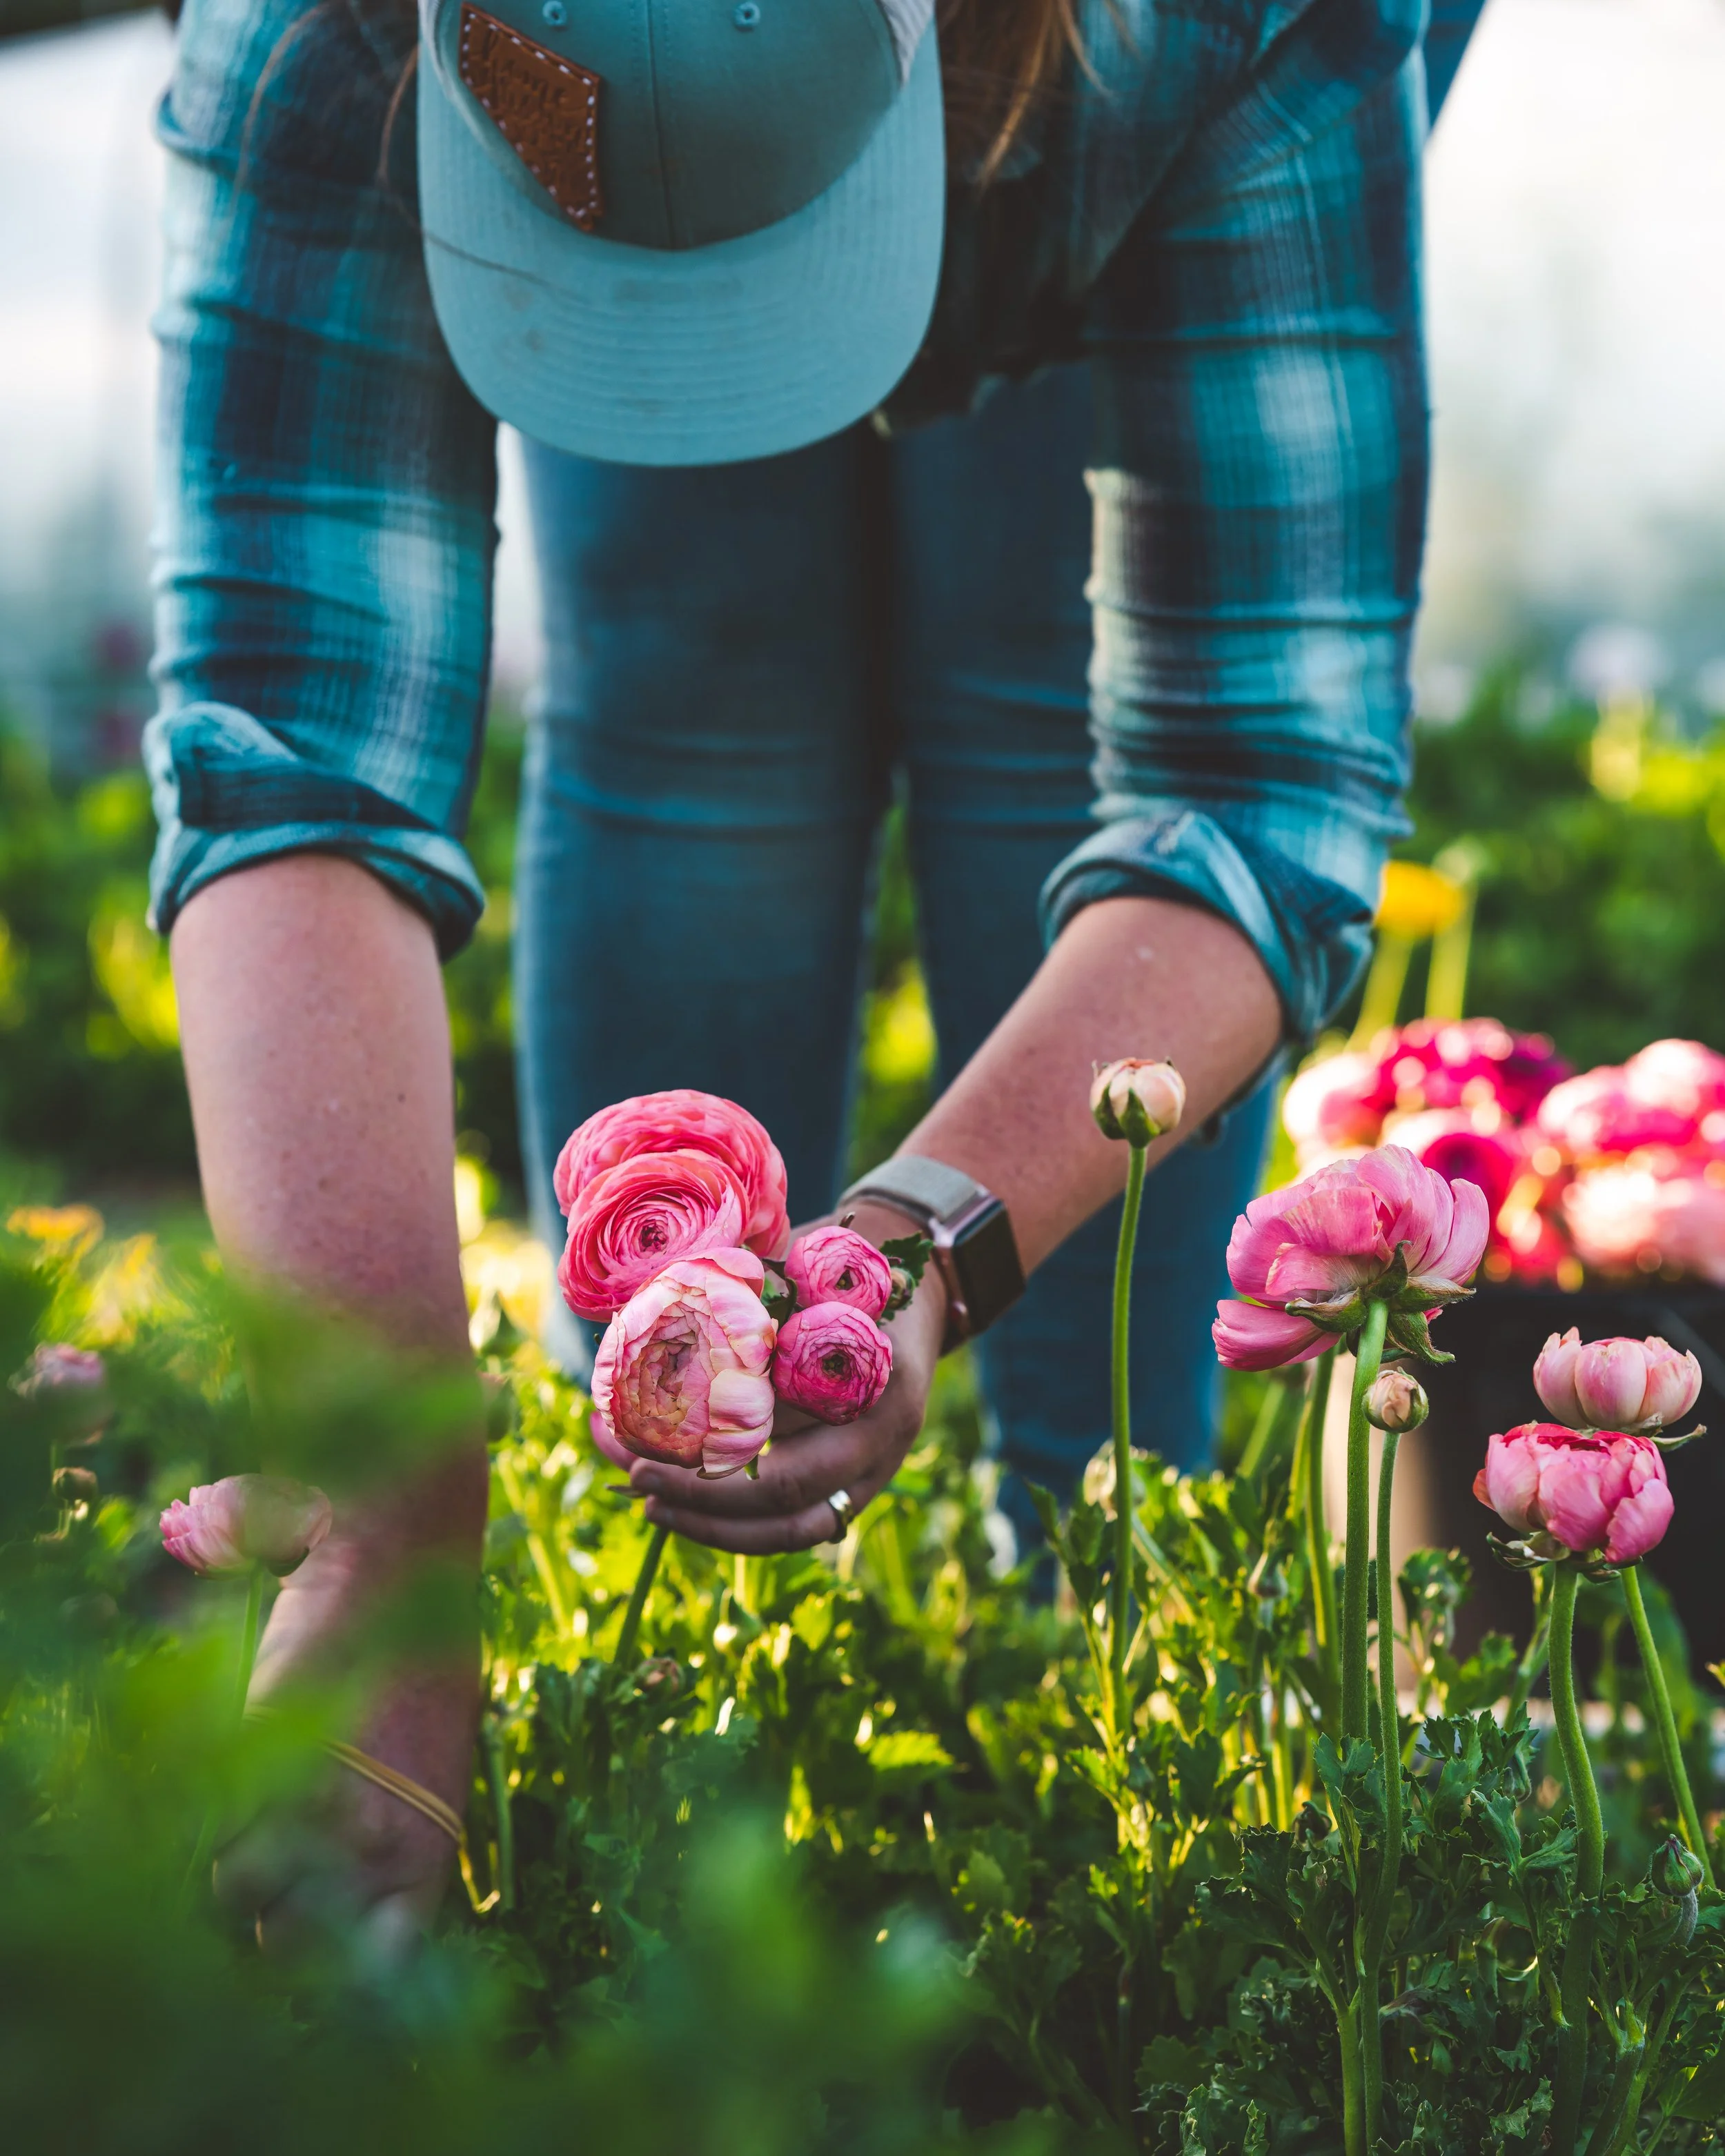
Harvesting and Post-Harvesting Care of Ranunculus Flowers
Okay, you’ve covered and uncovered these plant babies a billion times, pampered and fussed over, and finally, the time is here- the first bloom!
Ranunculus do best when harvested early in the morning when they are the most hydrated.
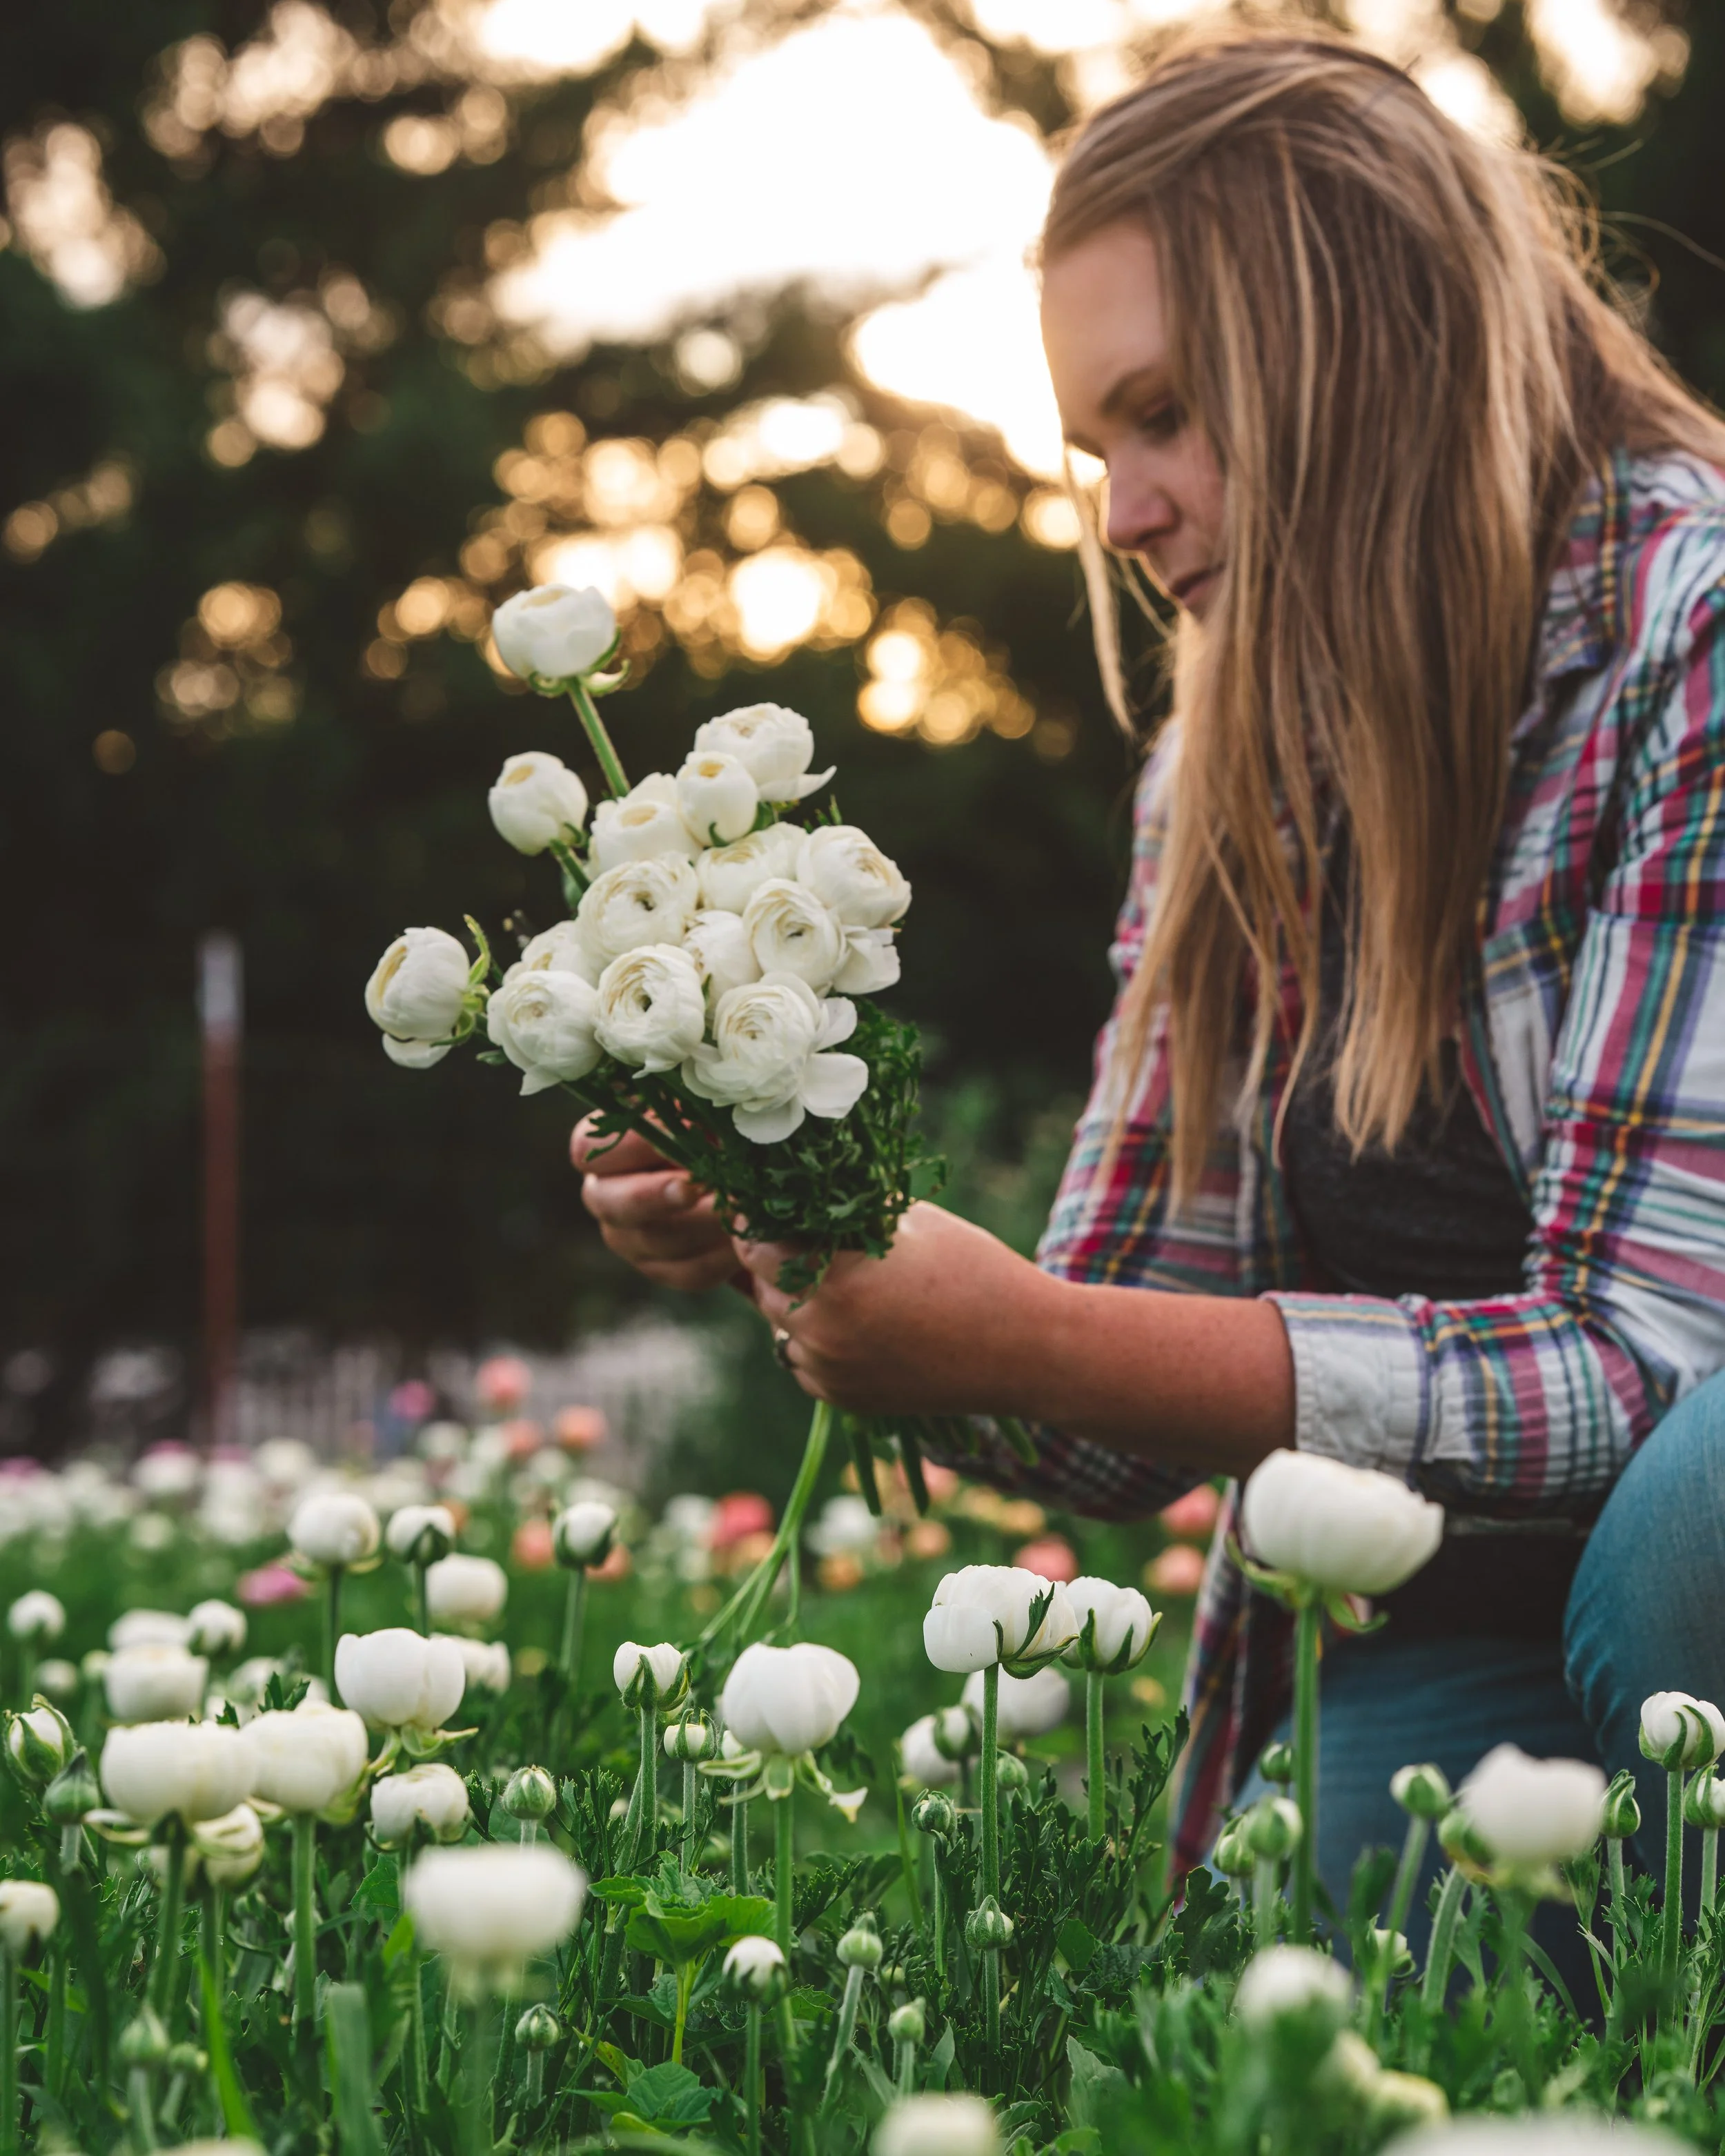
Stage to Harvest Ranunculus Flowers
Ranunculus aren’t too picky when it comes to the harvest stage; it will depend more on you and your needs for the flower. Ranunculus can be harvested as soon as the bud forms color, but it will take some time for it to open. Commonly, ranunculus are harvested at the “marshmallow” stage. Now, I want to take this moment andn those giant-jet-puff-roasting-over-a-campfire-mallow, clarify: we mea not the measly ones found in hot cocoa. We want it squishy! The marshmallow stage is best if you are looking to store the blooms longer. If you are going to be selling the flowers or using them within a week, you can harvest the ranunculus when they are more open in the field. Some growers prefer to see the flowers open and close two to three times prior to harvesting.
How to Harvest Ranunculus Stems
Harvesting ranunculus is fairly simple. You will want to cut the stem off at the base of the plant. You may have side buds that are harvested with it. You can leave the side buds on or remove them to increase vase life. Strip any leaves that may sit below the water level in the bucket.
Post-harvest Care of Ranunculus Cut Flowers
Ranunculus aren’t too picky about post-harvest care. When preparing your water bucket for harvest, fill it only about two to three inches with water and treat it with Chrysal’s CVBN tablet to help combat bacterial growth.
Ranunculus do best when kept in the cooler. For longer-term storage, about two weeks, you can store them in a cooler set at 32-34 degrees Fahrenheit. To hold for a few days up to a week, they can be held at 34-38 degrees Fahrenheit. Make sure that the flower heads don’t have any moisture before placing them in the cooler to prevent rot. If you do not have a cooler, keep them in a cool dark room for 24 hours then move them,
Expected Vase Life of Ranunculus Flowers
Ranunculus have exceptional vase life, you can expect 7-10 days with the use of commercial flower food.

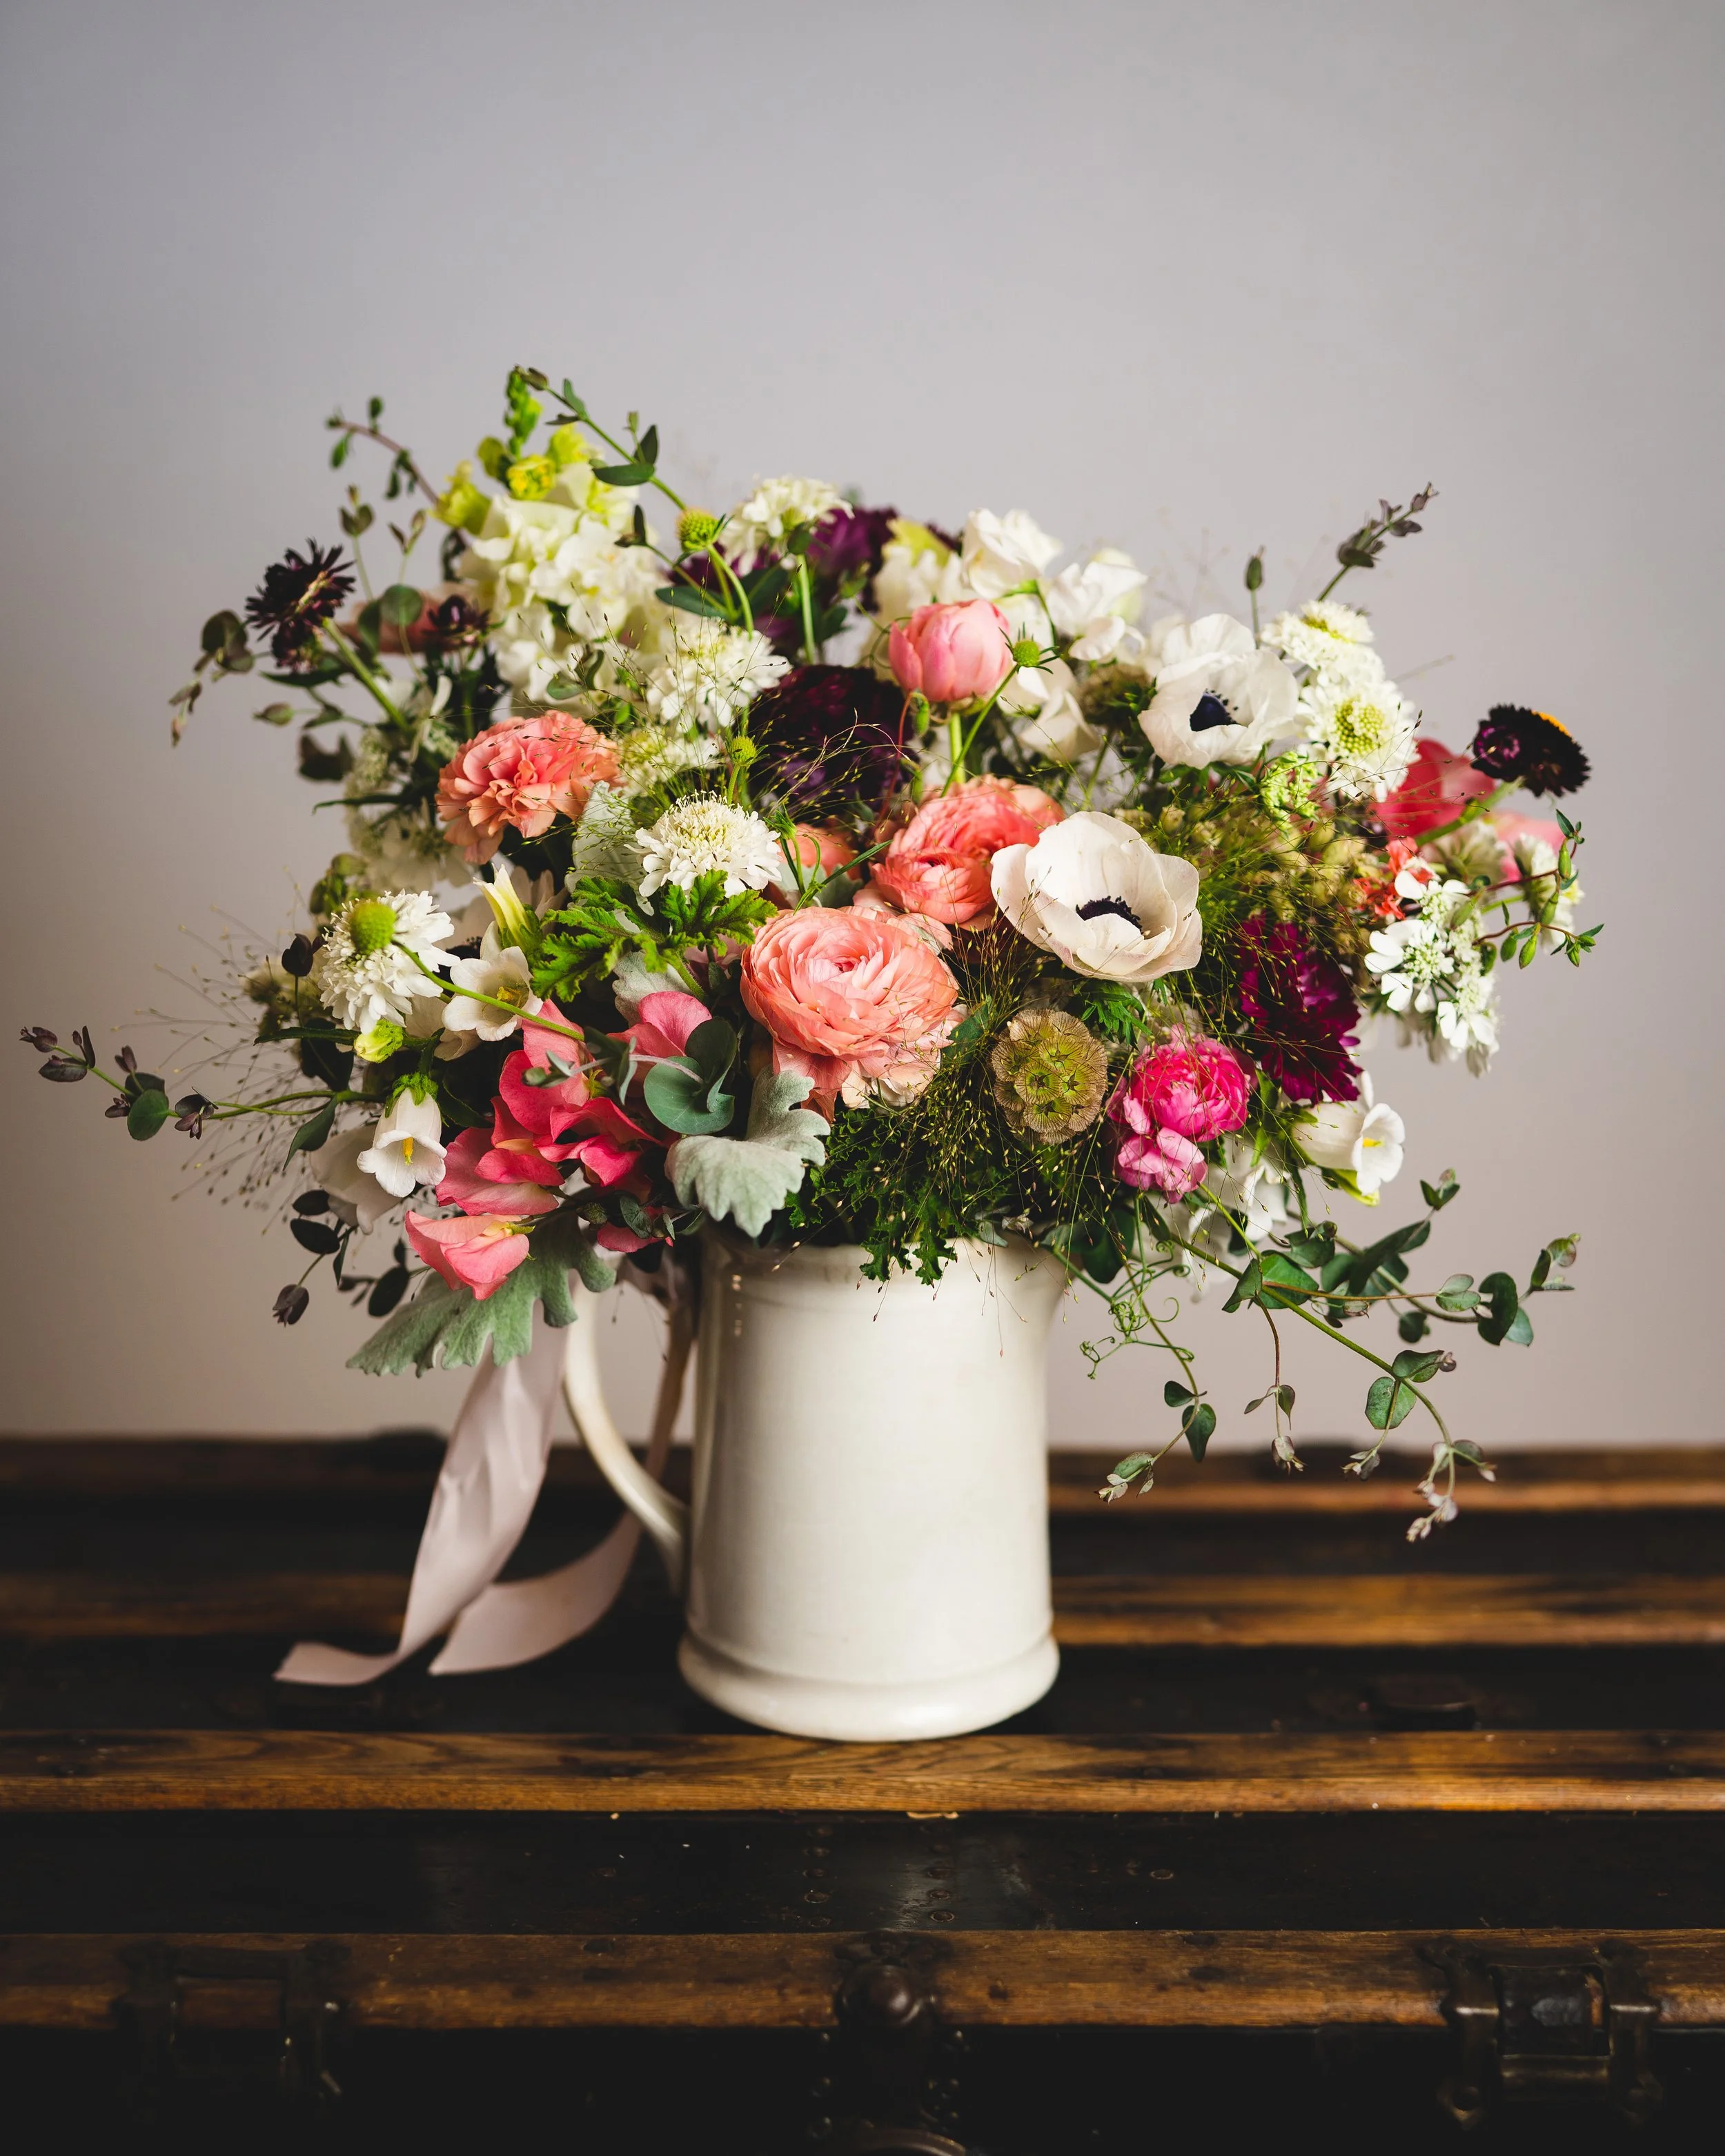
Ranunculus in design work
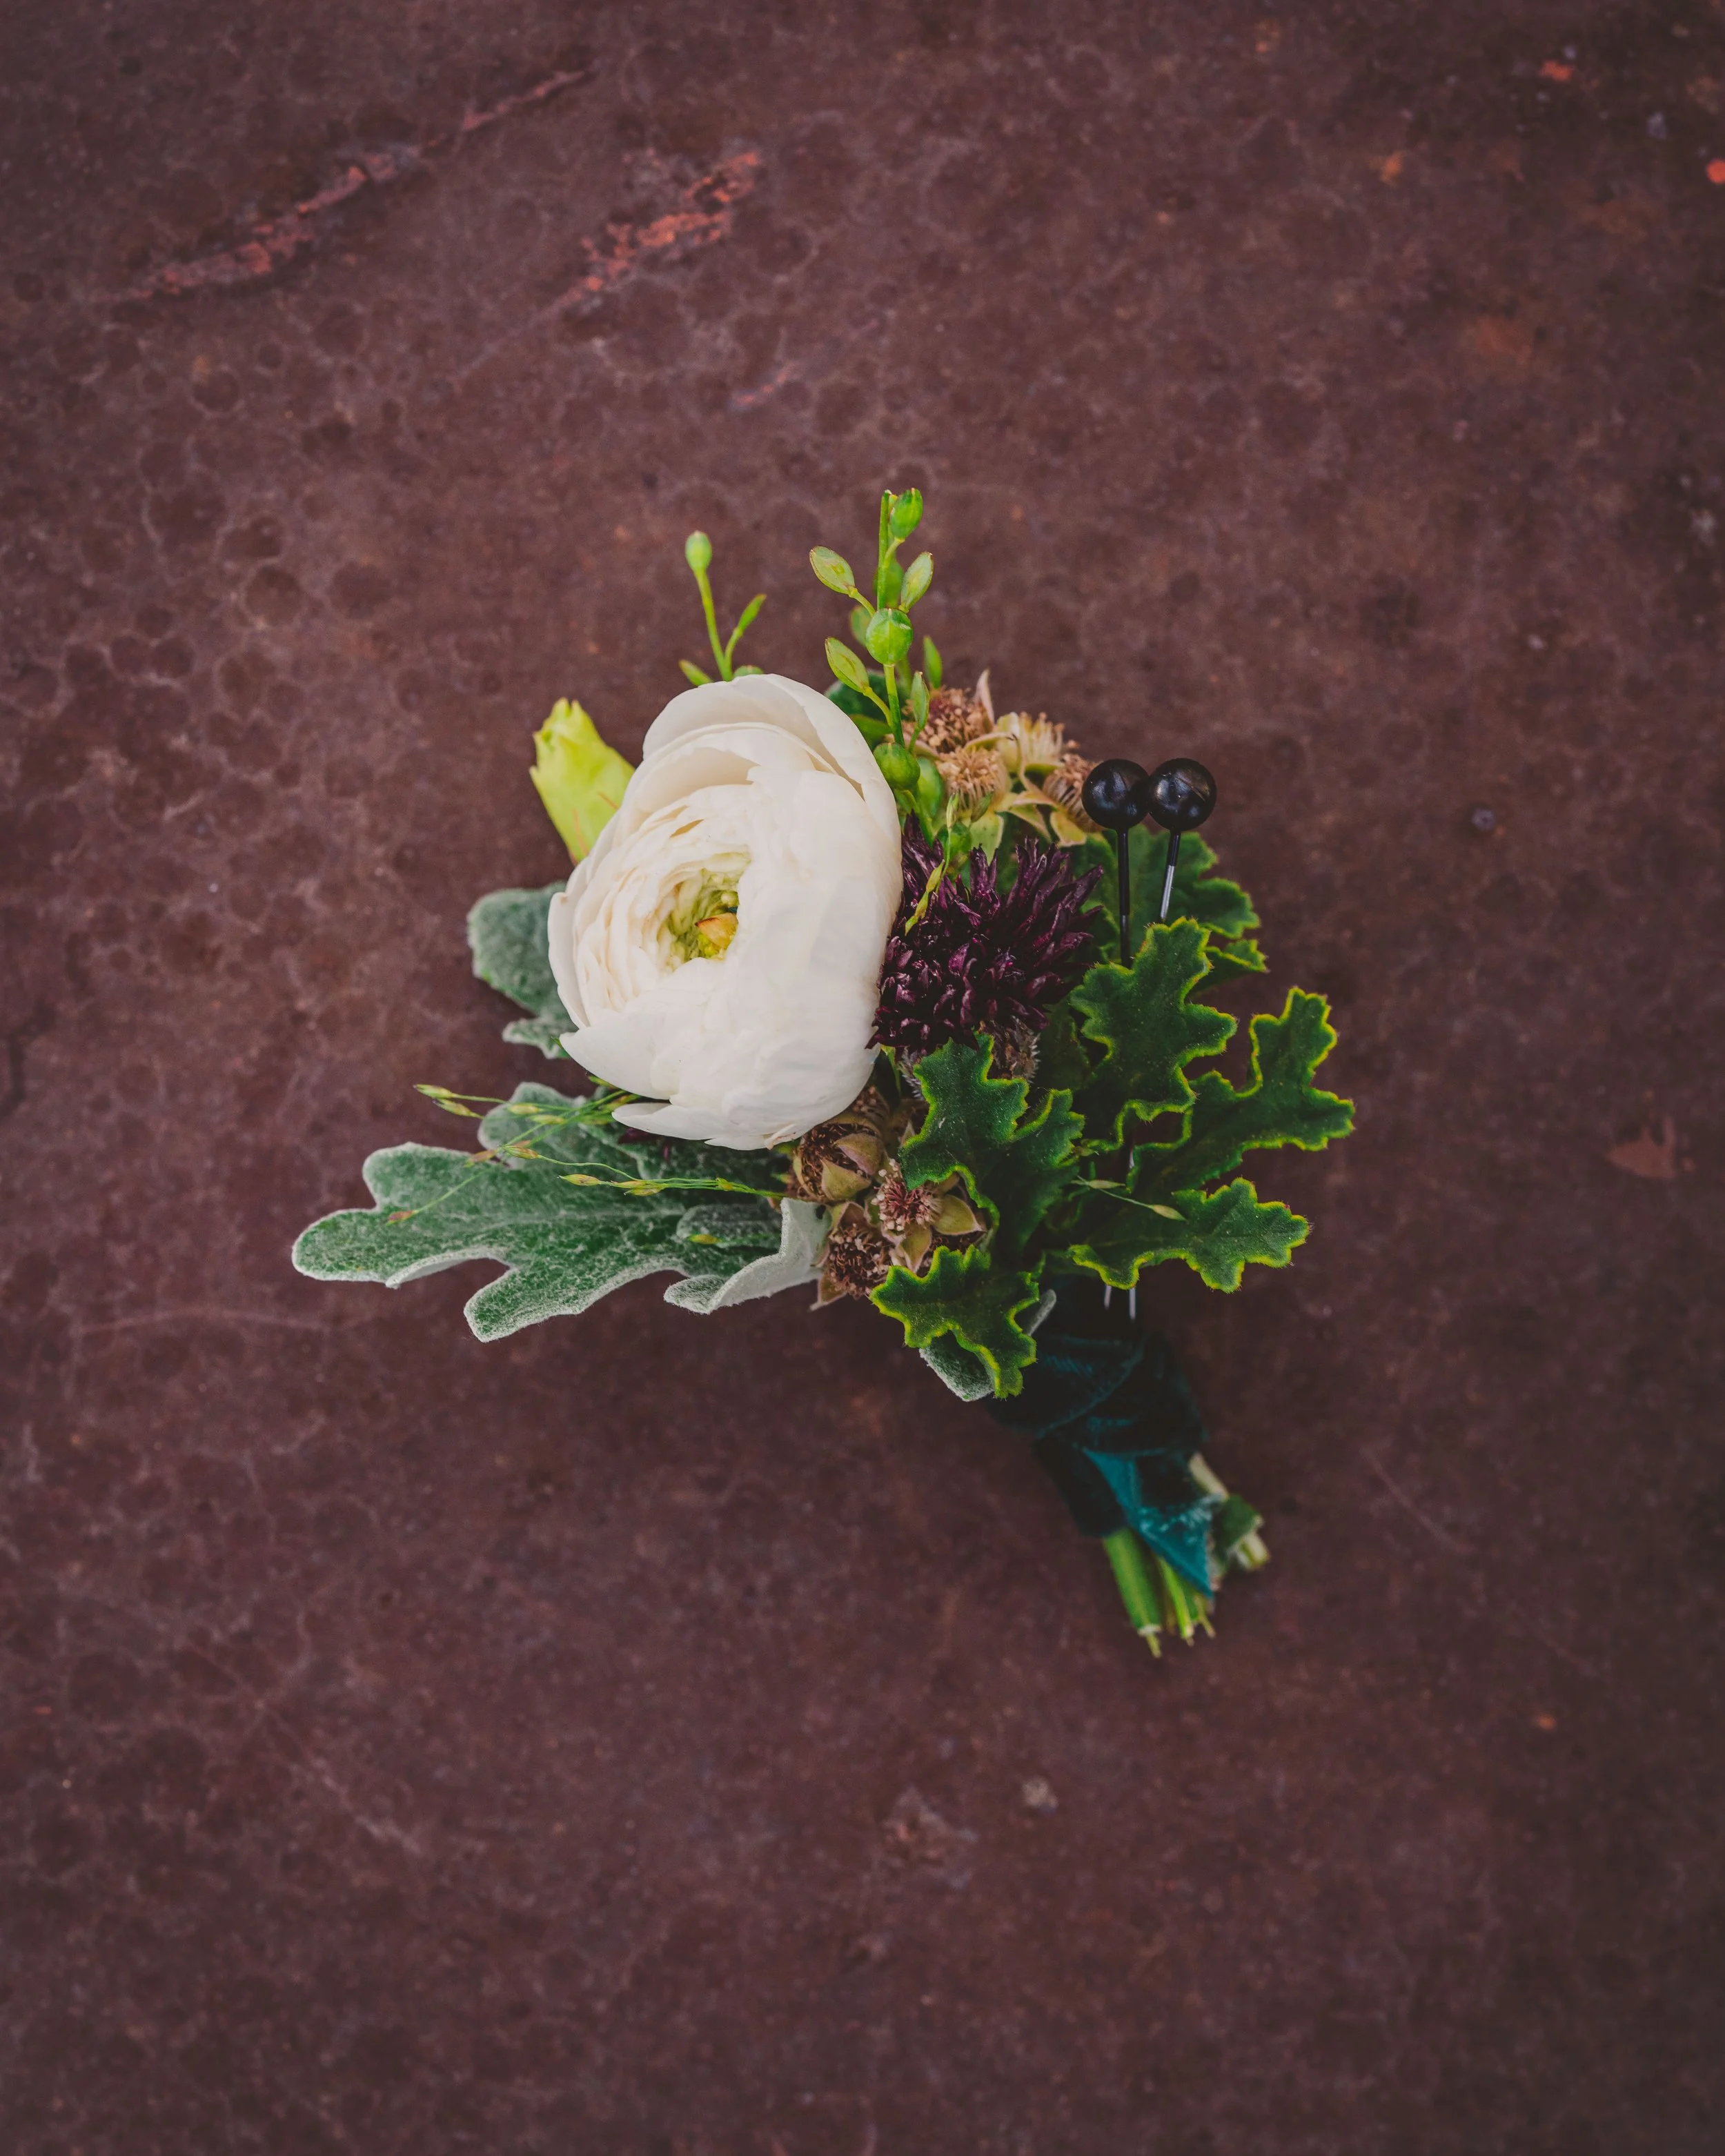
I don’t grieve the end of ranunculus season without reason. They are amazing in mixed bouquets but are especially exquisite in wedding designs.
It is an excellent focal flower or a great support in the role of a disk flower.
I adore using ranunculus in wearables since they handle being out of water beautifully: corsages, boutonnieres, cake flowers, floral crowns, doggie necklaces… I love them! It is best to wire the ranunculus for wearables so the heads don’t snap off at first hug.
I hope that you are excited to grow and design with these lovelies! They are an absolute treasure to have in the spring and are worth all the fuss they demand.
Now I am going to go cry over the spent ranunculus rows and glare at the dahlias to hurry up!
Until next time, we are looking forward to helping you hand blooms soon!
Jessica & Graham
Additional resources to get you growing!