
We all are familiar with how useful Photoshop is when it comes to creating and editing stuff.
If you have been using Photoshop for a while you might have heard of the term “Nondestructive Workflow” or “Nondestructive Editing”.
We know what editing is (editing something) and what a workflow is (the sequence of tasks). But what the heck is “Nondestructive” Workflow?
Well, this article is all about that.
Nondestructive Workflow is the kind of workflow that can help you undo any kind of things that you create on any kind of tool or software (Photoshop in our case), whenever you want.
By things you create, I mean adding colour filters, removing some parts of the shapes, etc.
Now you might be thinking “Well, there is a shortcut called Ctrl + Z with which I can undo anything I create on Photoshop”. Yes, but there is a problem with that. And most of the people who are just getting started in Photoshop make the mistake of working destructively.
OK, let me explain to you why is that a big problem.
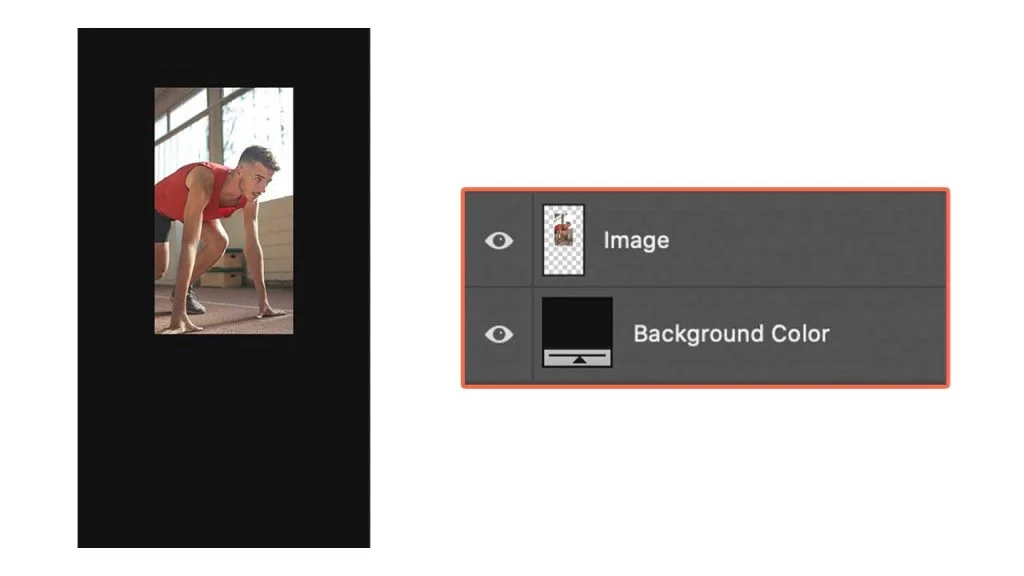
Let’s say I am designing an Instagram story for a fitness brand. So I’ve opened an image in photoshop and copy-pasted that into my document.
Now, I’ve added all the other stuff that I want to add and the design was done.

But now, I feel like using the image as the whole background can make the creative look better. “What’s the big deal in that Sujith? Hit CTRL (CMD) + T & scale the image “, you might say.
And I did it.

Now, you can notice that the image appears a bit blurry (left side – it’s hard to notice here, but trust me, it’s a bit blurry). That’s because in Photoshop when you scale down the image and then scale up, a few pixels get destroyed in the process.
But instead, if I had used a smart object, the same wouldn’t happen and the result would be the one on the right side.
So that’s the key difference between destructive and nondestructive workflow.
Now, if I have to correct my mistake, I’ll have to hit CTRL + Z more than 20 times to get to the first result and then add the image as the background directly instead of messing up. But going that behind using the Undo option will also erase the other things that I’ve included in the creative – shapes, text, and, colours.
Note: The easiest solution, in this case, is to delete the image and import the image again.
There are two basic ways to achieve this:
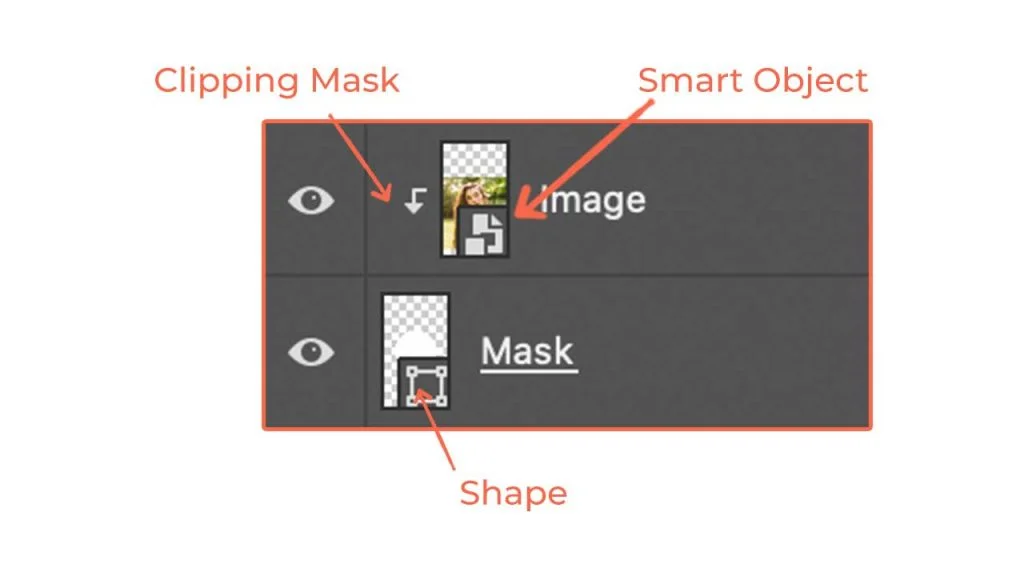
One way is to use create a shape and then place the image inside the shape by using a clipping mask. Like this:

And the other way is to add a circular selection and remove everything that’s outside the circle. And add a border using the circle shape tool.

In both cases, the result is the same. But the problem arises when we want to tweak. Let’s say I want to zoom out the image (a designer always changes his mind). This is what happens:

You’ll always notice the difference between both these workflows when you change your mind and go back.
Now the main reason why we should use a non-destructive workflow is to avoid destroying the data so that when we change our minds we can reuse that data.
If you create a design without following the non-destructive workflow, and then you realized you have to change something that you’ve created first, you need to hit undo a lot of times to get to that point and change it. But in that undoing process, you’ll also erase all the things you’ve created. Basically, you are starting from scratch again.
And that’s called a heart attack for a designer.
So make sure you adopt a non-destructive workflow in your design process. Ok, I’m convinced. But how?
The most basic way to adopt a non-destructive workflow is to make use of the layers system in Photoshop. But there are a lot more than that. Let me be more clear:
Whenever you are making any kind of changes to the image, make sure you do it in a new layer. For example, in the image below if you want to work non-destructively I’ve created a new empty layer and then drew in that but not on the image.

Not only images but whatever graphics you are dealing with in Photoshop, make sure you convert it into a smart object. Smart objects allow non-destructive transformations. Doing this will avoid all the scaling issues that you see with images (quality reduction) in Photoshop.
Tip: Whenever you import an image or graphics into the Photoshop document, make sure you import them as smart objects. An easy way to do this is to go to “File” in the top menu and click “Place Embedded”.
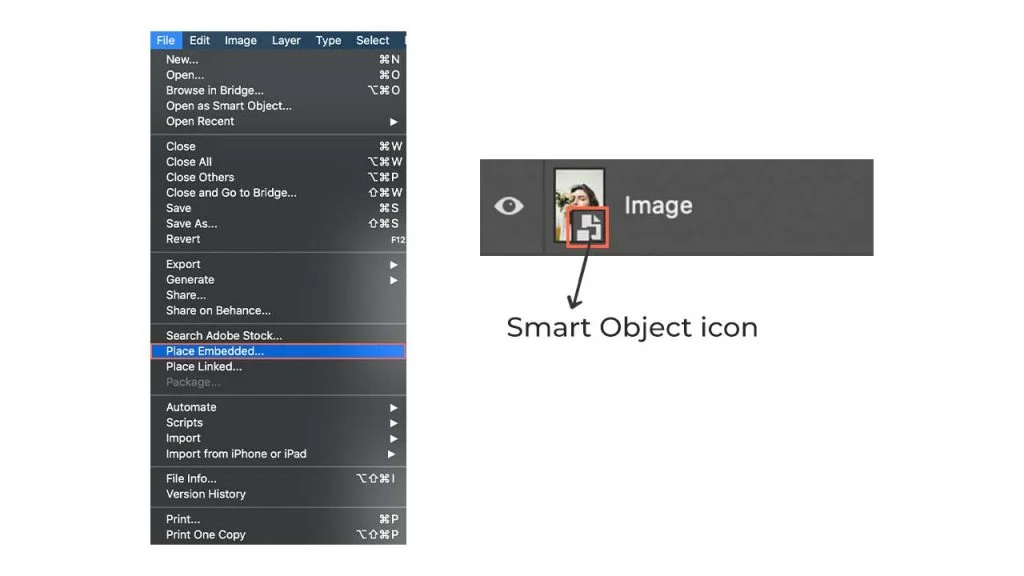
Follow the same process for icons and other graphics that you import into photoshop.
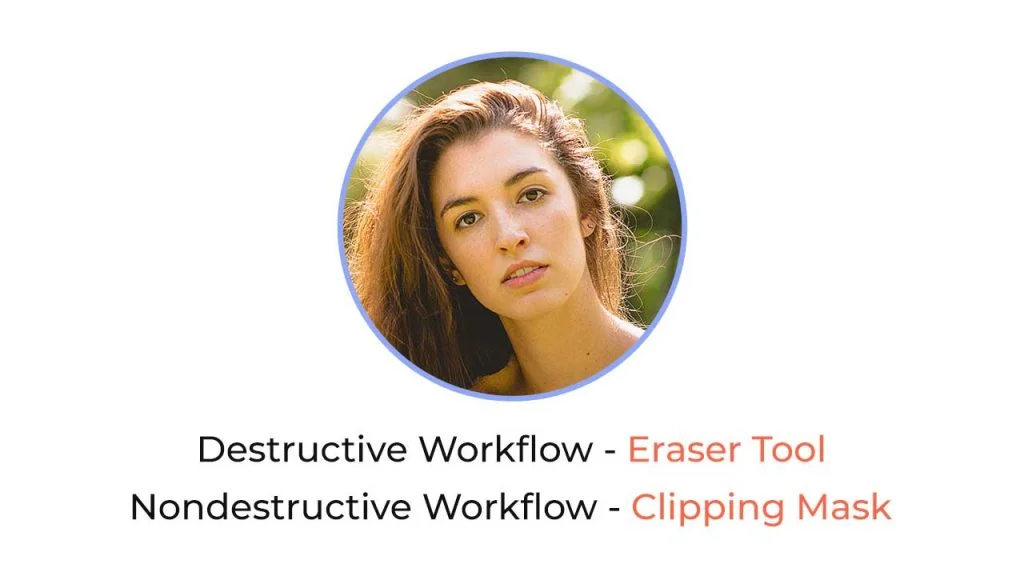
I never use the eraser tool. And you shouldn’t either.
Make sure you use layer masks or clipping masks whenever there is a need to cut some part of an image or a graphic. Simply hide the parts that you don’t want to see instead of completely removing or erasing.
The bottom panel in Photoshop is quite useful for nondestructive workflow.

Anything thing that you add will be added to a new layer and affect all the layers below it. You use clipping and layer masks to make sure it affects only the layers or part of the layers you want. But the point here is more freedom and more flexibility.
Useful Tip: When working with images always keep a safe layer and make sure you lock it so that you don’t touch it even by mistake.
Your first design will never (at least most of the time) be your final design. If you have ever worked in an agency you would know this truth.
But working non-destructively can save you a lot of time and effort that you put into your designs. Work smart. Not hard. Basically, what I mean is work non-destructively.


3 Comments
10 Mistakes To Avoid In Photoshop While Designing Social Media ContentJuly 14, 2021
[…] Instead, if you have used the same tool, but on a new layer, you’ll have access to the original image file so that you can make changes to it if you want. Or you can duplicate the image layer and keep an image layer safe (lock it so that you won’t touch it even by mistake). And that’s called working non-destructively. […]
A Beginners Guide To Adobe Photoshop For Social Media DesigningJuly 14, 2021
[…] Objects support non-destructive workflow and make things easier. Always import images as smart objects. Go to File (in the top menu) and […]
30 Photoshop Shortcuts To Help You Create Social Media Content FastJuly 14, 2021
[…] A Complete Guide To Non-Destructive Workflow In Adobe Photoshop […]